Simple Vignette Correction
From wikipedia: In photography and optics, vignetting is a reduction of an image’s brightness or saturation toward the periphery compared to the image center.
When presenting a collection of images as a mosaic, the vignetting in the imagery can cause visual discontinuities at the image borders. Here I present a simple strategy to model and correct the vignette in a collection of images.
Step 1: Compute the pixel-wise average for a set of images
I start by creating 2d numpy array of float32 type with the same dimension as our camera. Each [u, v] position in the numpy array is the sum of that pixel position from each image. The “average image” is created by dividing each pixel sum by the total number of images. Here is an average of 7 images. Features from the individual images show through, but you can already begin to see the darkening at the corners:
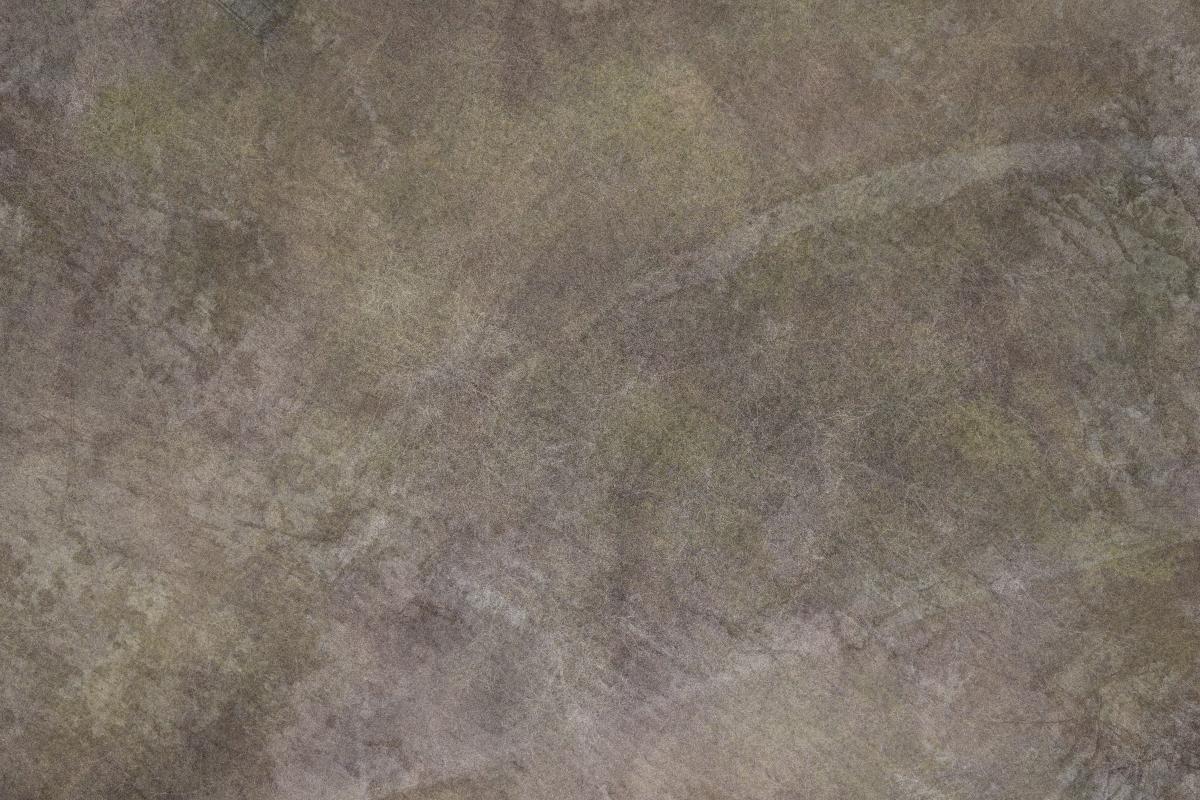
Now here is the average of the full 1635 image set. The vignetting is clearly visible at the edges and corners. No individual image details are discernible:

Step 2: Compute a best fit function
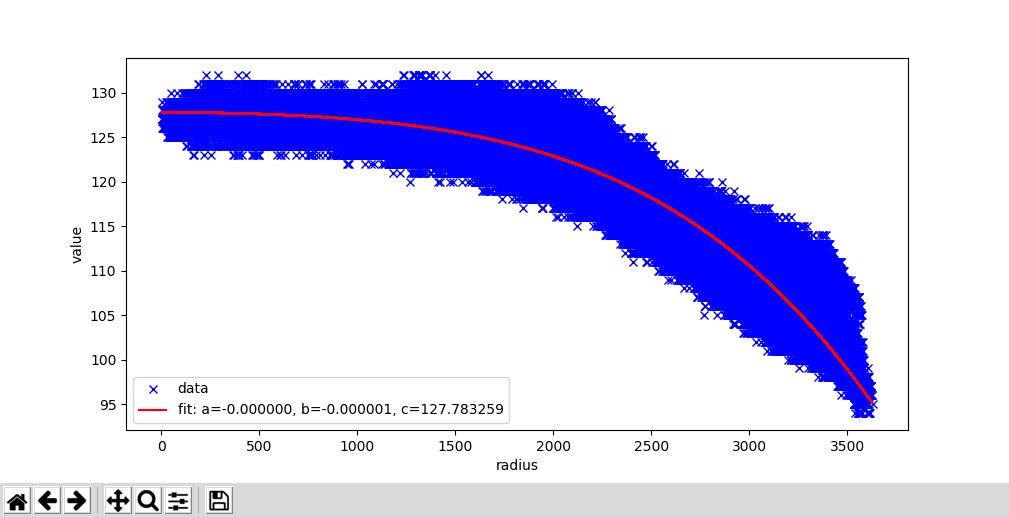
The camera/lens calibration provides the optical center of the image (which may be offset from the actual center of the image due to lens irregularities.) For each [u, v] pixel coordinate in the final image, the algorithm computes the radius from the optical center versus pixel intensity. (This is done for each BGR color channel individually.) Here is the plot of radius vs. red channel intensity and the best fit function. The fit function is a * x^4 + b * x^2 + c.
Step 3: Generate the idealized vignette correction mask
Finally, the algorithm, generates an idealized vignette mask based on the fit function. Dithering is used to hide possible banding artifacts. Here is the final vignette mask. This is summed with the original images to give them an approximate even brightness across the entire image. This may look like a plain black image, but the corners are carefully lightened based on the best fit function determined above.
Step 4: Apply the mask to the images
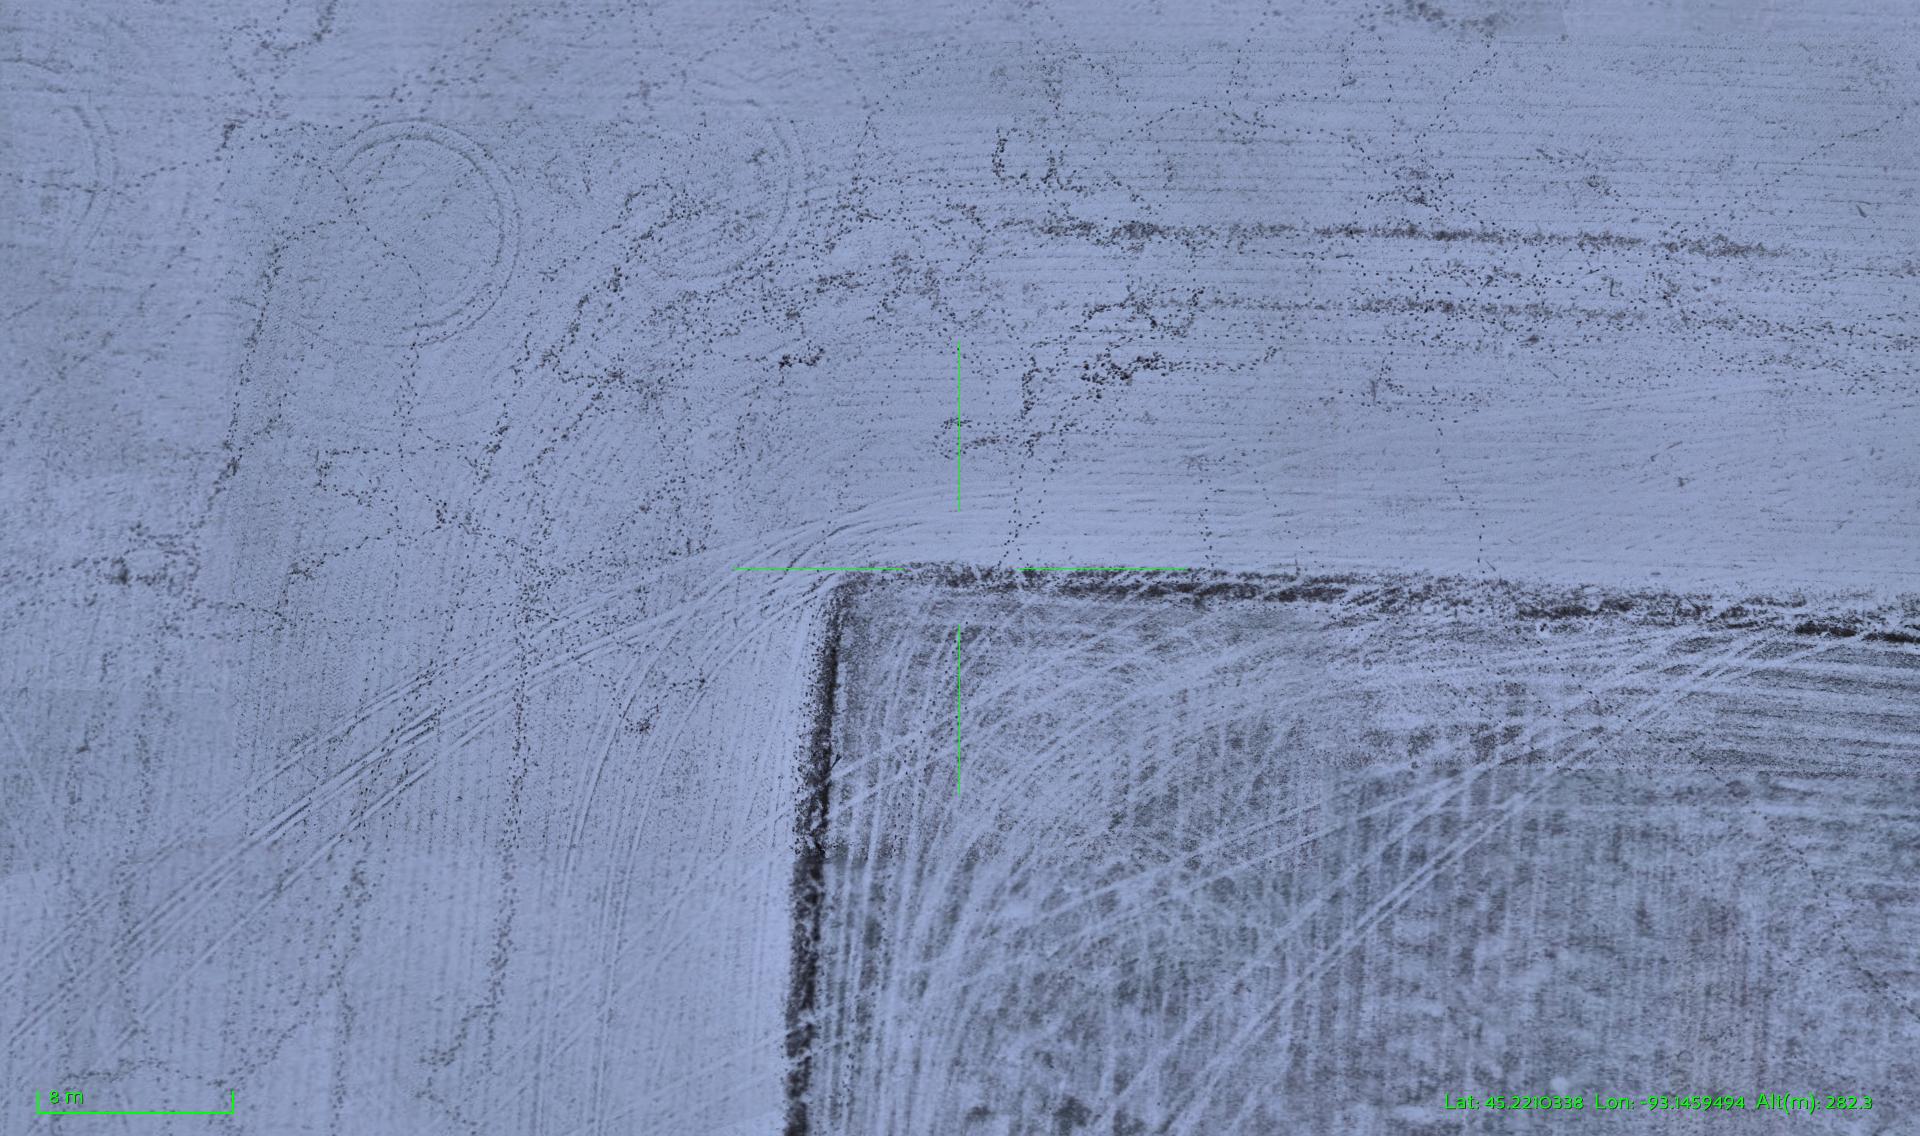
Here is a before mosaic with no vignette correction. I intentionally picked a snowy scene shot in low light because the vignetting is maximally visible under these conditions.
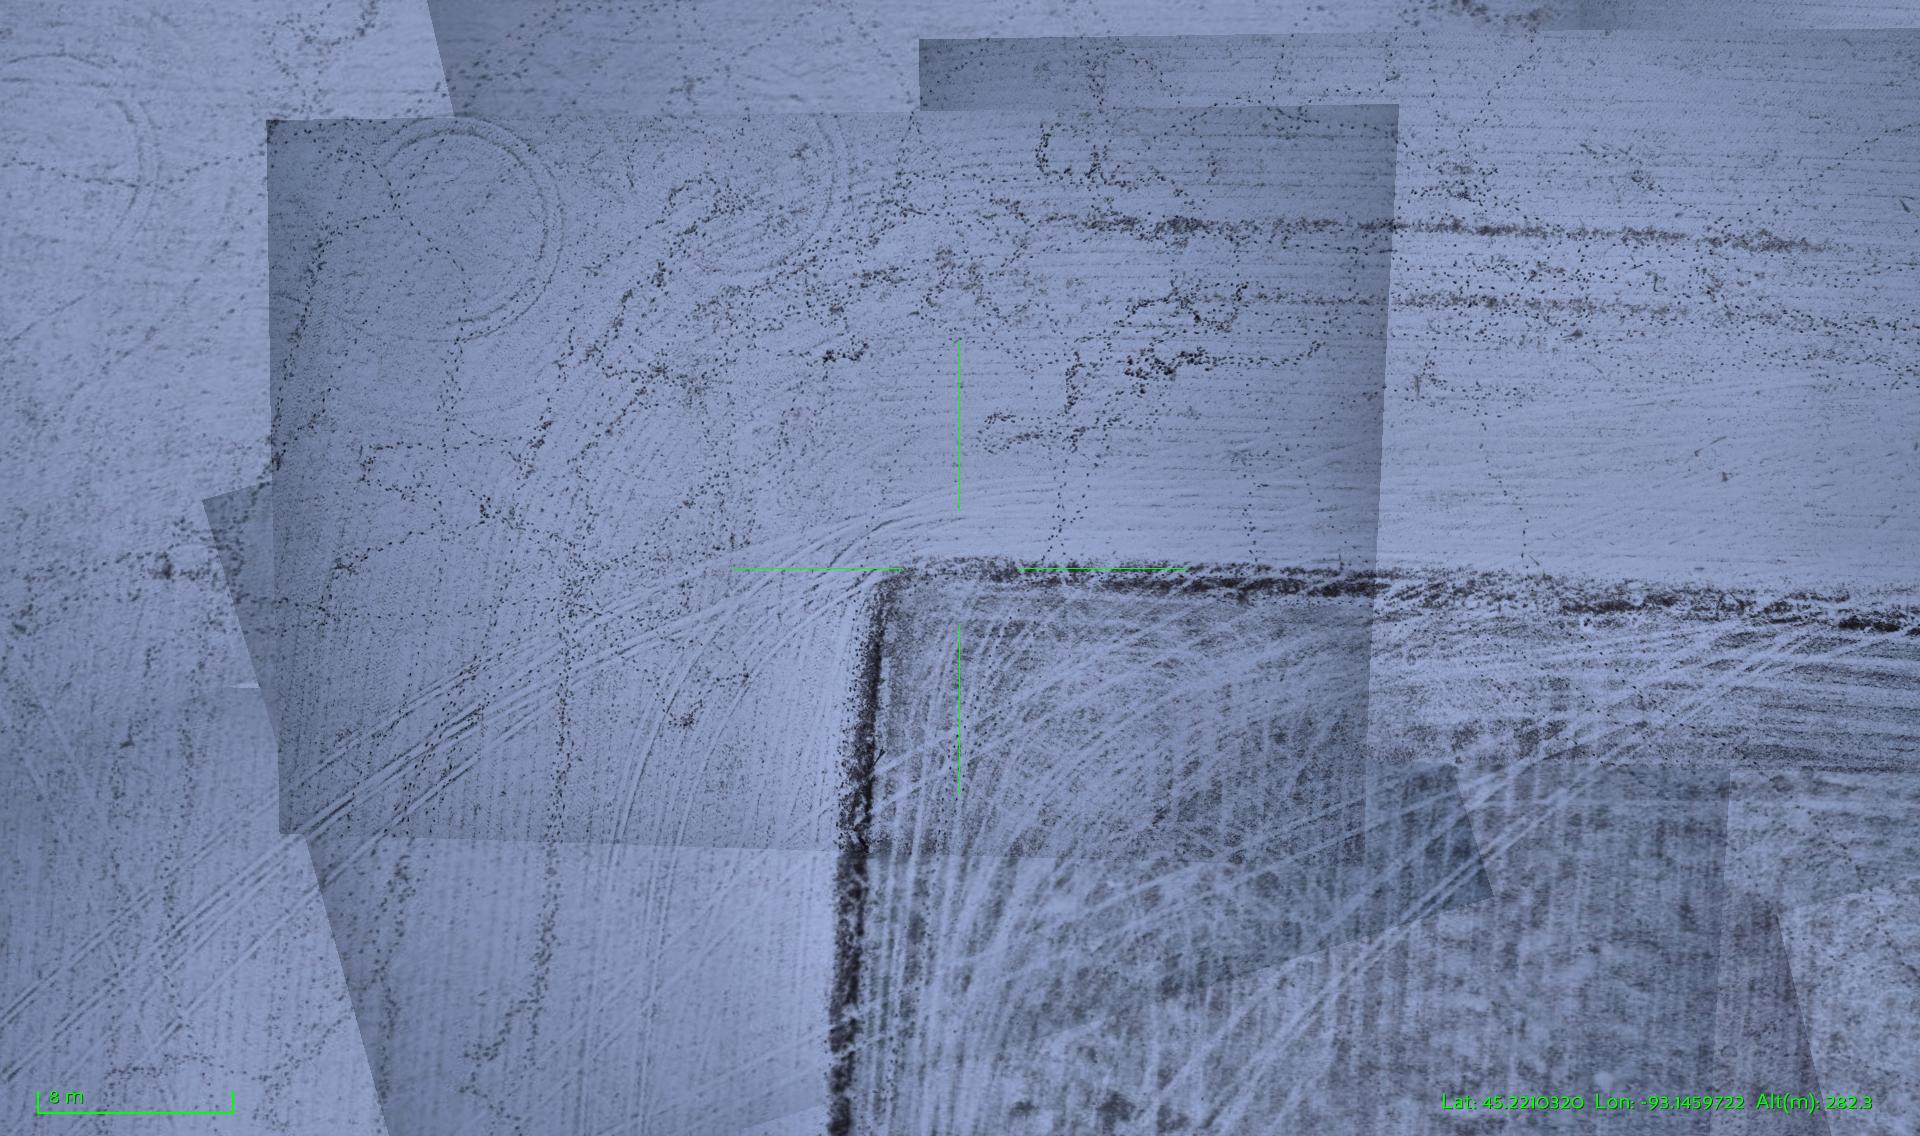
After correction. Here is the same scene with vignetting correction applied. The result is not perfect, but the improvement is substantial.
The code to compute the vignette correction for a set of images and then non-destructively apply the correction for visual presentation (along with code to optimize the fit of the images in the first place) is all part of the ImageAnalysis project developed by the University of Minnesota AEM Department, UAV Lab. The code is written entirely in python and is licensed with the MIT open-source software license: https://github.com/UASLab/ImageAnalysis