Mariner Construction
Lanier Mariner 40 ARF (Orange)
Construction log.
IMG_0438
June 13, 2003
I bought this aircraft NIB off of Ebay. It arrived today, Friday the 13th. I haven’t had a chance to begin assembly. I think I’ll need to get a flight pack + 1 servo first.
October 17, 2003
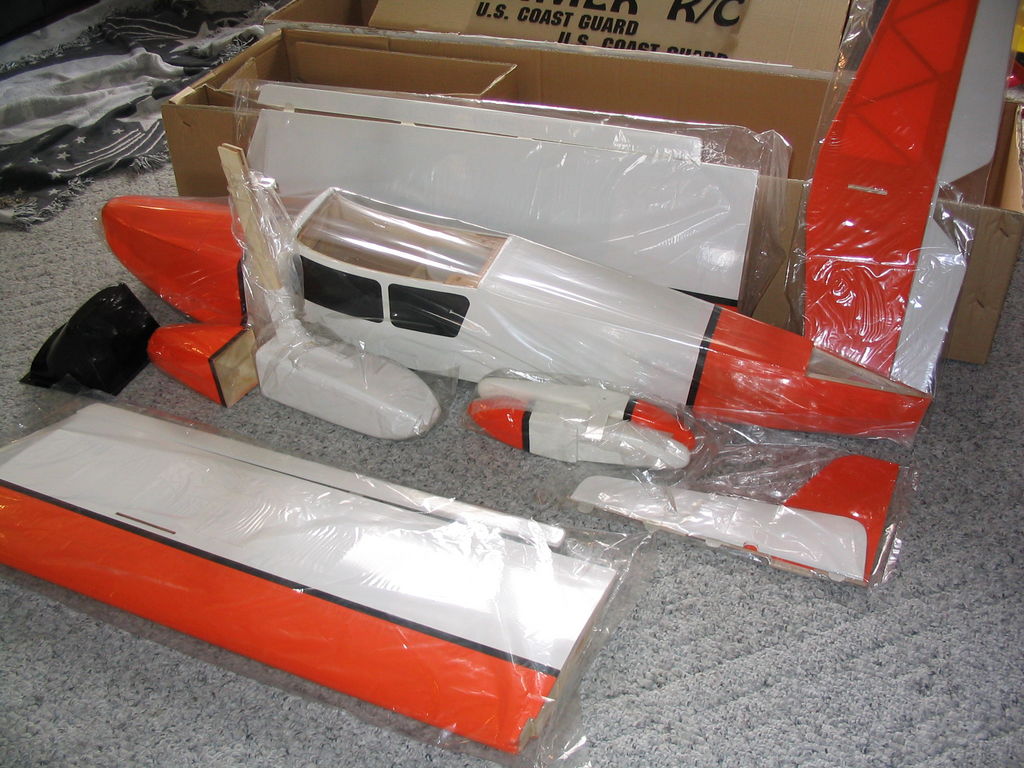
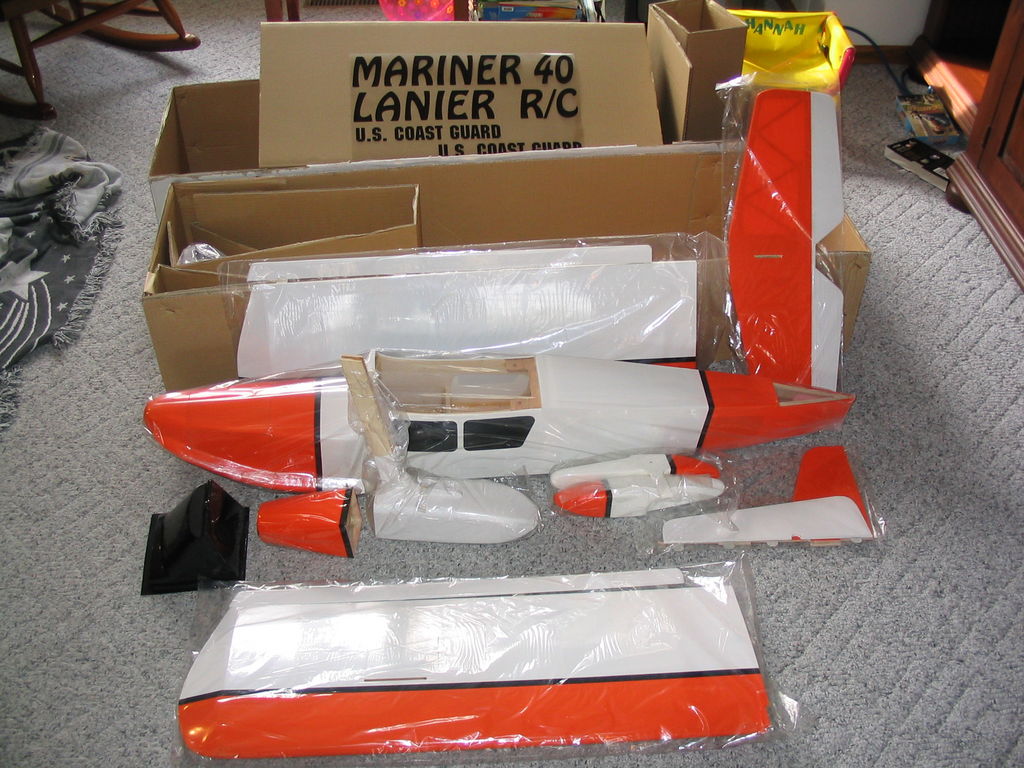
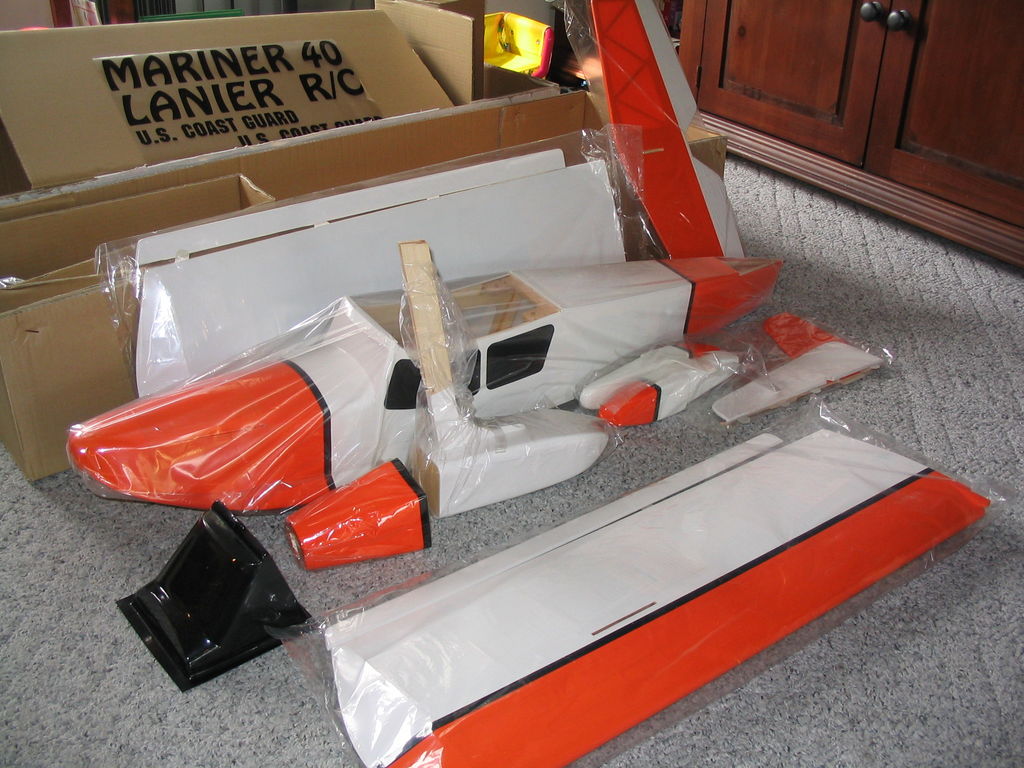
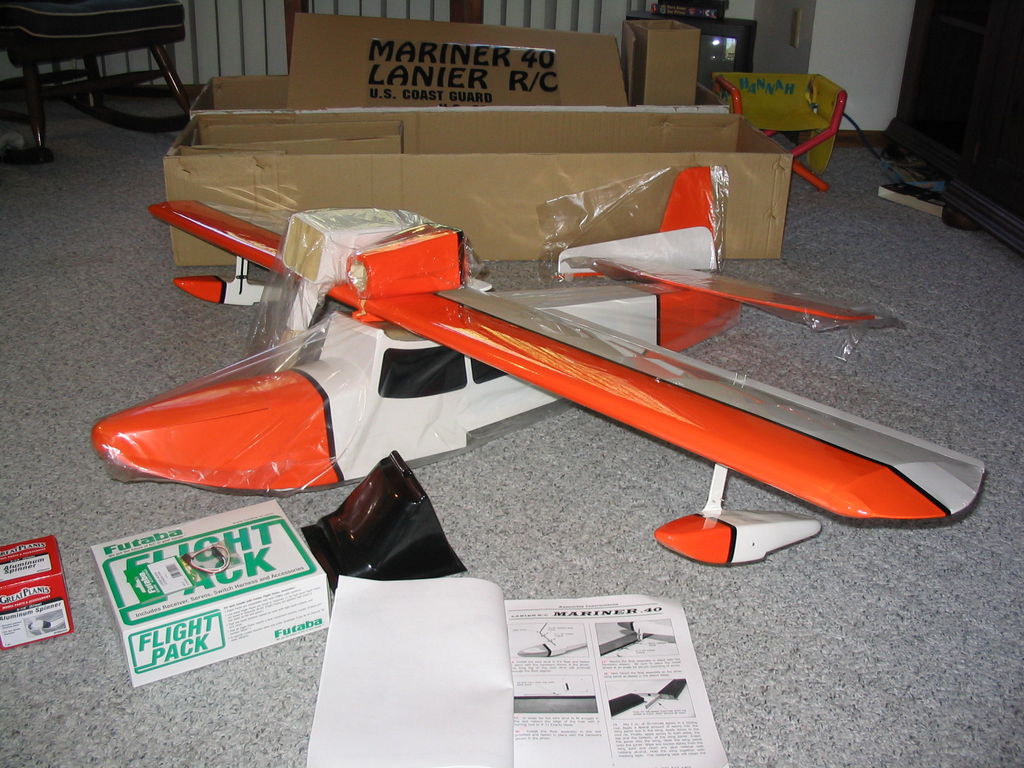
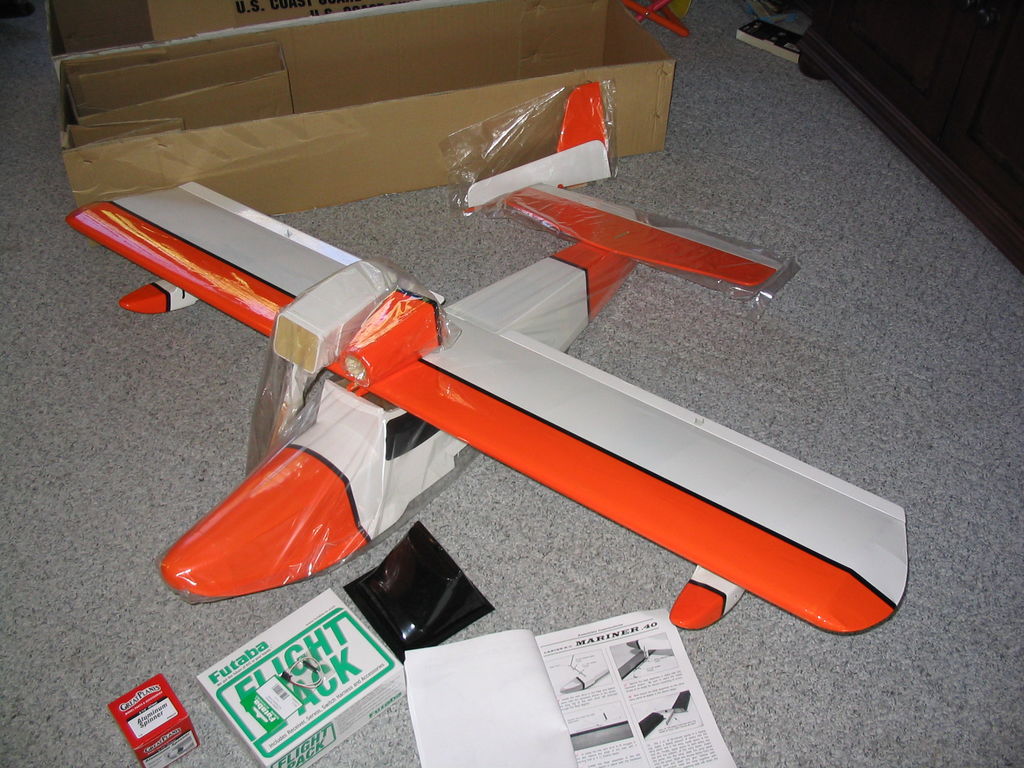
I was pretty fed up with all the stuff I was supposed to be doing so I pulled this out of the box to see if I could make any headway on it. Here are some pictures as it comes from the box.
IMG_0436
IMG_0437
IMG_0438
I am really impressed with this ARF. Generally it seems like pretty good quality wood, pretty good quality craftsmanship, solid, nice looking, and everything seems to fit together quite nicely so far.
October 18, 2003
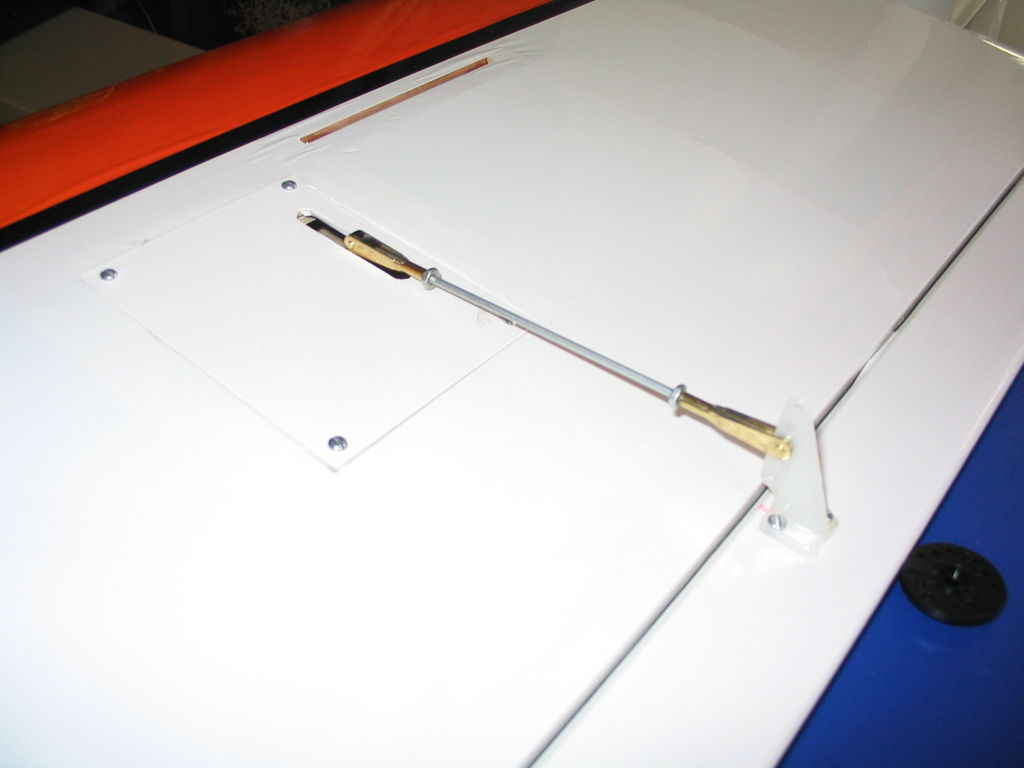
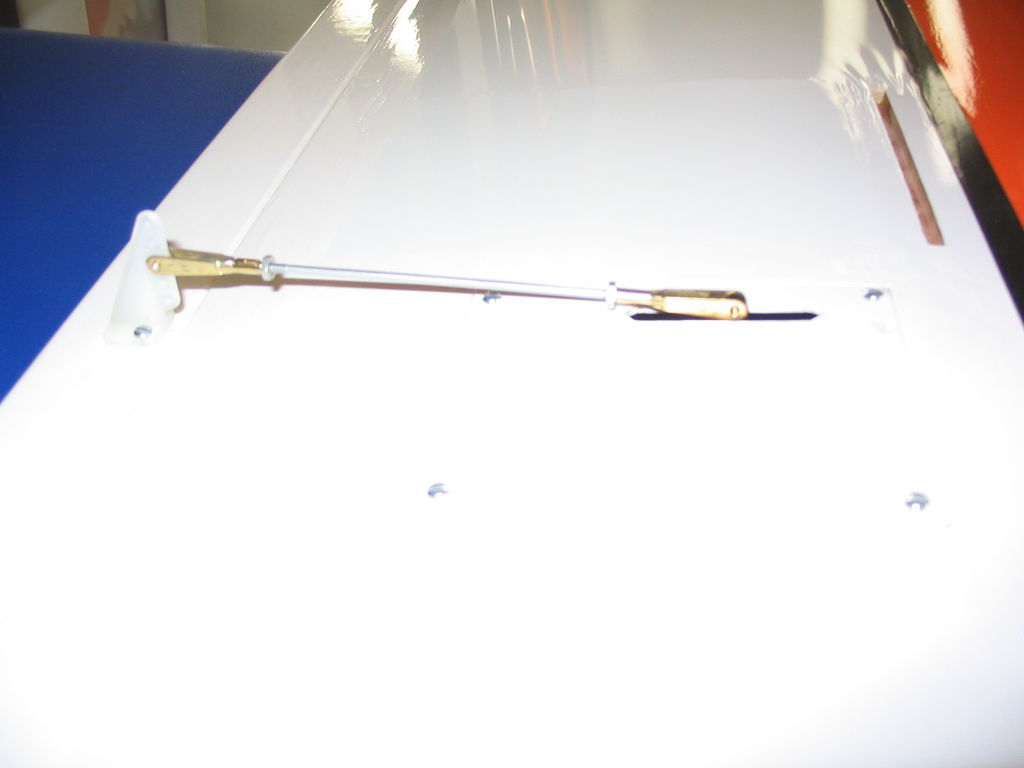
This aircraft uses one servo per aileron. That simplifies the linkage tremendously at the expense of an extra servo.
IMG_0439
IMG_0440
My only complaint so far has been with figuring out which hardware (screws, etc.) to use in certain places. Occasionally the manual is very brief, or omits specific details about which bit to use where. The parts bags aren’t packed the way the instructions say they are supposed to be laid out which makes the situation even worse. I’ve been left scratching my head in a couple places and making my best guess. I may have to go back and switch things around possibly later on. I hope not, but I’m not entirely confident in all my hardware choices.
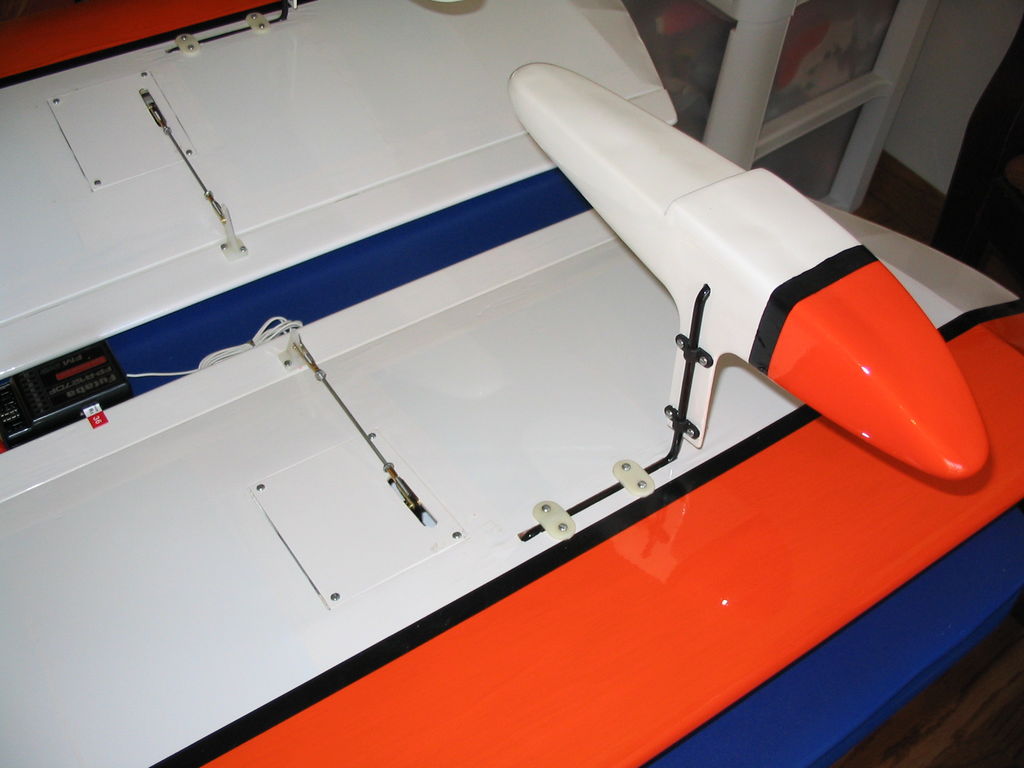
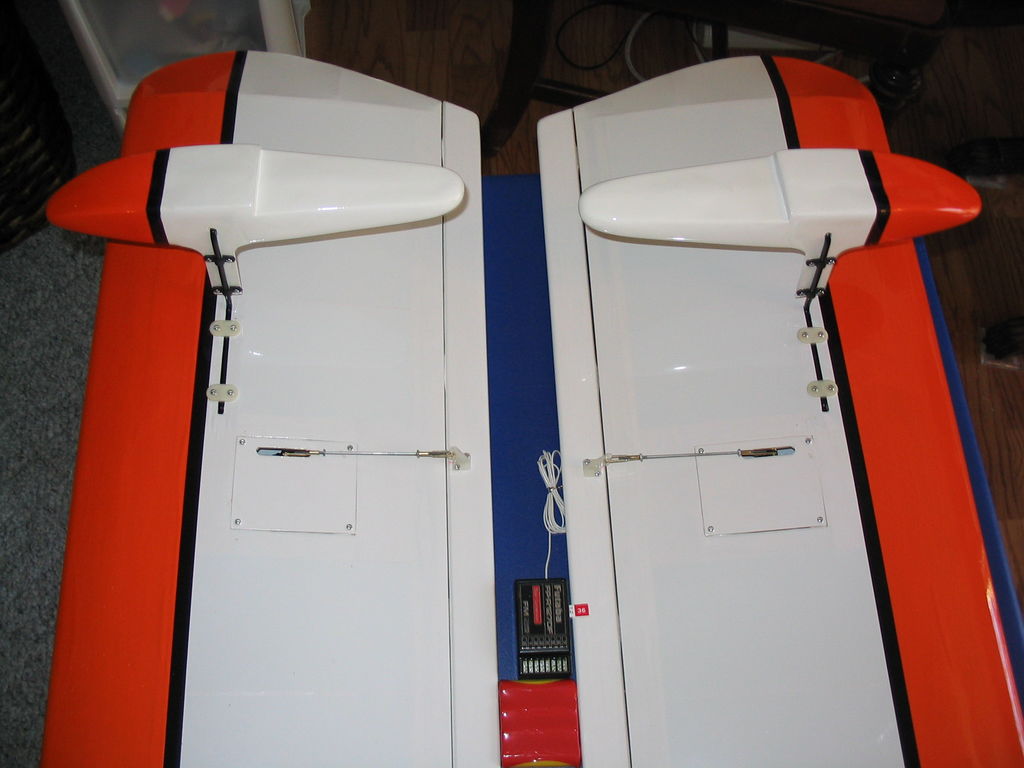
Here is the detail of the wing floats and the completed wing halves. The floats go on really nicely, they are very sturdy, and look very nice (especially compared to some of the goofy wing tip floats on other seaplanes I’ve seen.)
IMG_0441
IMG_0442
IMG_0443
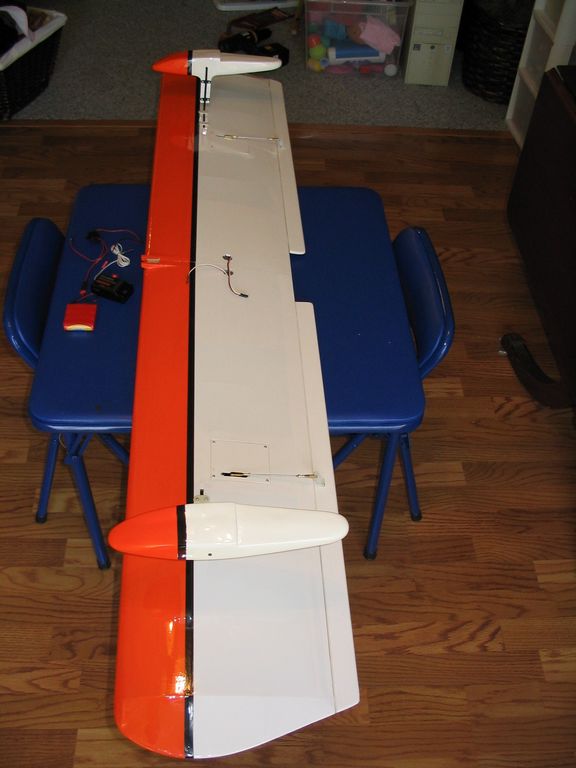
Here is a picture of the wing halves joined together.

IMG_0444
Here are a couple pictures of things setting in their relative places. I like to get an idea of how things are shaping up once in a while so I pose all the parts as best I can. 🙂
IMG_0445

IMG_0446
IMG_0447
May 8, 2004
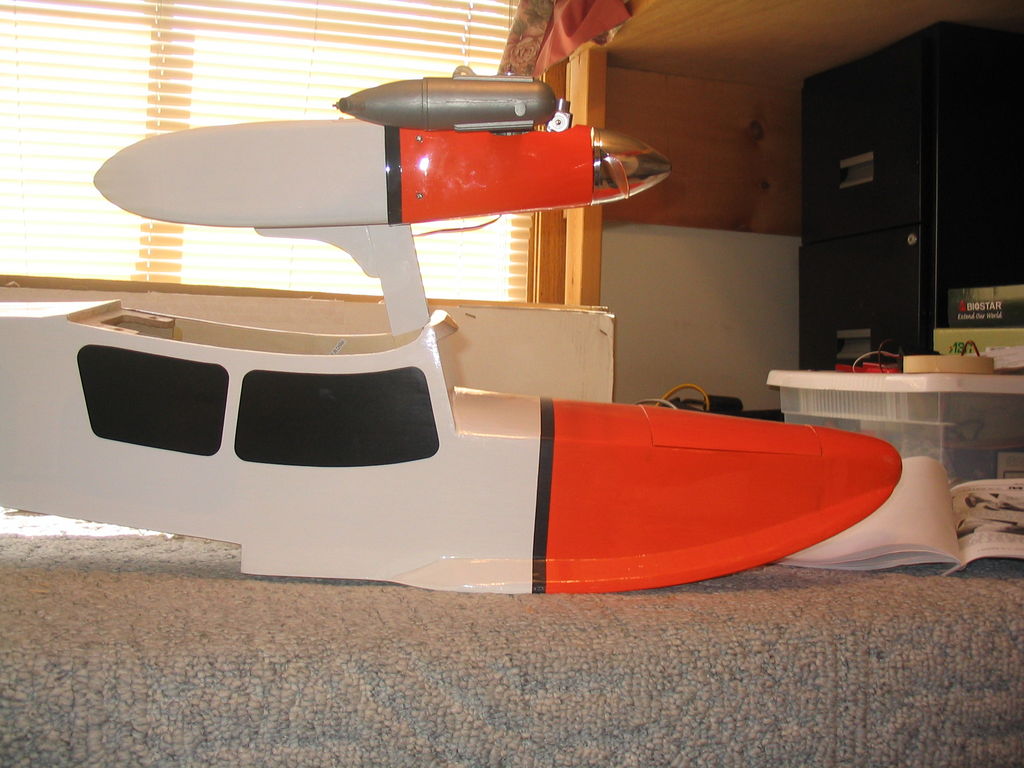
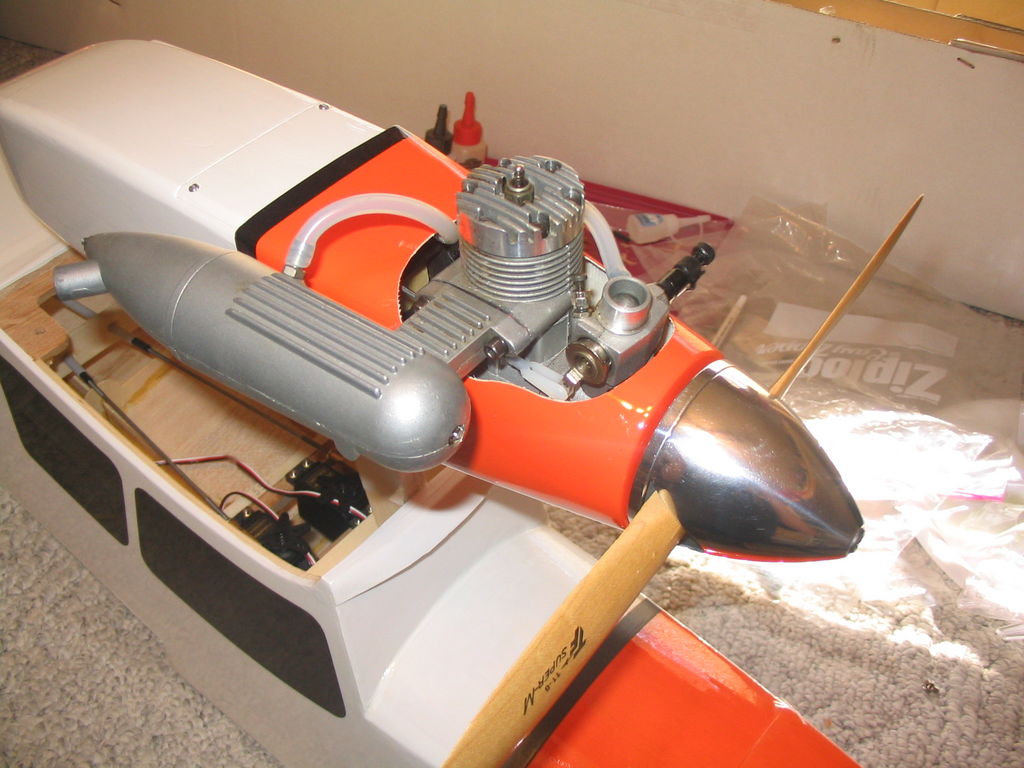
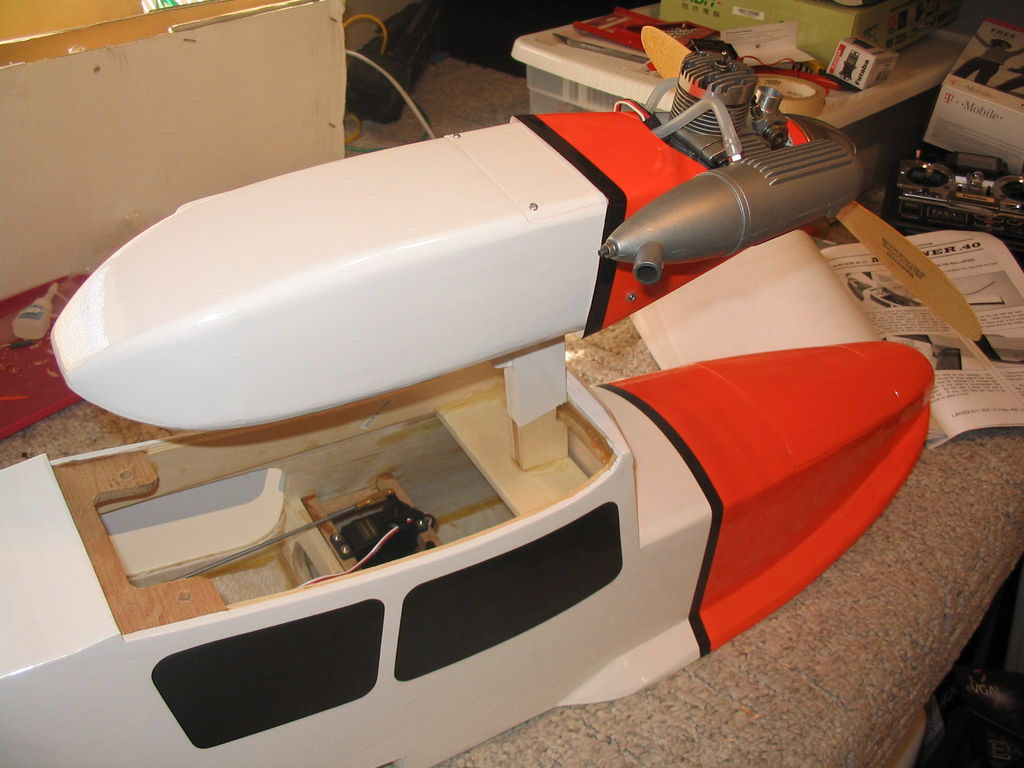
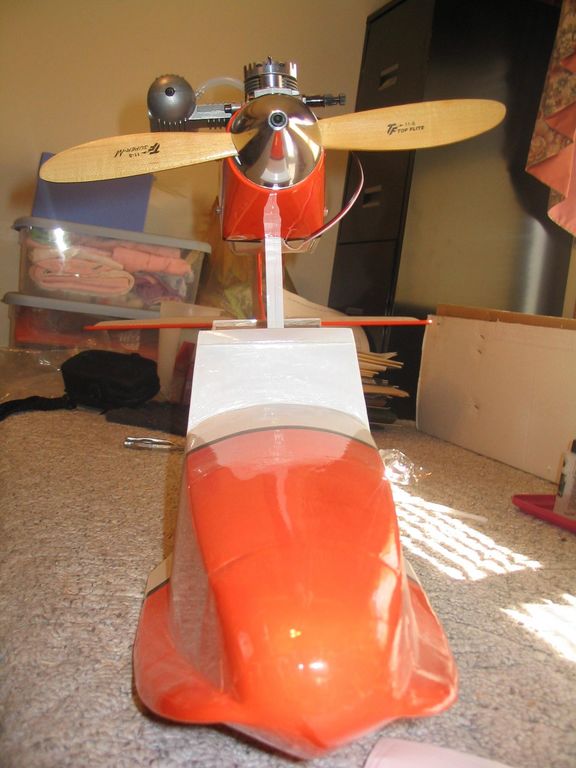
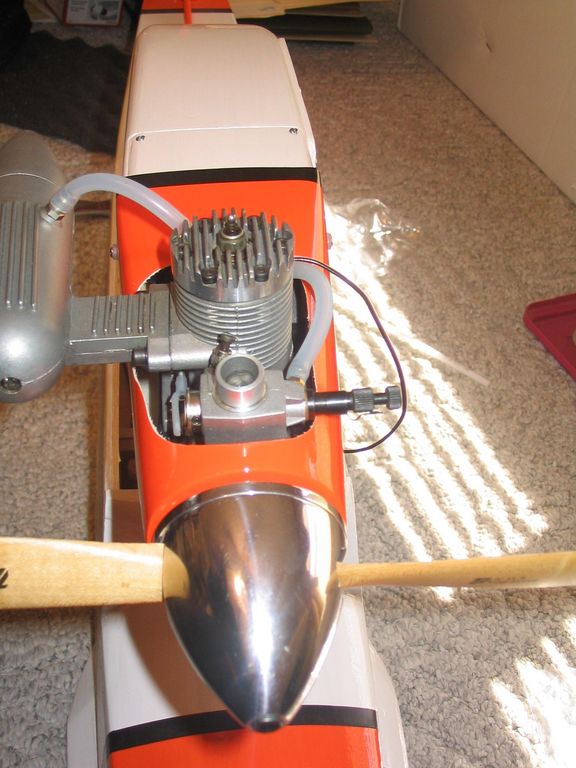
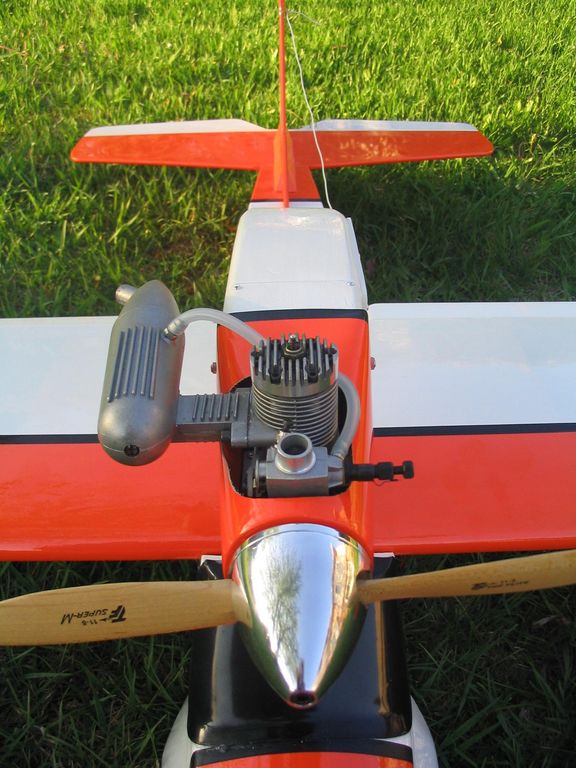
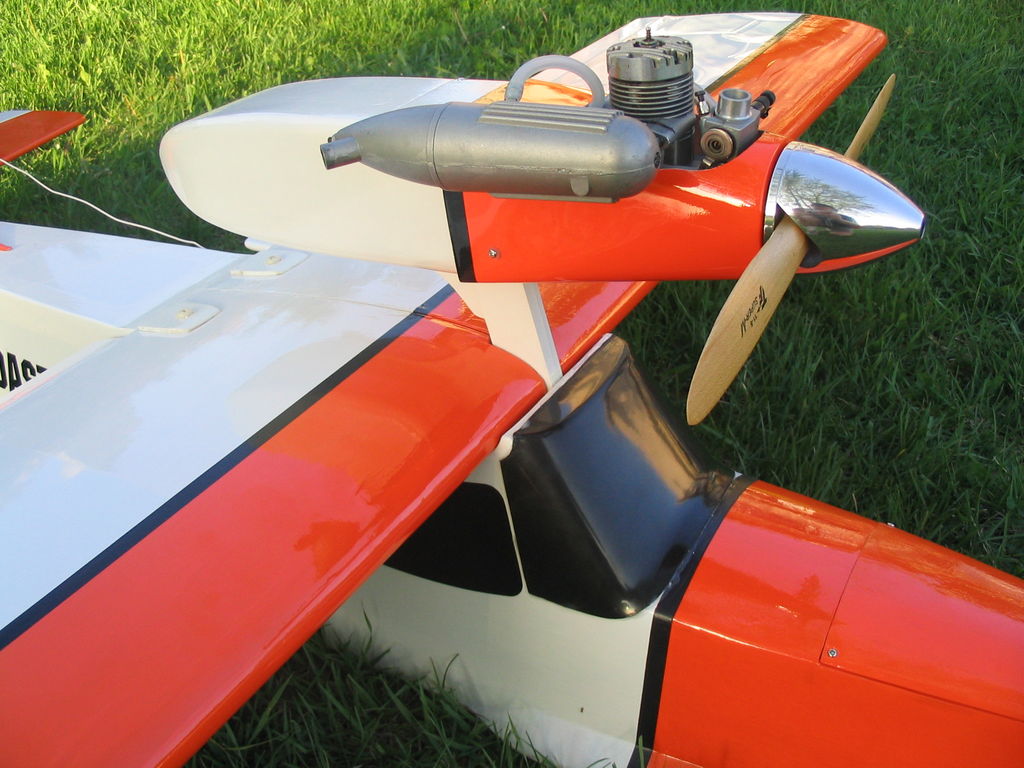
I’ve been chipping away at this little by little and haven’t taken any pictures of my progress, so here I am nearly finished. The engine pod assembly has been completed, the engine mounted, tank installed, throttle servo installed, and cowl fitted and installed.
I bought a Magnum Pro 45 off Ebay for about $35 to power this project. My goal was to get something that ran well, but was a bit on the inexpensive side in case it ends up sucking in water. The engine looks like it is in great shape with no stains or rust. It has seen fuel, but has been well taken care of.
IMG_1234
IMG_1235
IMG_1236
IMG_1237
IMG_1238
May 18, 2004
There are always a million little details to finish and I’ve been slowly knocking them off, one by one. Here are a few comments looking back on the assembly process.
- I’m still not happy that the hardware was not bagged like the instructions said. This made identifying screws and other bits quite difficult. I understand that things change in the kitting process and it’s hard to fix all the references in the manual, but this made the assembly process slower and more frustrating than it needed to be – at least for someone who puts one of these together at best once a year.
- The instructions showed trimming the canopy with an xacto knife. I could have saved myself an hour of frustration if I would have gone after it with a decent pair of scissors.
- The parts bags include 4 small mysterious wood blocks and 2 other pieces that look like push-rod supports. These came from an earlier version of the kit, but were never removed from production so they can be ignored.
- The wing hold down bolts screw into raw balsa. I’m told that works ok, but I made some reinforcements out of scrap plywood from another kit, painted them white, epoxied them in place, and now I feel much better.
- The covering came out of the box a little “loose” in places, especially the tail surfaces and wing. I figured no biggy, I’d just shrink it down myself at the end. But I found that some of the wrinkles are too big to get out … not a huge deal, just one of the very few things I can find to complain about.
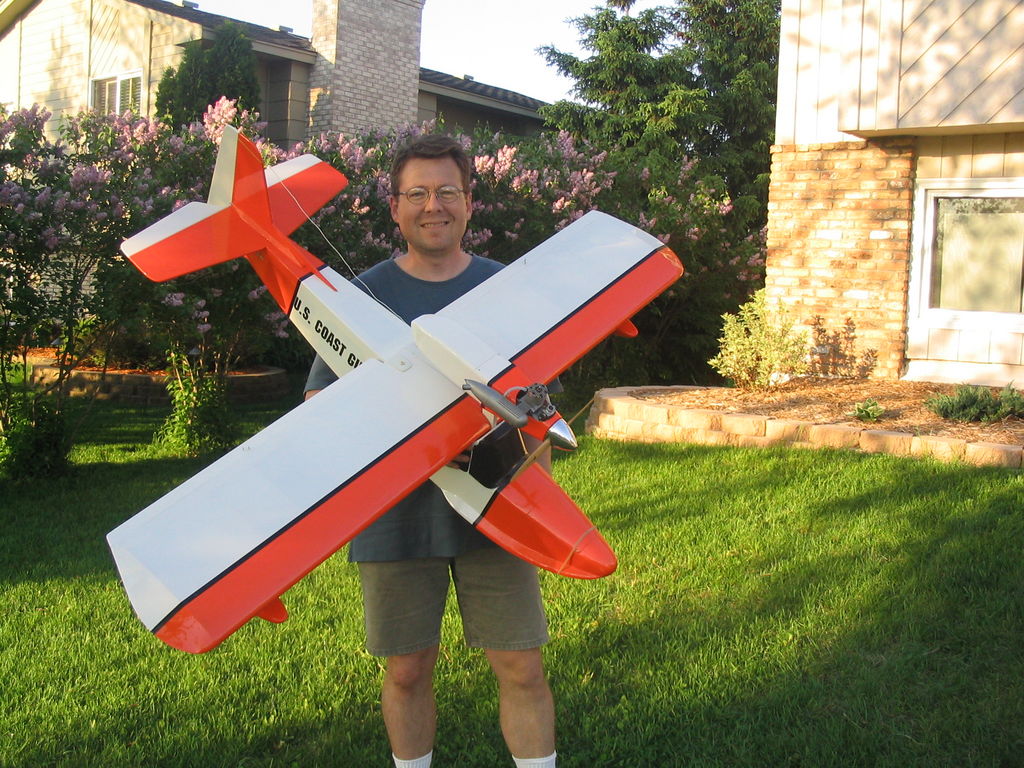
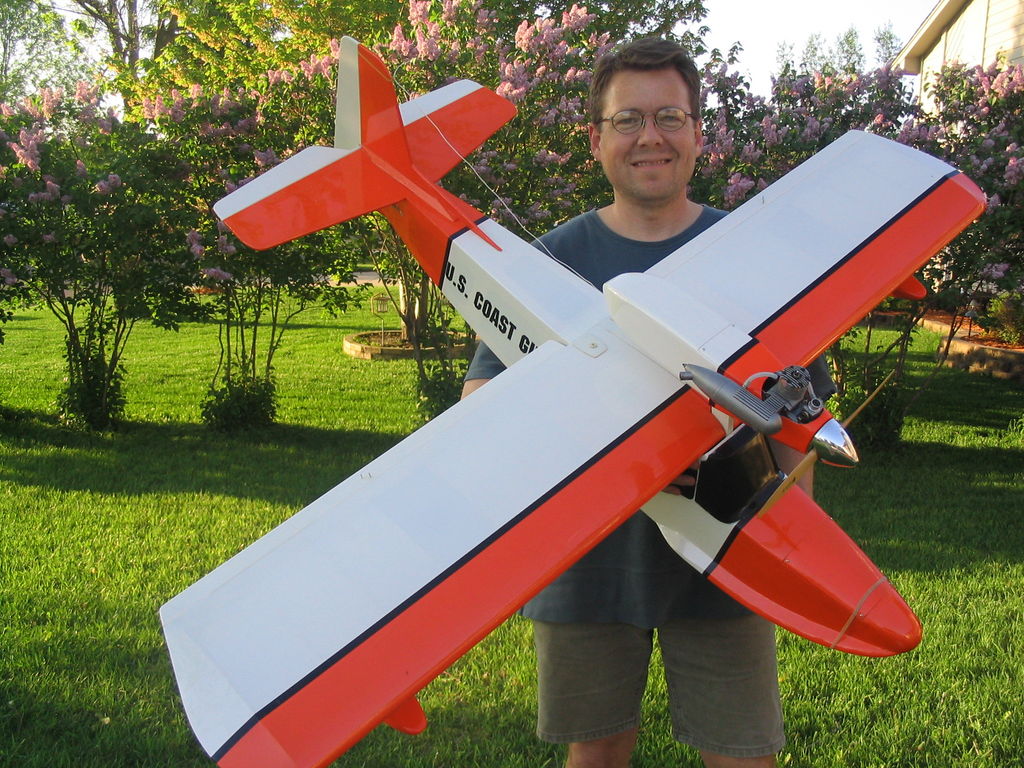
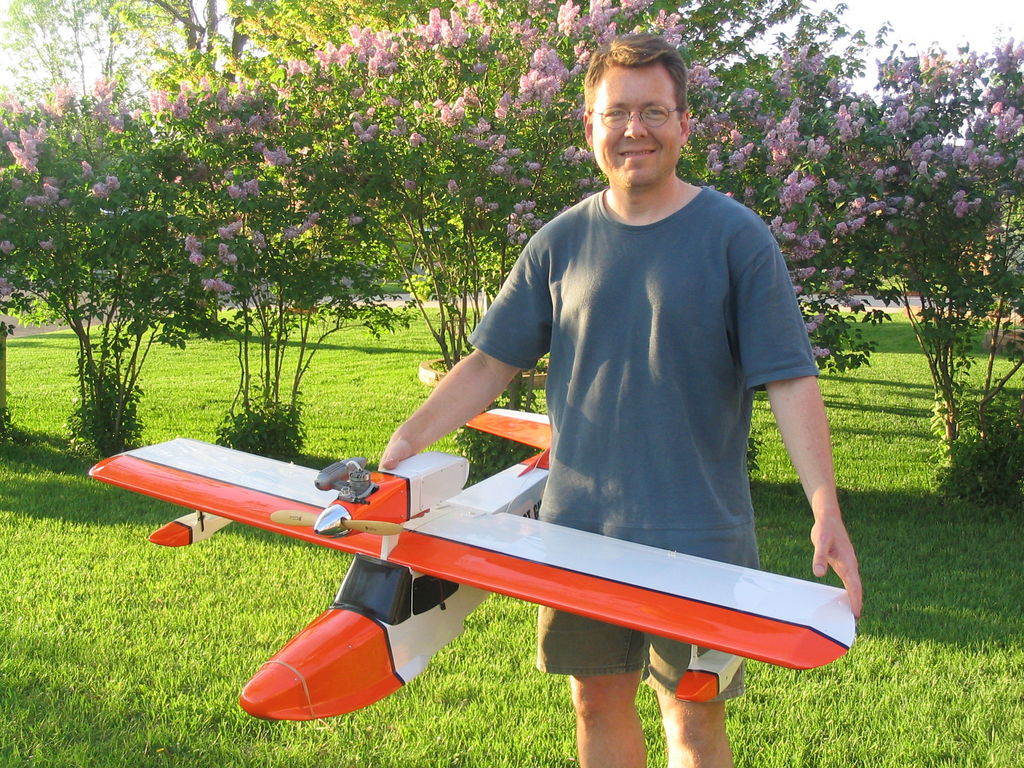
- Overall though, despite a few minor nits, this is a really spectacular model. It has wonderful lines, has a sharp color scheme, and looks like it will fly great. The kit quality is very good, and in most cases the instructions are good or at least sufficient.
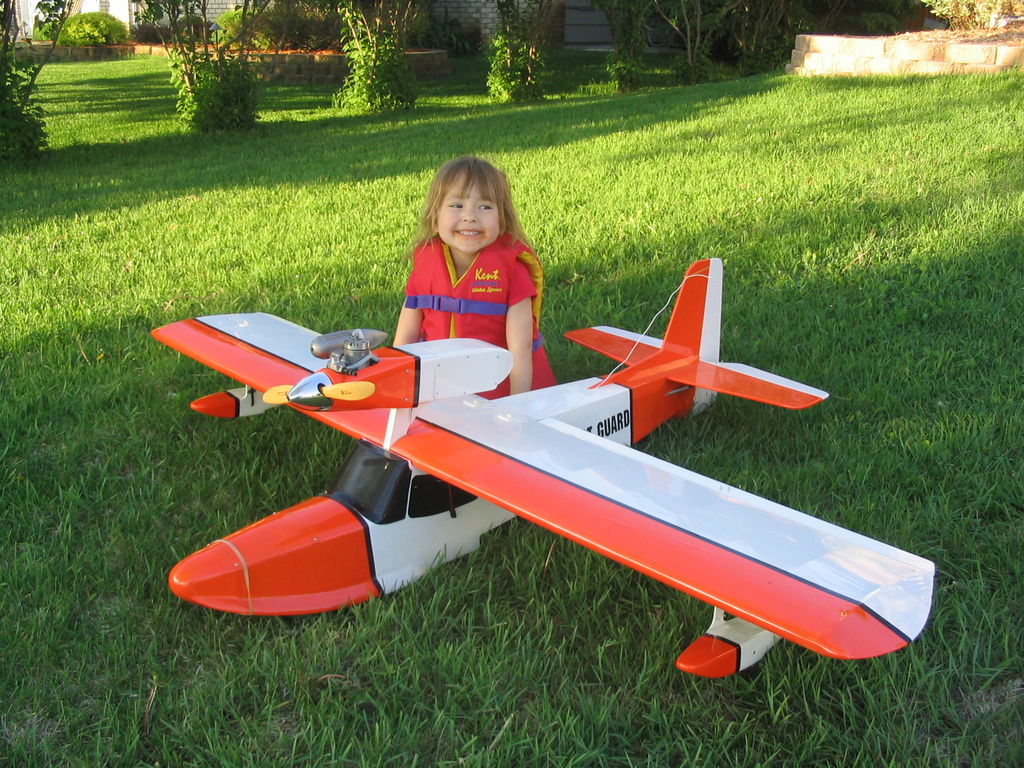
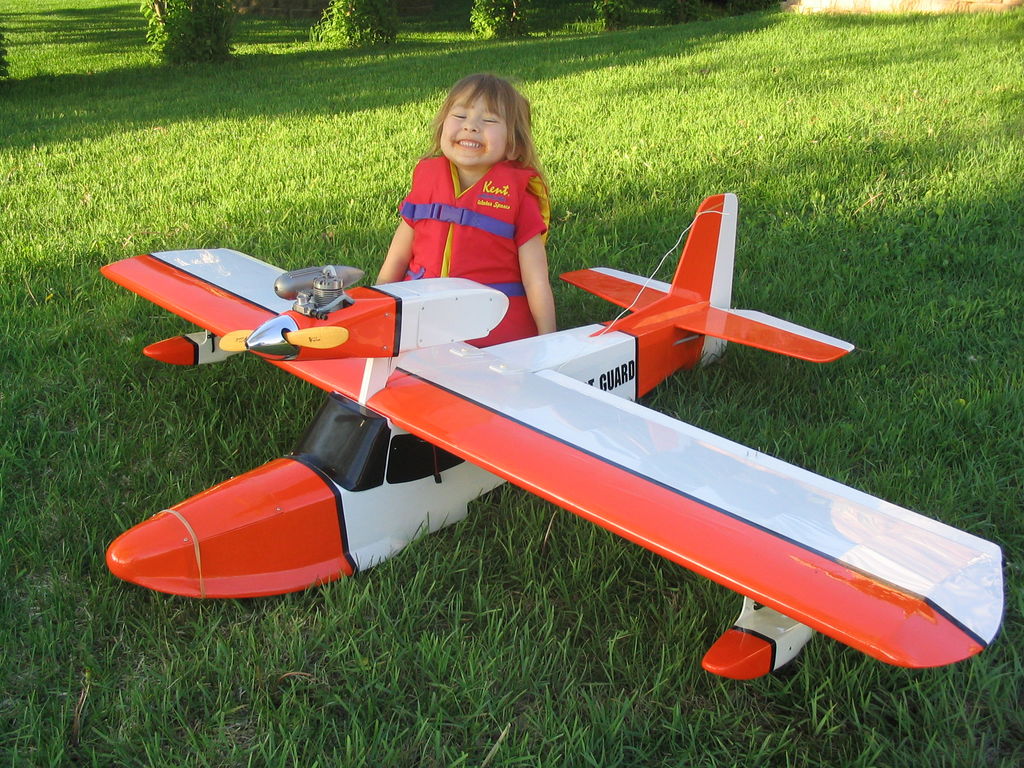
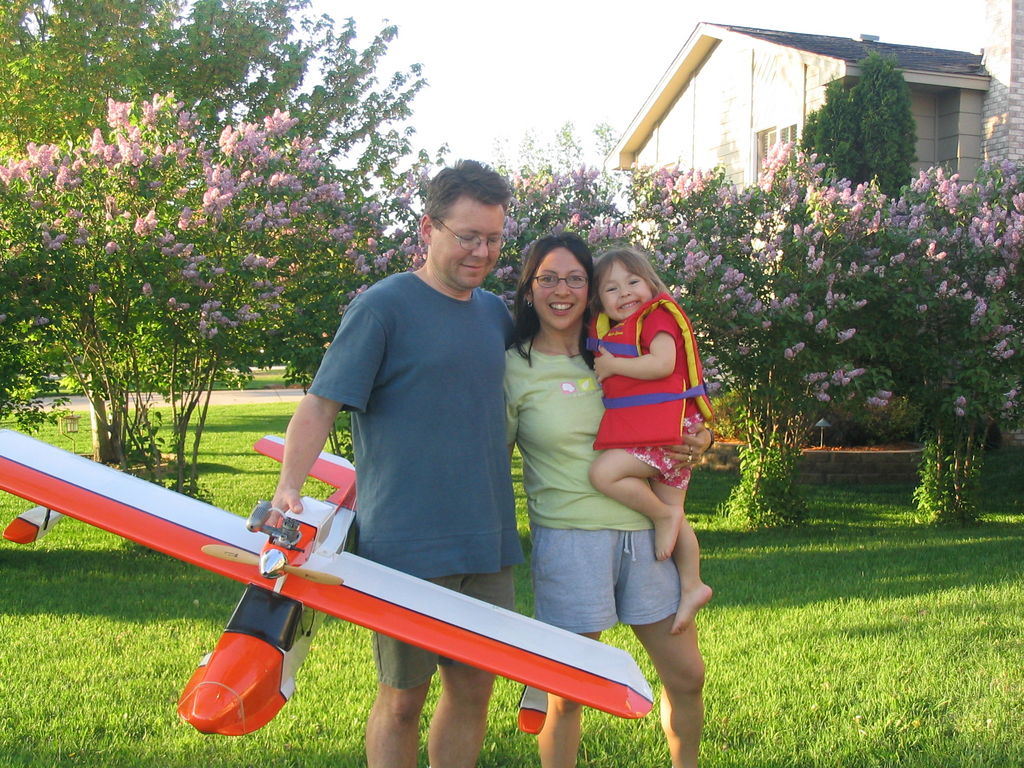
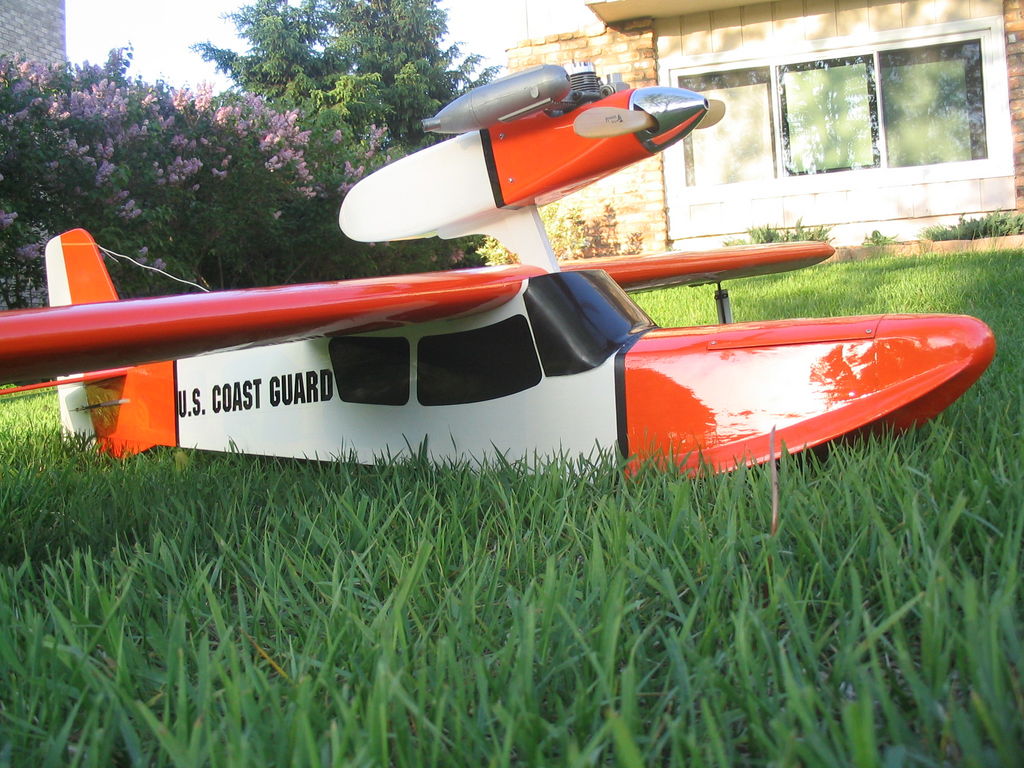
This evening I decided to take the airplane out to test the engine and see how my Ebay special runs. I also wanted to take a few pictures before I attempt to fly it. 🙂
I have no instructions for the engine so I had to guess at an initial carburetor adjustment. It took me a few tries to get in the right ball park, but once the engine fired up it ran beautifully. Very smooth, very solid, very strong. This engine should pull this aircraft right out of the water with no trouble at all.
My daughter is all set to go to the lake and fly … it’s a perfect day, but it’s getting too late to drive anywhere.
IMG_1268
IMG_1269
IMG_1270
IMG_1271
IMG_1272
IMG_1273
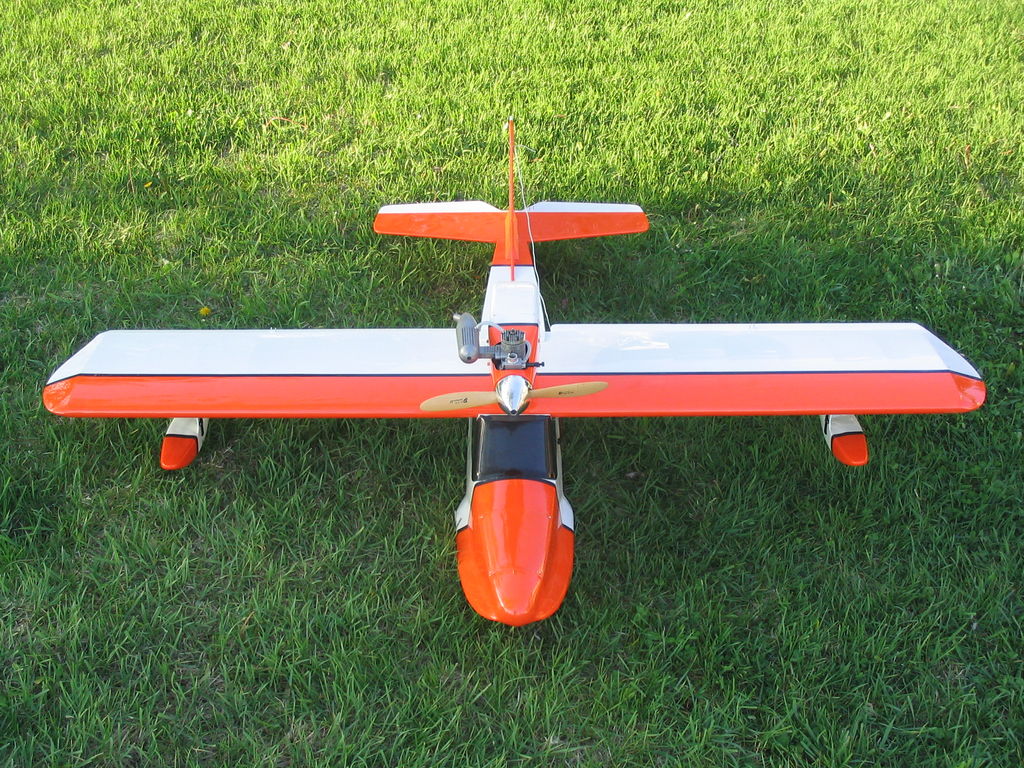
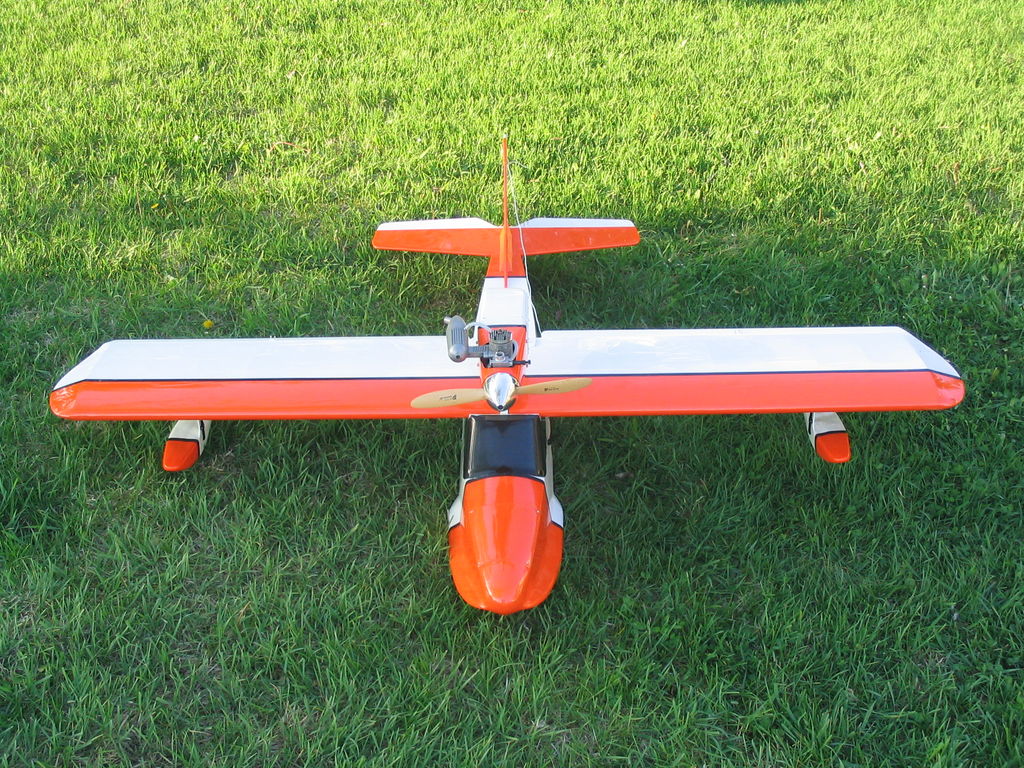
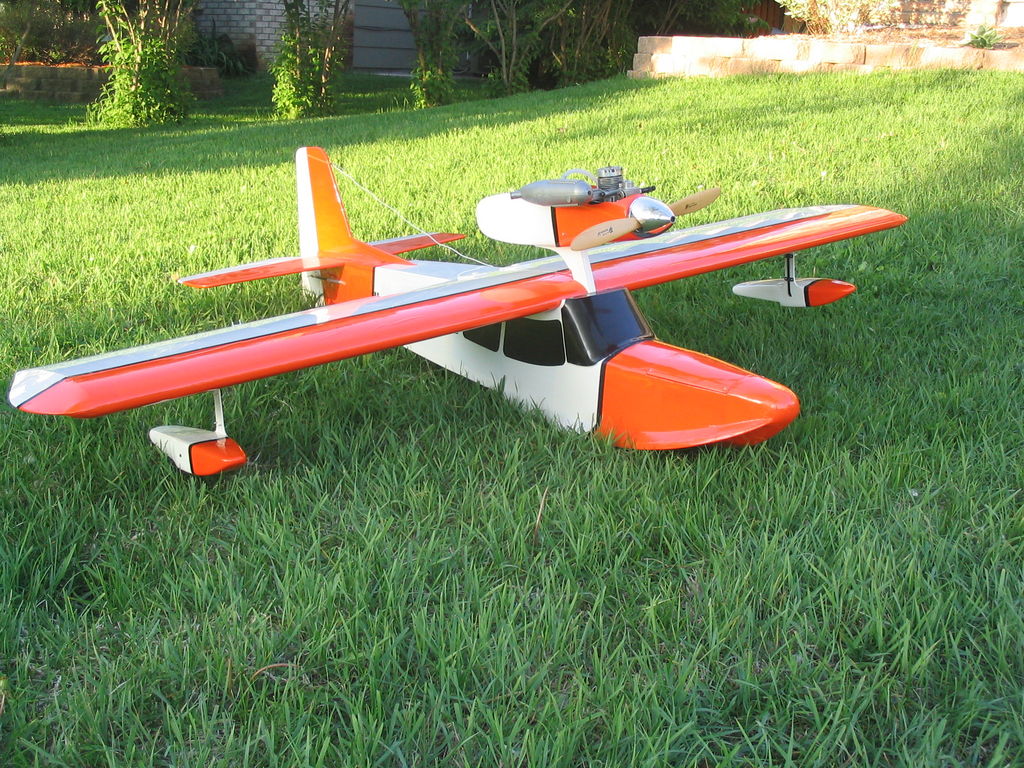
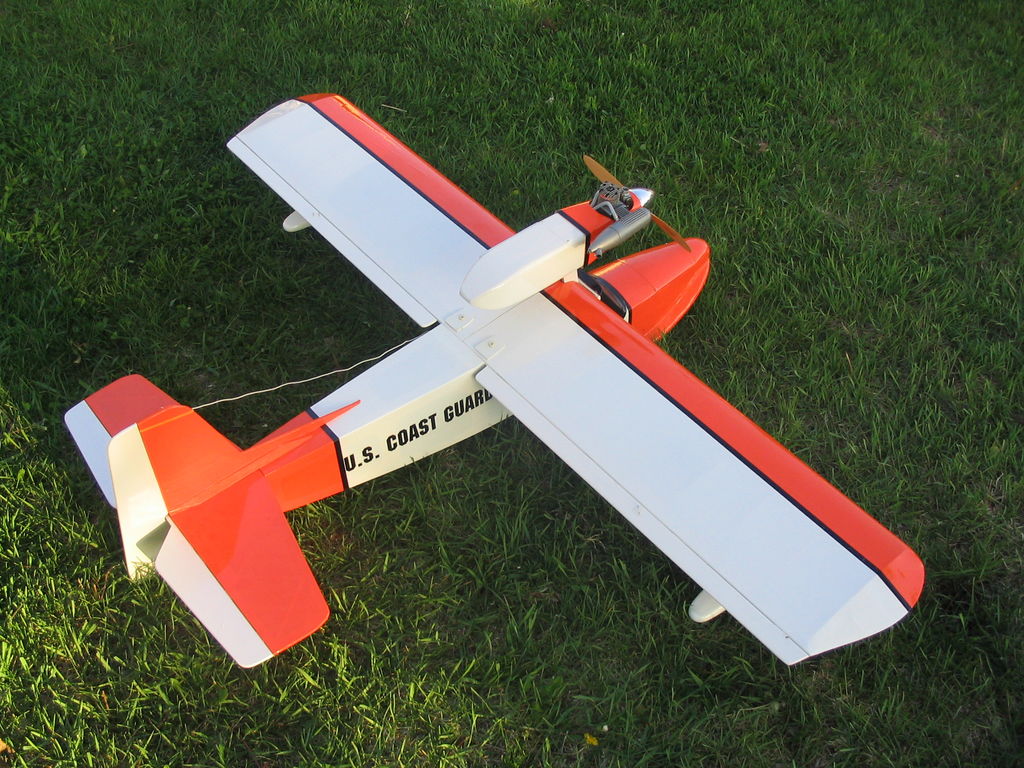
Here are some pictures of just the airplane.
IMG_1274
IMG_1275
IMG_1276
IMG_1277

IMG_1278
IMG_1279
IMG_1280
IMG_1281