Shrike 40 ARF
Lanier Shrike 40 ARF
Todo:
- Install 2.4Ghz receiver (?)
- Switch from 10×5 to 10×6 prop for more top end speed.
- I will probably leave the canopy off because it seems out of place, like they threw in a canopy because airplanes should have canopies, not because it looked cool or worked with the overall aircraft lines.
- I will not cut and install the cowl until I’m happy with my engine choice.
May 23, 2009 – Landing gear repaired
Today I did surgery around the landing gear mount. The left wing was the guinea pig. Not knowing the structure underneath I just had to start cutting away the balsa sheeting. My first attempt was unhelpful… I went in on the wrong side of a wing rib. But that told me what I needed to do to get in the right place.
It turns out the block of wood that the landing gear arm goes into broke free (it was very poorly glued by the manufacturer.) This allowed the main gear to rotate fore and aft. I fashioned a new block and glued it in more securely than the previous block.
I suspected the other side was starting to break free, so I made a smaller, more targeted cut into the right wing. It turns out that block was ok, but I gobbed some epoxy in there to make sure it won’t break.
It turns out I have the exact match checkerboard ultracote for the bottom of the wing so I was able to apply a covering patch that was almost entirely seamless. My hack job is now just about invisible and since it’s on the bottom of the wing, I think I will be the only one that will ever know. (Well besides you, although I don’t imagine anyone actually reads this stuff.) 🙂
She’s all ready to fly on the next nice day!
May 3, 2009 – Maiden Flight!
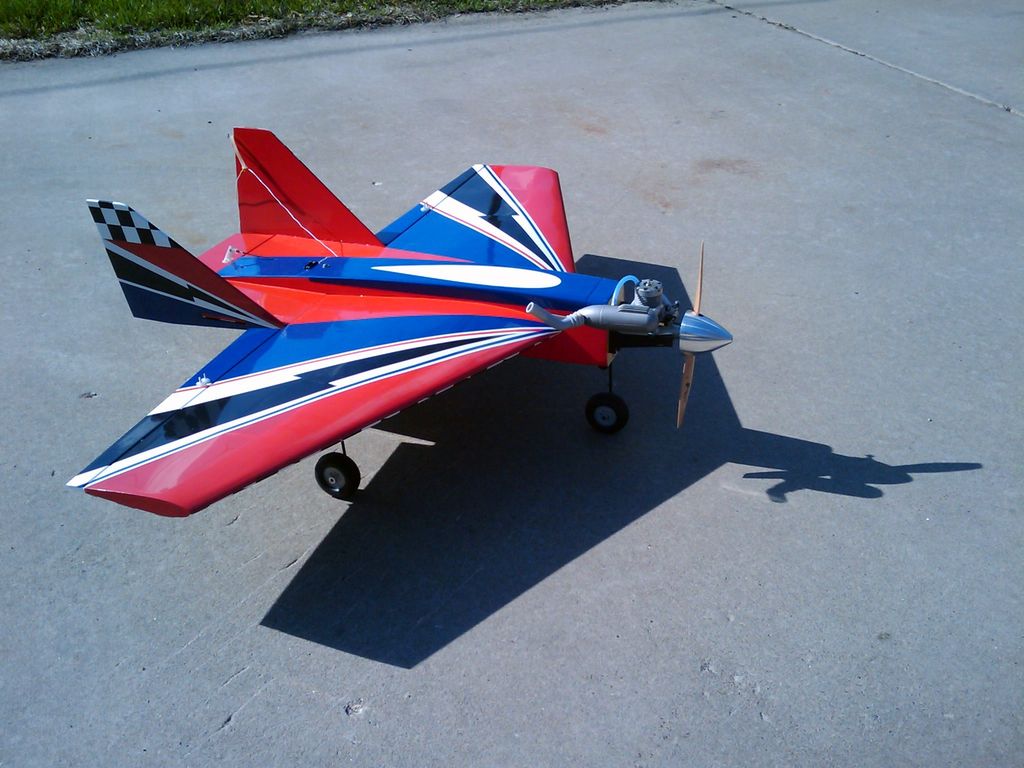
1241387631872
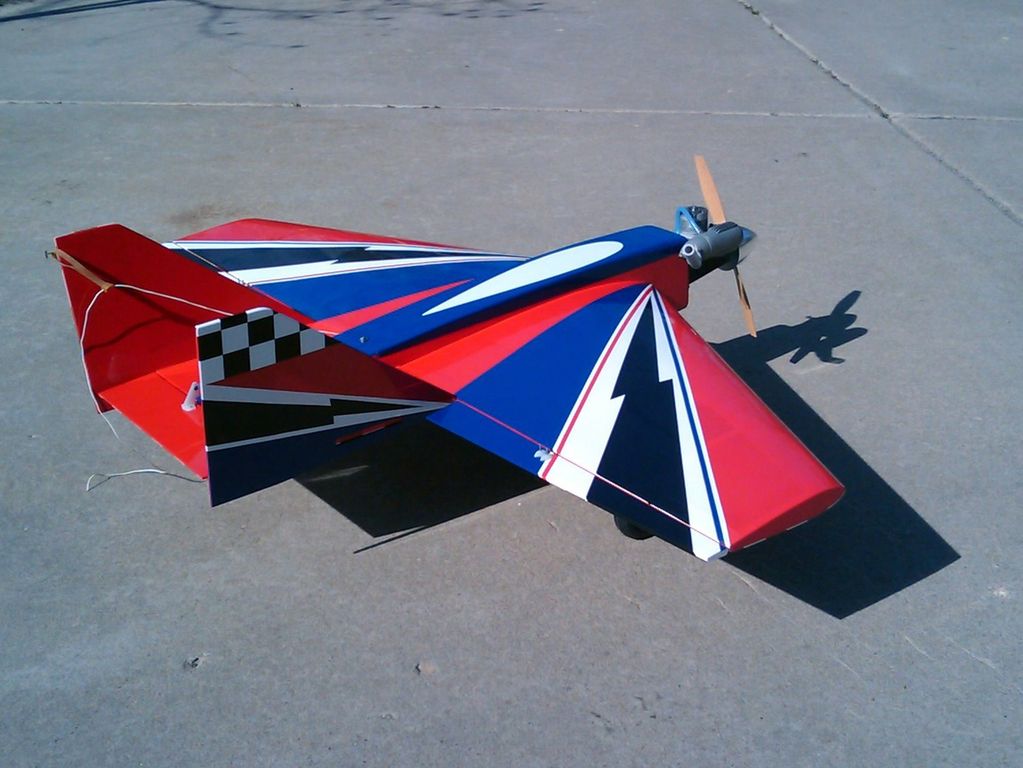
1241387651941
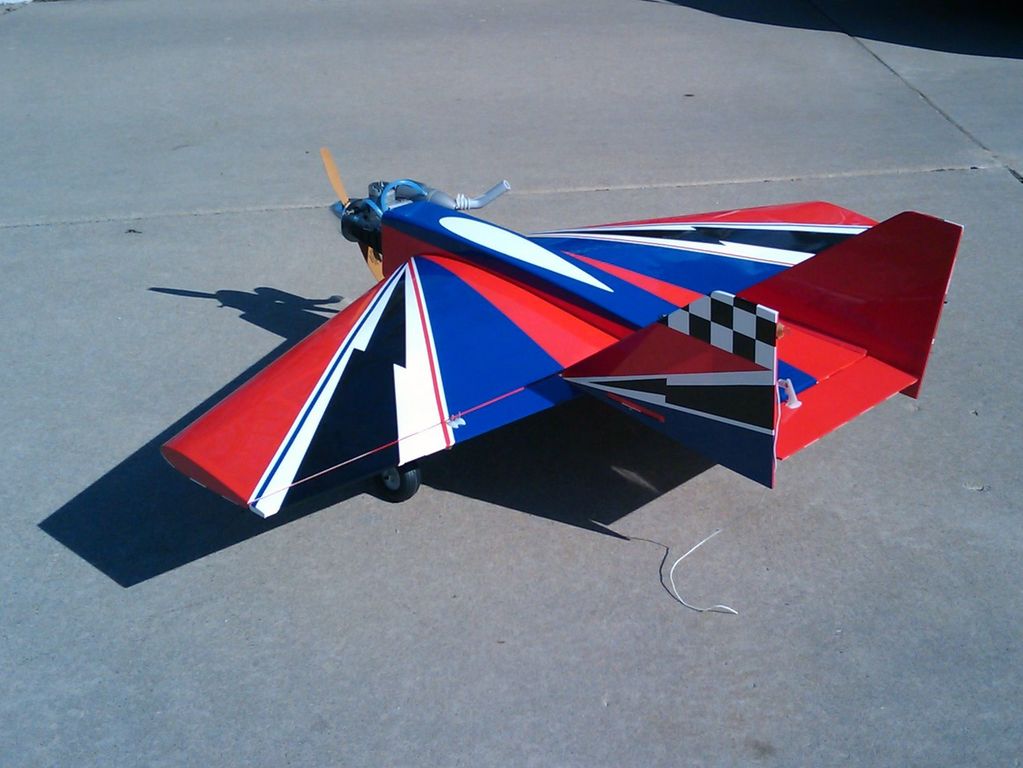
1241387672479 The girls sang in church this morning as part of their daycare, and then had a birthday party to go to in the afternoon. When we returned from all of that I did a few final checks on the airframe and decide it was ready to fly. I took a couple pictures at the house before I left (in case there was nothing to look at after the first flight.) Then I loaded up and headed out to the field.
The winds were gusting out of the west … almost a 90 degree cross wind, but I had come too far to let that get in my way. I fired up the engine for the first time, tweaked the mixture until I was happy, taxied out to the end of the runway, did a test taxi, turned around, did a full throttle run up again, hit the throttle, and blasted down the runway.
Wow! She flies great!!! A few tweaks on the trim and I was zipping around the sky. This is a scary looking airframe, but it’s not a big deal. It flies just about like any other sport/pattern aircraft I’ve flown, and it slows up nicely on landing without any noticable tendency to tip stall or do anything strange. It’s very stable and quick in the air. I love it!
Here’s a picture after the successful maiden flight:
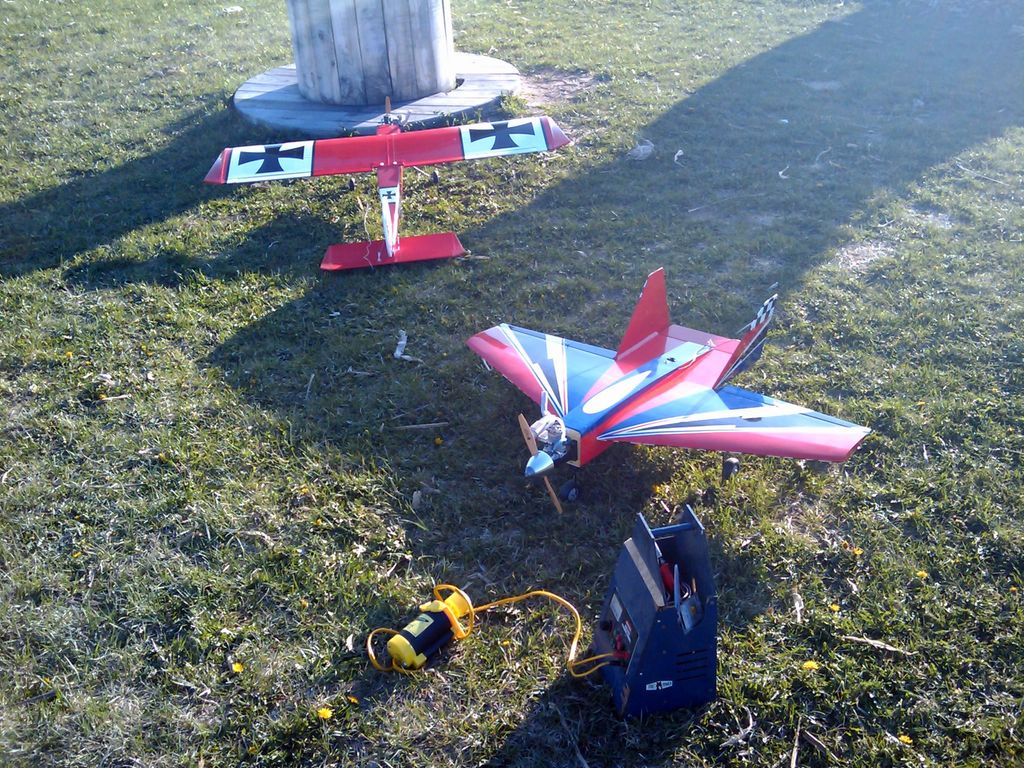
1241393085110
One problem I did encounter: The main gear hold down blocks in the wings both broke free … that’s annoying because all my landings were decent and on the runway. These are *really* weak. So now I’m going to have to cut into the bottom wing sheeting and secure these blocks … but at least it’s on the bottom of the wing where it will be less noticable.
April 28, 2009
Tonight I fiddled with the aileron linkages to make sure they work smoothly. I then adjusted the control throws and ranges and setup dual rates for aileron and elevator. I mixed in a little expo for ailerons … I’ve never tried that before … I hope I don’t regret it. I get a little buzz from my throttle servo … I’m hoping that goes away once the carb gets some fuel through it and unbinds a little bit. So what’s left? Secure the throttle pushrod housing, route the antenna, double check the balance, and then I think I’m cleared to visit the club field and run the motor. And if the motor runs well, there would be no reason not to taxi around the runway a bit, and if I get it taxiing straight, there’d be no reason not to taxi to one end of the runway, point it into the wind, shove the throttle full forward and see what happens … sort out the rest of it in the air.
April 27, 2009
Tonight I jumped in and did a bunch of little things. I installed all the remaining servos. I installed all the linkages. I installed the fuel tank. I installed the receiver and battery. I installed the top hatch. I did some initial testing of servo travel and direction.
April 18, 2009
Tonight I did the basic motor mounting. This involves aligning the motor with the motor mount and drilling the corresponding bolt holes. Step 2 involves aligning the motor mount with the firewall and drilling those holes. Finally, bolting everything together. The next step is to install the throttle, elevator and nose wheel servos and get the linkages mounted up. There won’t be much to do after that I don’t think. I’m installing a practically new OS 40 FP. This is an older engine model, but I can’t see any evidence that it’s ever been run? It should run real nice I hope! I can’t remember where it came from but it’s sitting in my parts drawer so I might as well try it. Worst case scenario, I guess I go out and buy a new engine when I have enough funds.
January 29, 2009
This is an ARF I picked up on the last day of the Toledo show, 2007. The sales person made me an offer I could not refuse. 🙂
This has been sitting in my basement for a while and I wanted to get it put together in the hopes that it would free up room to start thinking about building a kit. (By the way, the Shrike 40 ARF differs from the 40 kit in that it comes with landing gear standard.)
So far the assembly has been going really quick. I bought 2 JR standard BB servos for the ailerons. After having used Futaba gear all my life, I’m really impressed with how the JR servos sound. I don’t know if that means anything, but they should a lot more solid and high quality for some reason.
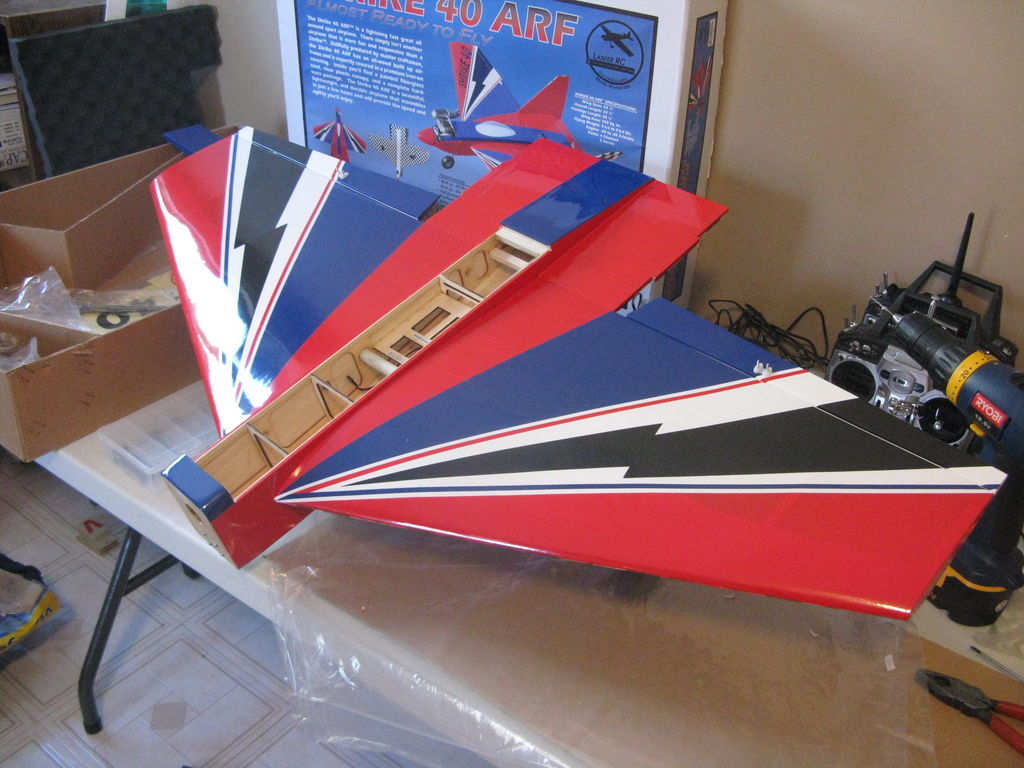
This is how it looks coming out of the box:
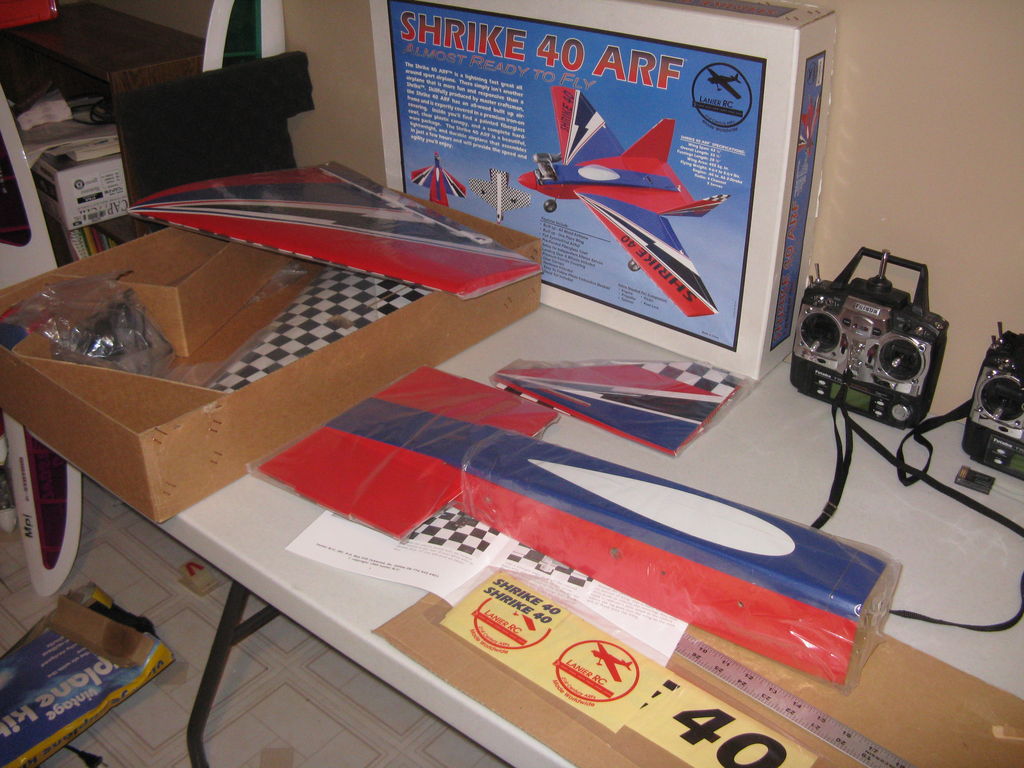
IMG_2942
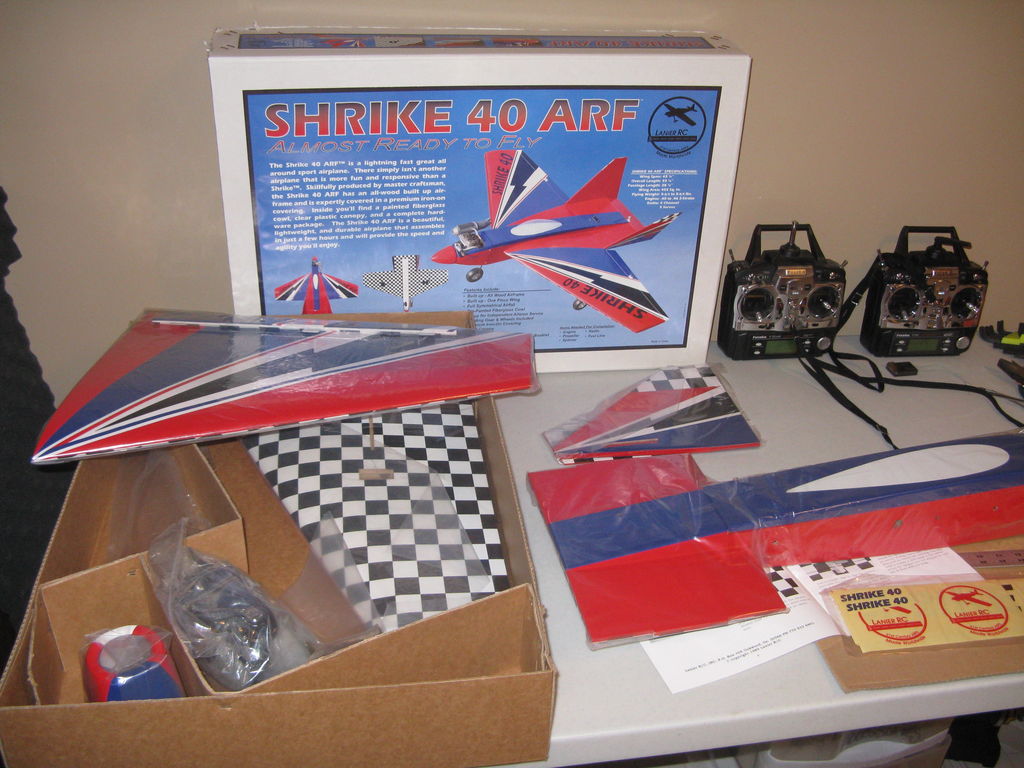
IMG_2943
Here the ailerons have been attached and the aileron servo installed:
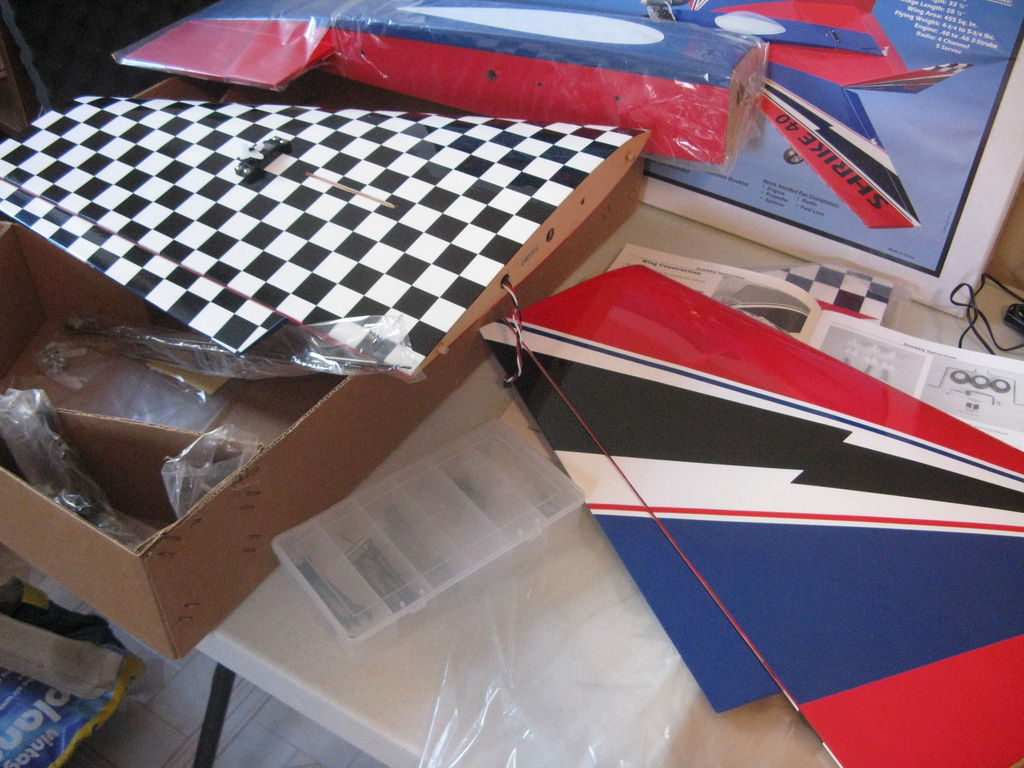
IMG_2944 Here the main landing gear has been installed:
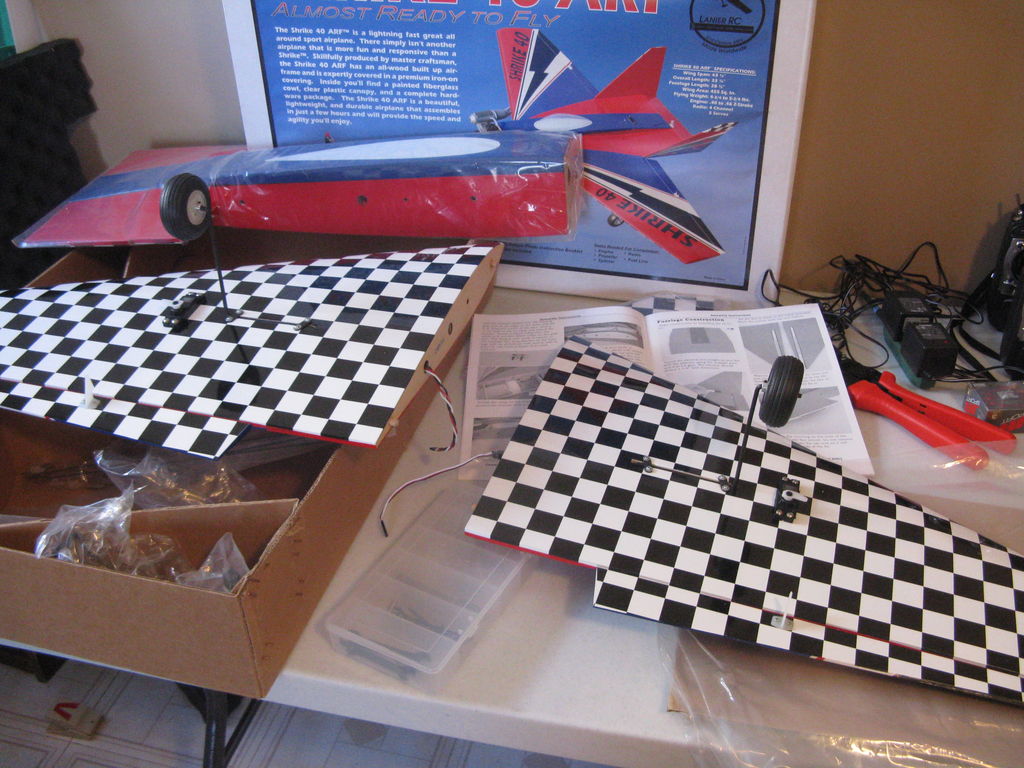
IMG_2945
After epoxying the wings on:
IMG_2946