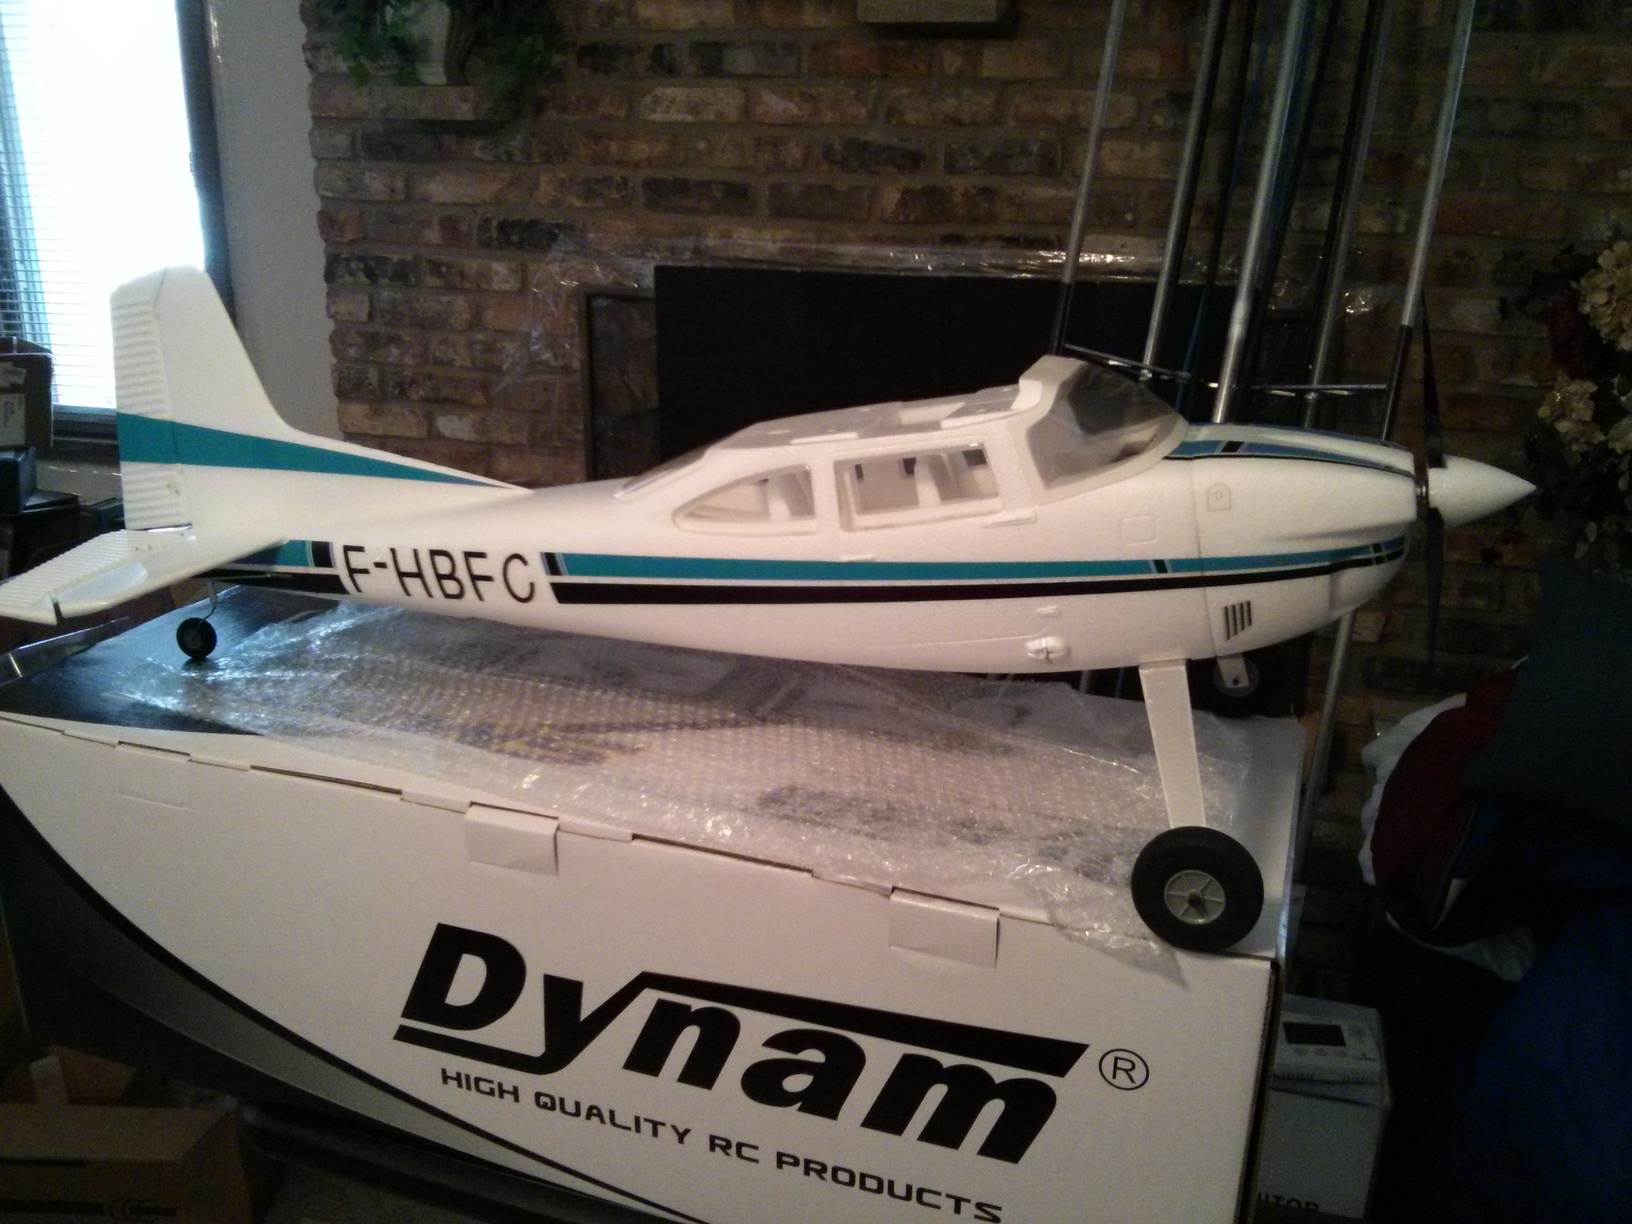
Aerosky 185 Build Notes
I was interested in the Aerosky Sky Trainer 185 because it looks a lot like a Cessna 185. It has the 185 tail and is setup as a taildragger. Technically the rear window is not correct for a 185, but there are a lot of things you could nitpick if you really wanted to go there. The other interesting aspect of this kit is that it includes a full set of float for water operations. I live near a little lake so I am hoping this will fly well off water on a nice calm summer evening.
In this post I simply want to hit the questions/issues I ran into with this aircraft.
Rear Fuselage Extension and Tail Surfaces
First off, the instructions say “glue” on the rear fuselage extension piece. I don’t hae a tip for getting this exactly lined up. I lined up the stickers exactly, but that put the horizontal stab out of alignment with the wing. Use a bit of caution and planning and measurement here. Maybe consider installing the wing first so you can align the tail with it.
The instructions do not say glue on the horizontal & vertical stabs, but they provide no bolts/washer so I assumed the only way to install them was with glue. That is fine, but the instructions seemed to imply something else. Again, I recommend bolting the wing on before gluing the tail surfaces so you can try as much as possible to align the horizontal stabilizer with the wing.
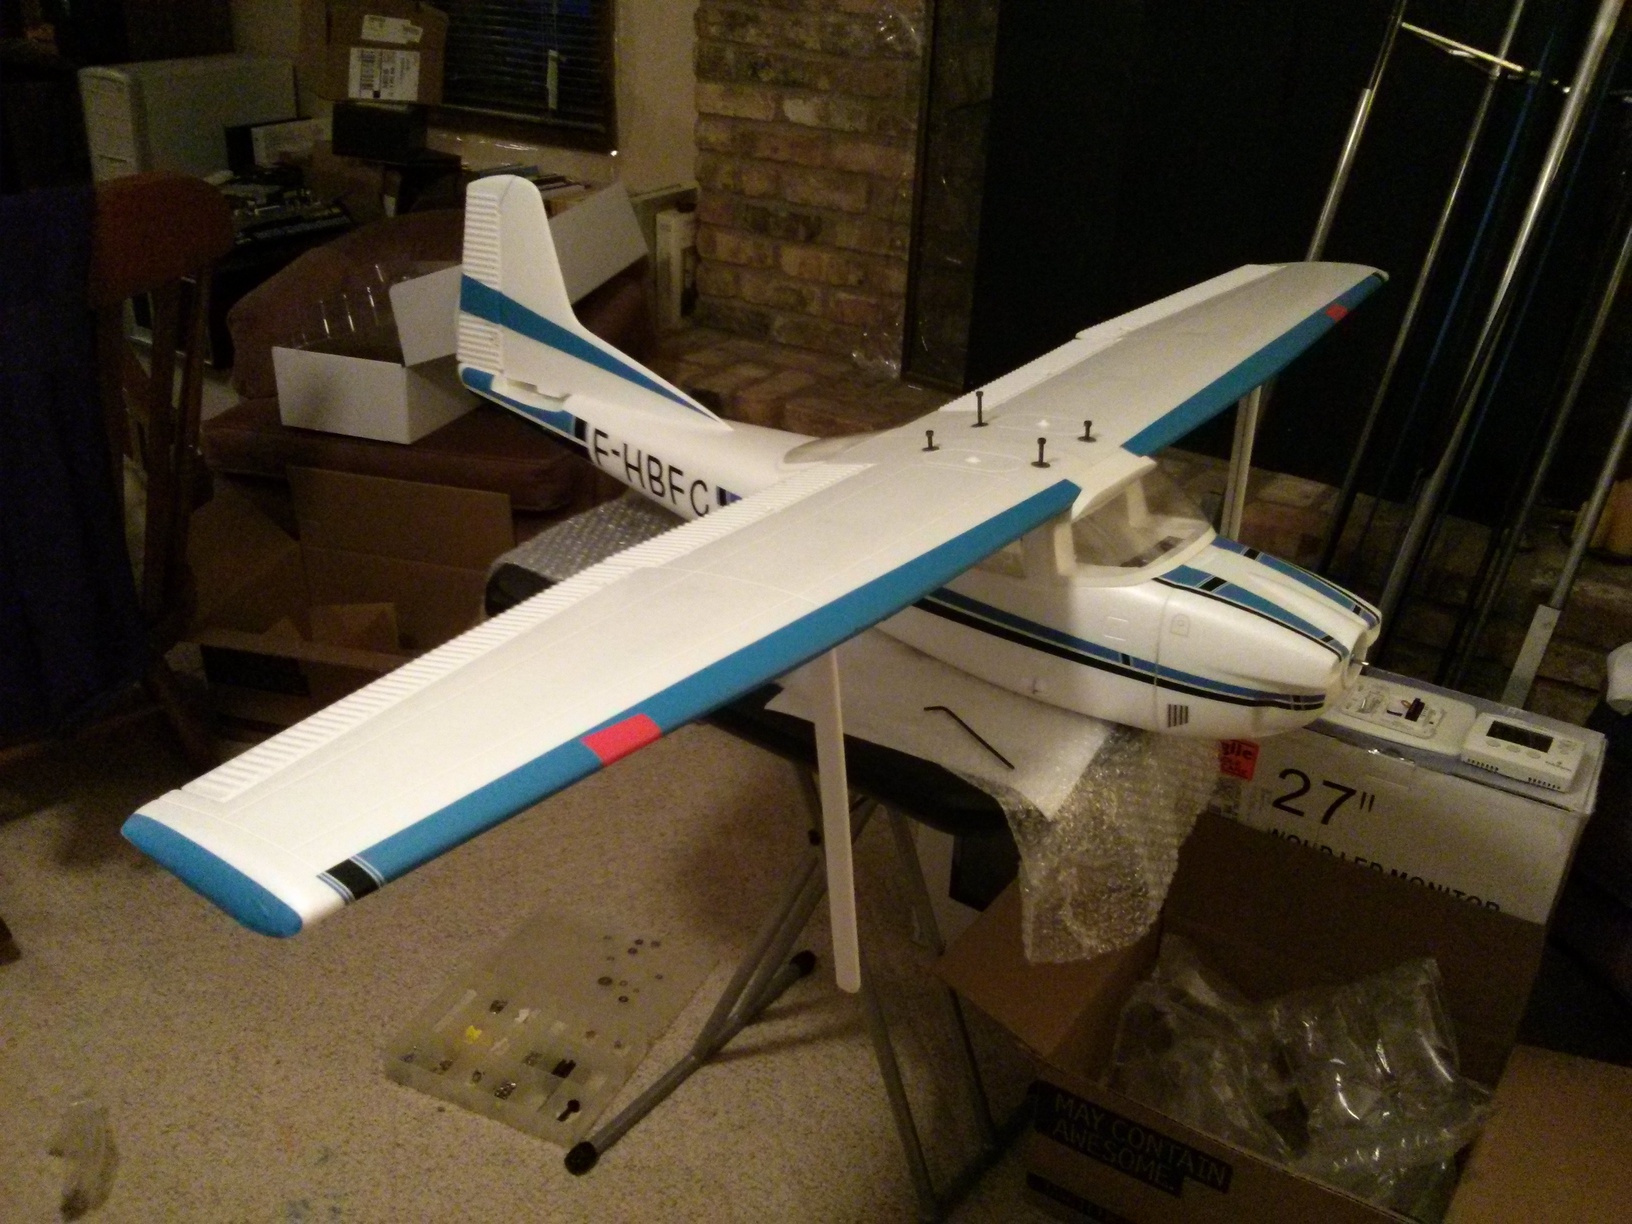
Now my biggest frustration so far is with the wing hold down bolts. Only one actually lines up well enough to get it threaded easily. I messed around quite a bit and I think I can get 2 more lined up, but the fourth is just really off kilter or something. The bolt tries to cross thread on the blind nut whenever I start it … frustrating!!!
Wing Mounting
I did manage to get the wing bolted on ok. The factory installed blind nuts did not line up well which made this a huge pain. I just had to fiddle with it long enough I guess. I managed to push out one blind nut in the process of try to get the bolt started which was a setback to the process. It took quite a while to get the bolt reseated, but I managed to get it all together in the end.
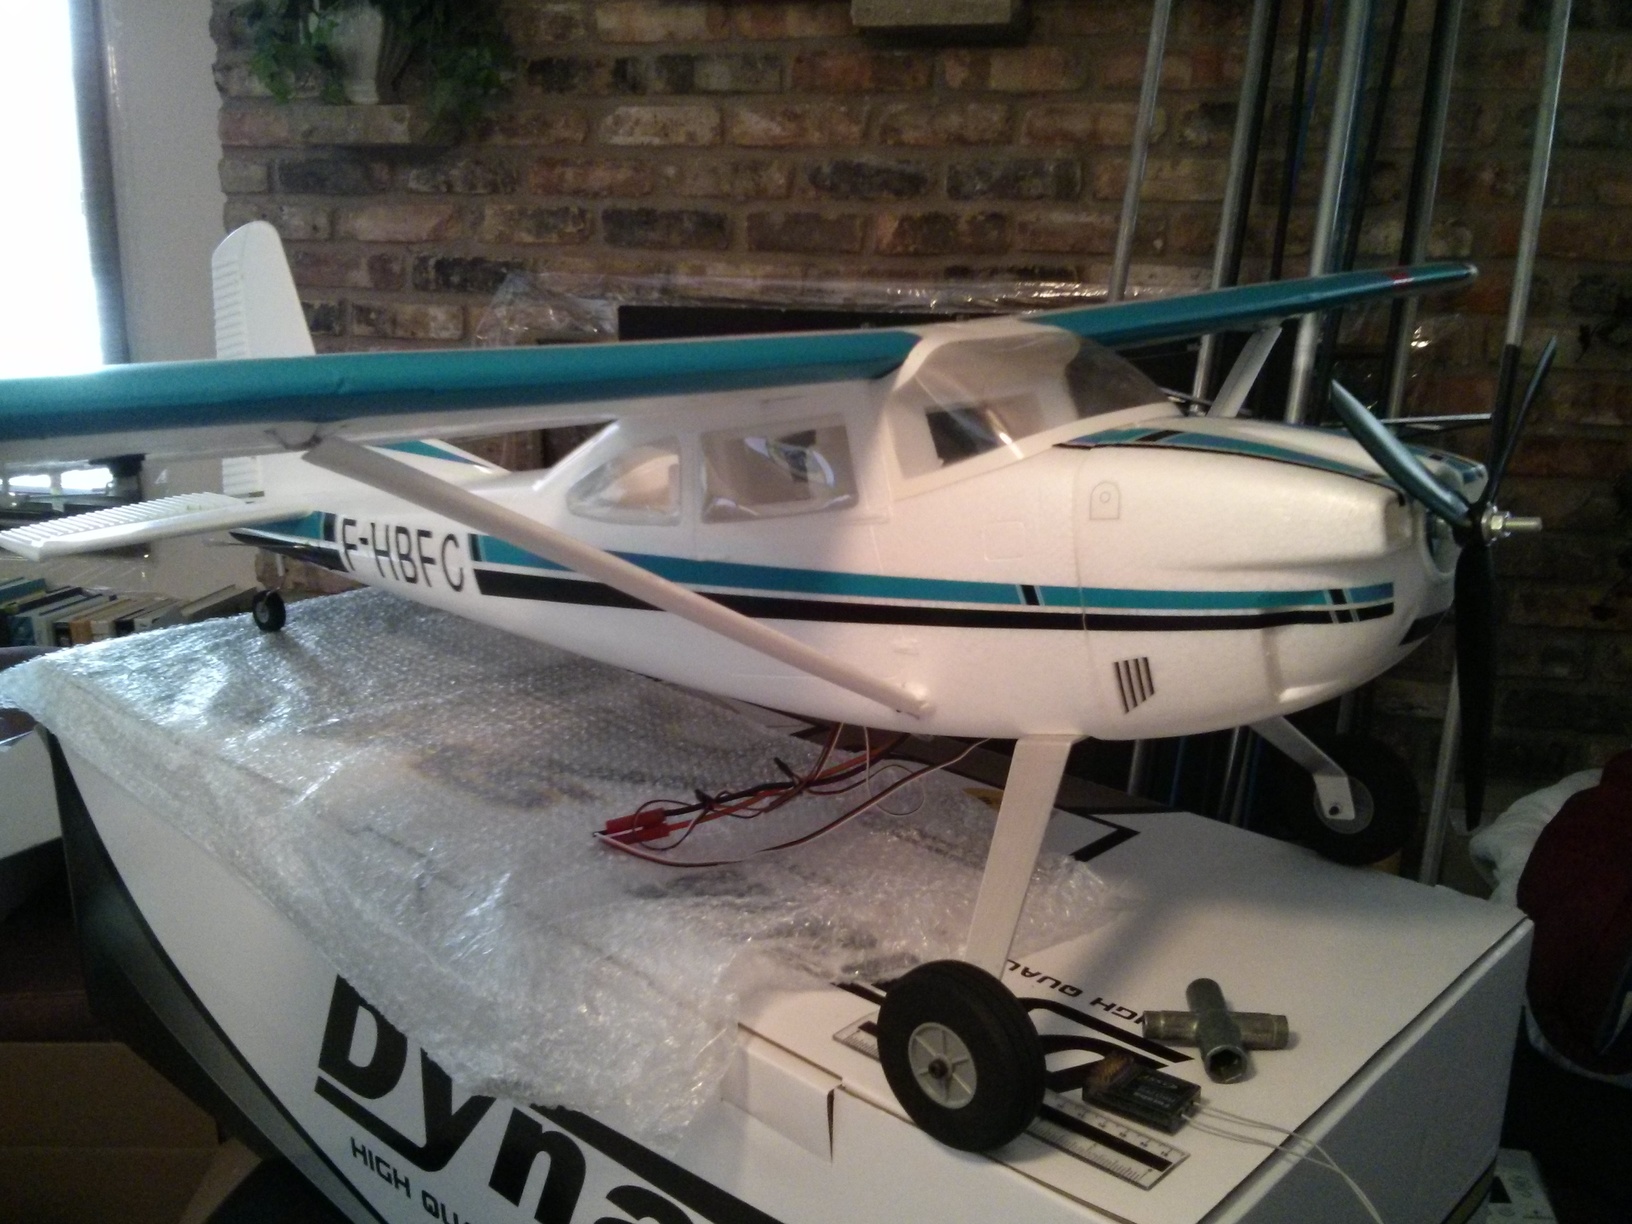
Power System
I’m not impressed with the quality of the 3-bladed prop … looks like cheap molded plastic. Anyone know the pitch on this so I can replace it with something decent?
I’m also not impressed with the glue on foam spinner. The instructions have you glue it on, and it takes quite a bit of fiddling to get it centered so it doesn’t wobble terribly when it spins. That’s another thing I’d love to replace eventually if I keep and fly this airplane regularly.
Pro-tip: Don’t glue on the spinner until after you’ve hooked up the ESC to the motor and have all your wiring tested and tucked away.
Landing Gear
The landing gear and control linkage installation has been straightforward … no major gripes there. In the online videos I didn’t like how nose down the aircraft sits on it’s floats. I noticed the extra gear provided with the floats is a bit taller than the main gear to account for the fuselage being a bit more slender as you go rearward. I swapped these and used the bigger part for the front in hopes that this will help the aircraft sit a bit more nose up (scale-like) on the floats when I finally attach them.
I think this airplane will be ok. It’s not high on the quality or fit & finish scale, but it was relatively cheap and on clearance. I think it will look good in the air and from a few feet away. Just don’t get out the microscope or start nitpicking too much.