Sig Rascal 110 #1 Construction
Sig Rascal 110 #1 – UMN UAV Project
img_2541
Project started March, 2005.
I am involved with the University of Minnesota Aero Dept. on a UAV project. My part of the project involves assembling the airframe as well as being the chief test pilot.
November 3, 2004.
It appears that our small UAV project got funded here at the U of MN. Hooray! I get to be paid (for a short time) to build and fly R/C airplanes. We plan to purchase our first hardware in early February ’05 and immediately work on assembling and test flying the airframe .
February 24, 2005.
U of MN UAV project update: We have done the initial airframe, engine, and R/C gear order. A couple items were backordered so we don’t have any fun toys to play with quite yet. The airframe will be a Sig Rascal 110 running an OS 1.6 2-stroke engine. Initially we will hand fly it (perhaps using an onboard camera rather than direct line of sight?) but eventually we will develop autonomous capabilities as well.
April 4, 2005.
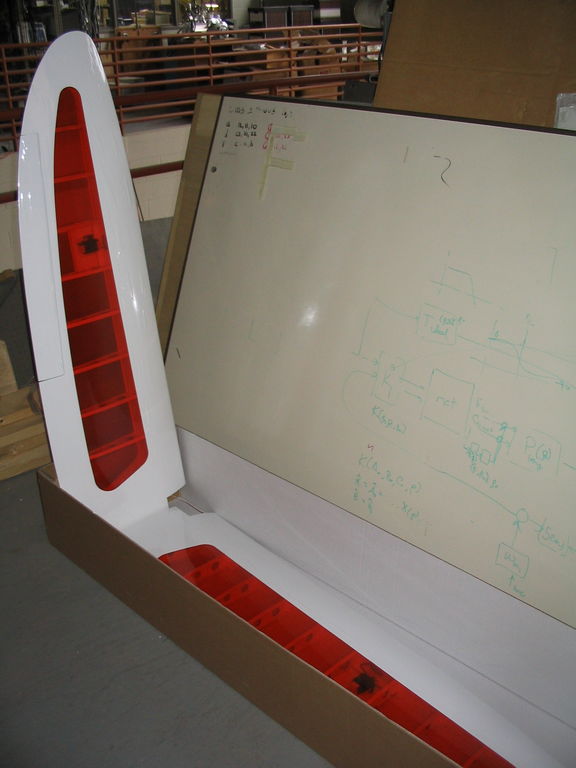
Installed ailerons, aileron servos, linkages, and routed servo leads. The wings are essentially complete. Here are some pictures of the different pieces:
img_2420
img_2421
img_2422
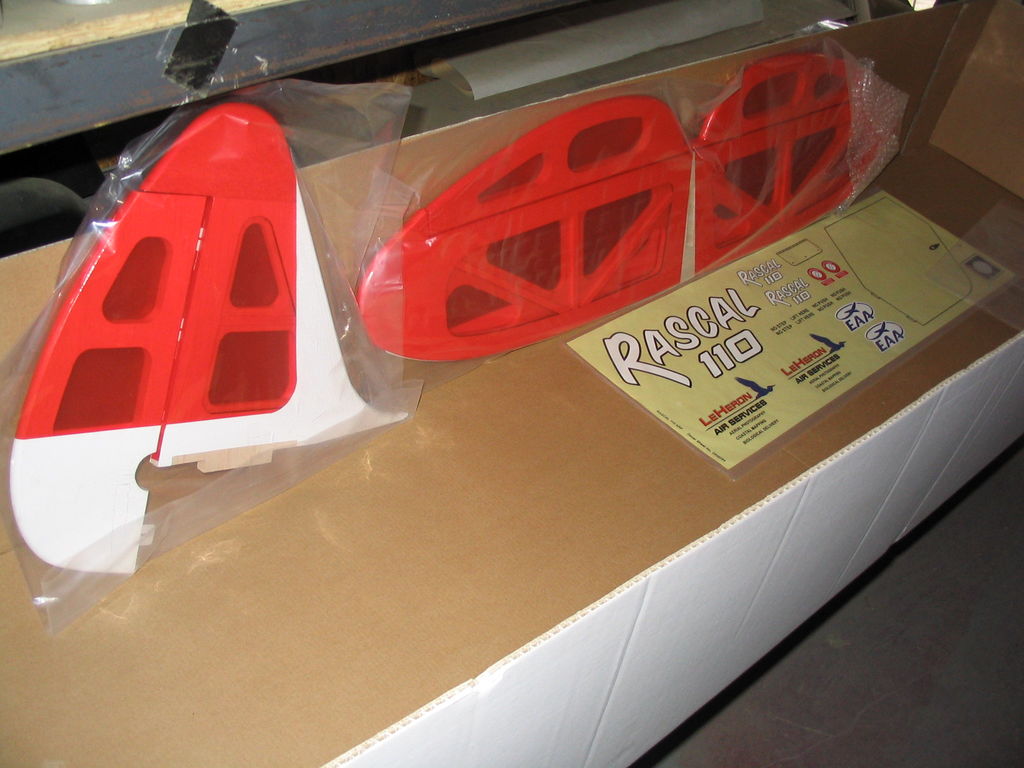
img_2423
April 6, 2005.
Here are a few pictures of some of the toys hanging around the Aero work shop:
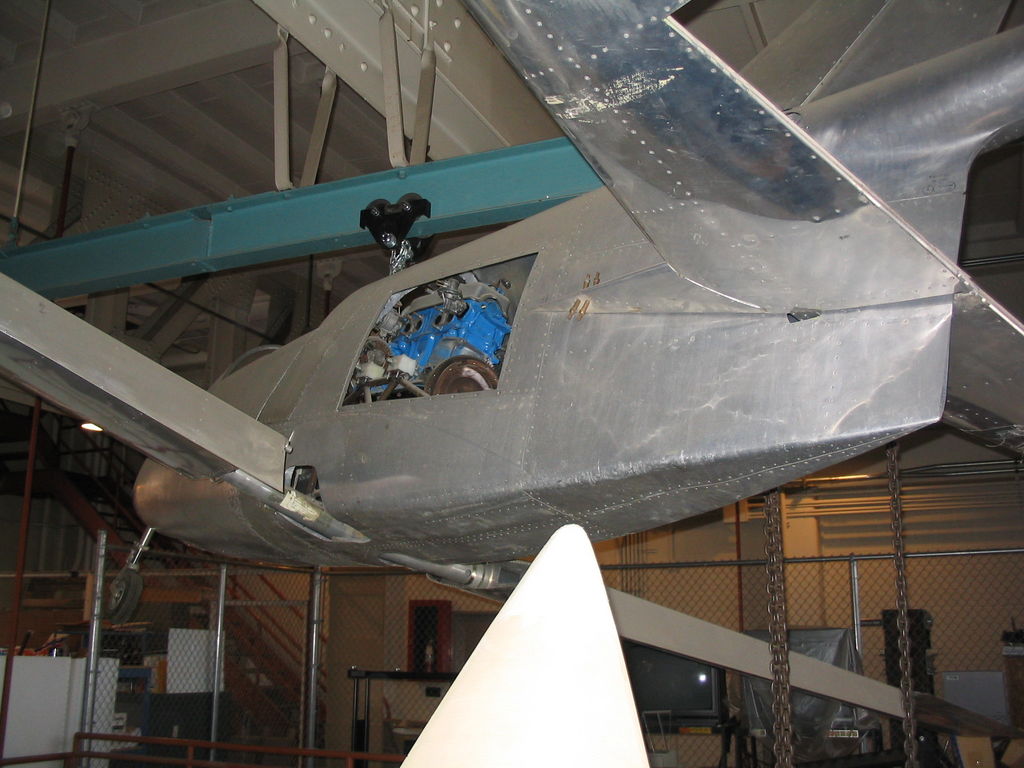
img_2417
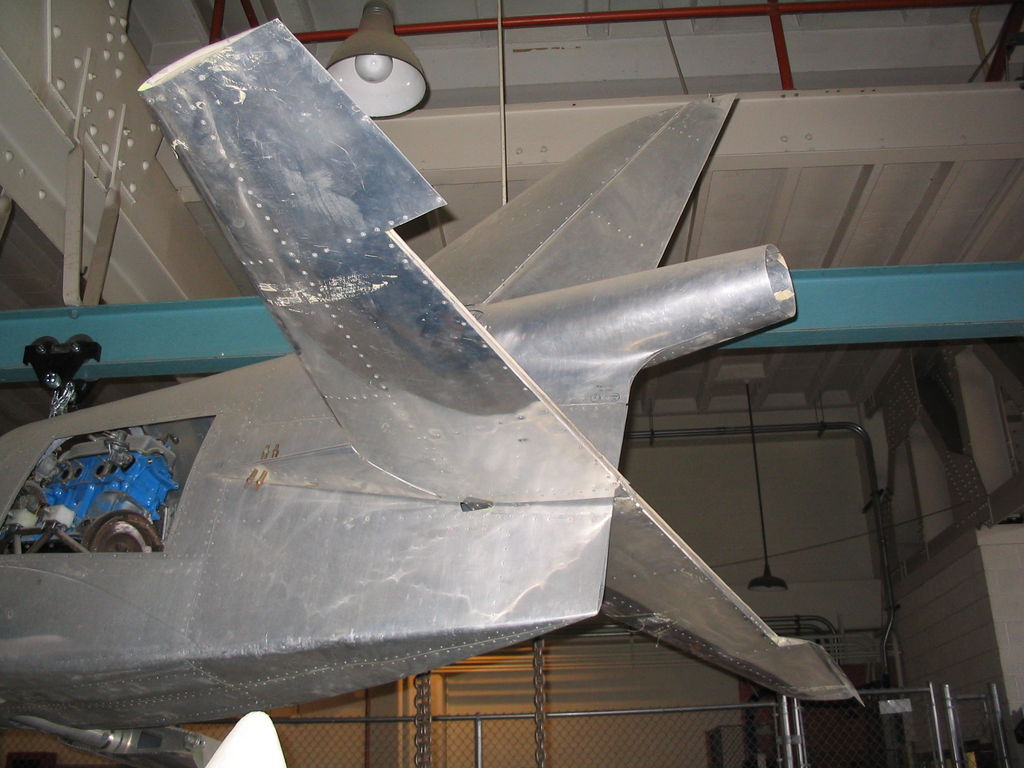
img_2418
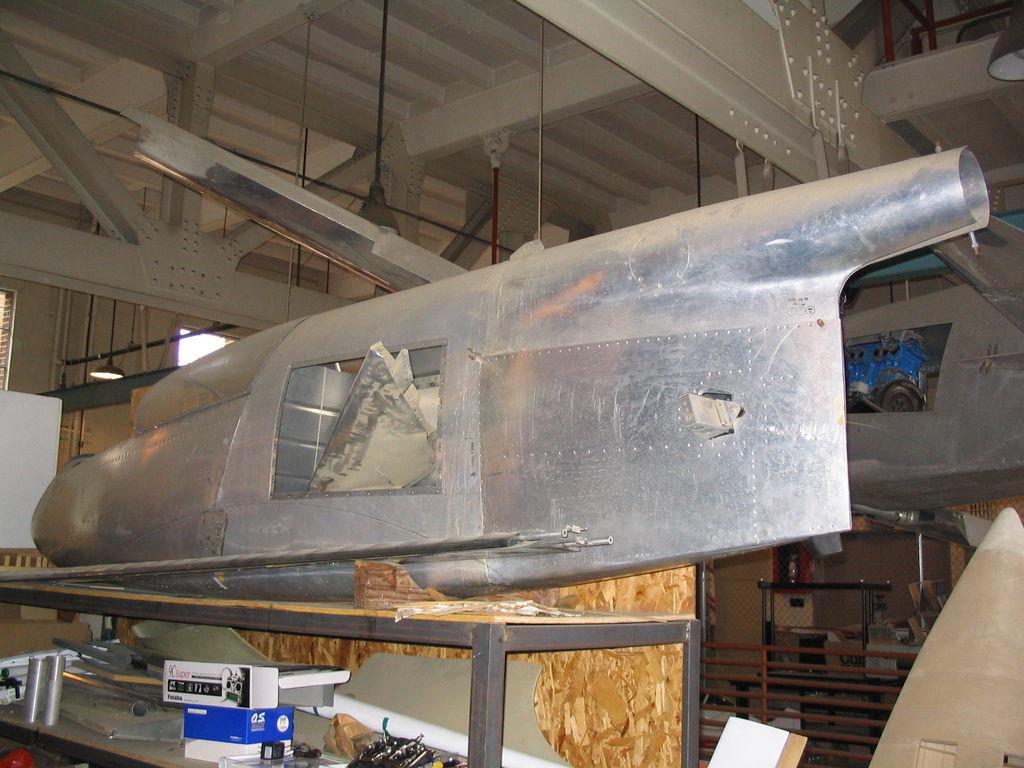
img_2419
May 2, 2005.
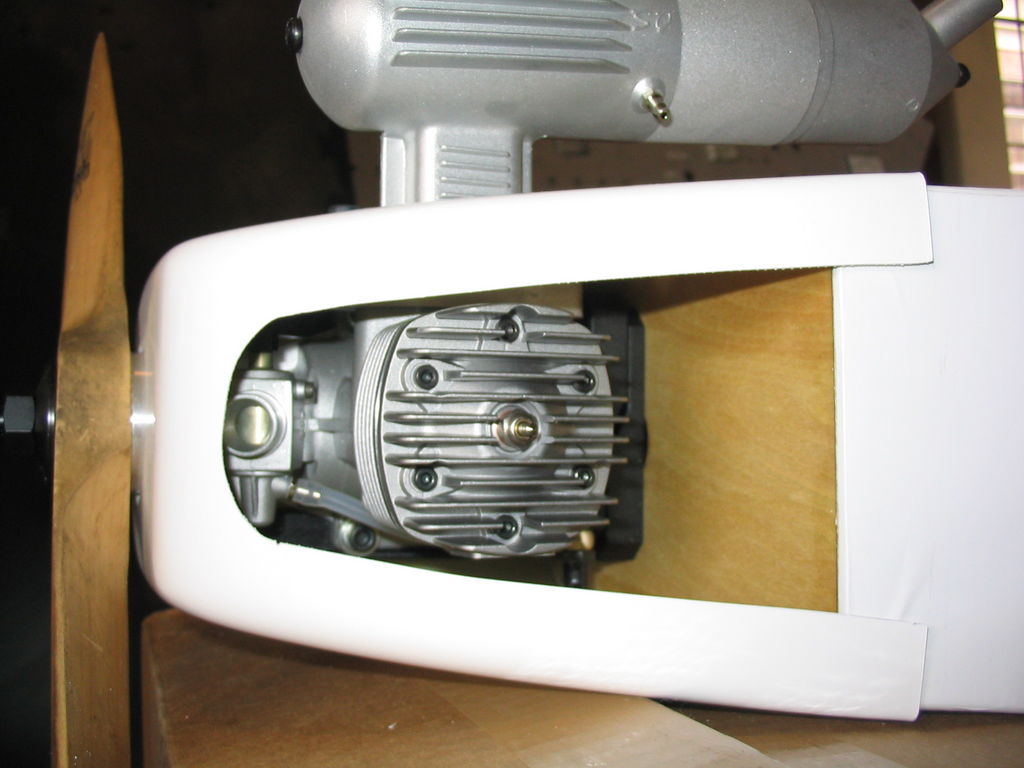
Installed OS 1.60 engine into the Rascal with special ordered beefier engine mount.
May 4, 2005.
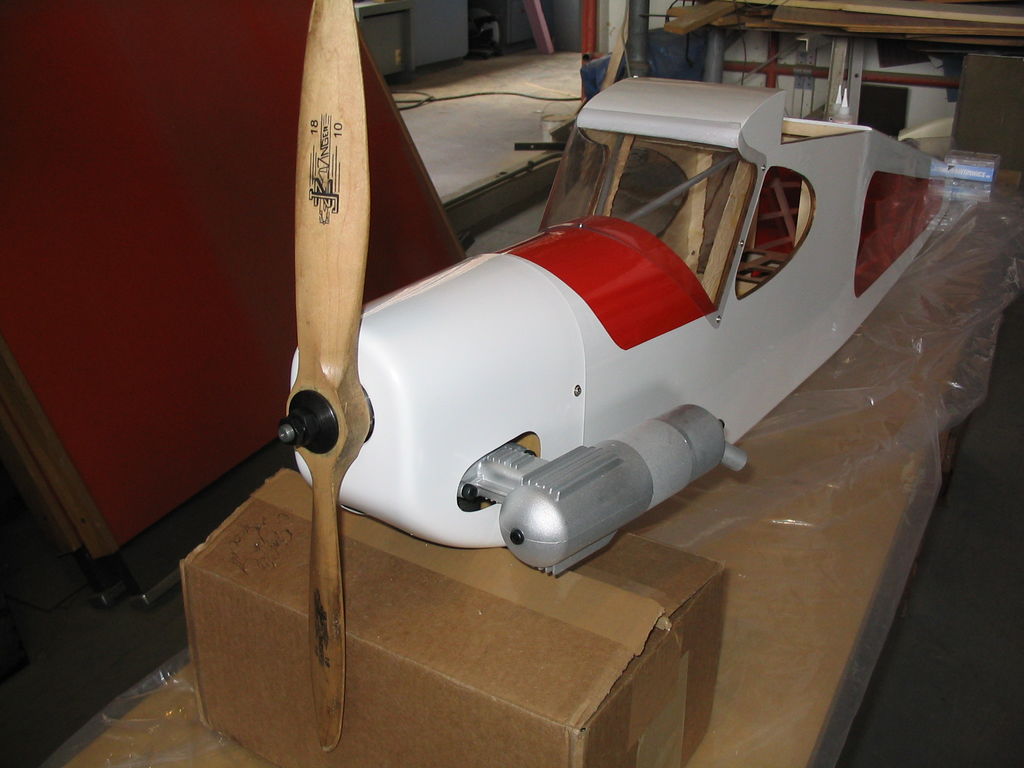
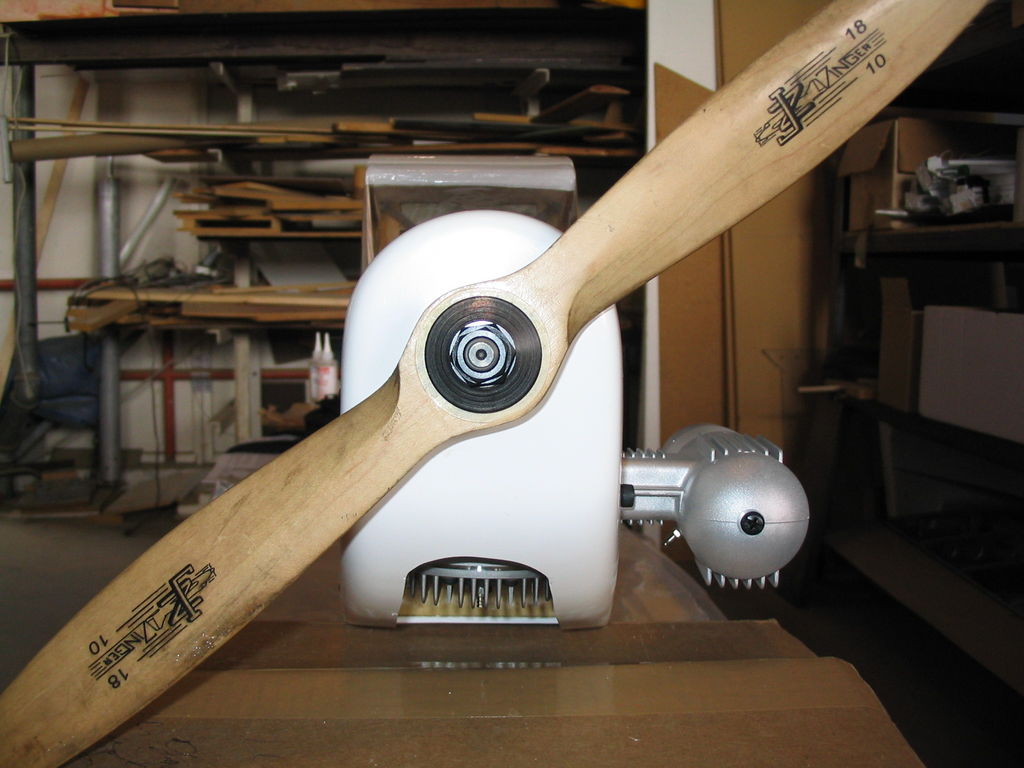
U of MN UAV project update: I cut, fit, and installed the cowl today. I found an 18×10 prop (in the recommended range) floating around the lab and slapped it on temporarily. Yikes … it is big! I will have to make one more opening for the mixture adjustment. It looks like we will need to special order a spinner for this beast. I also took a heat gun to the wings and fuselage and shrunk out most of the wrinkles.
img_2468
img_2469
img_2470
img_2471
img_2472
img_2473
May 6, 2005.
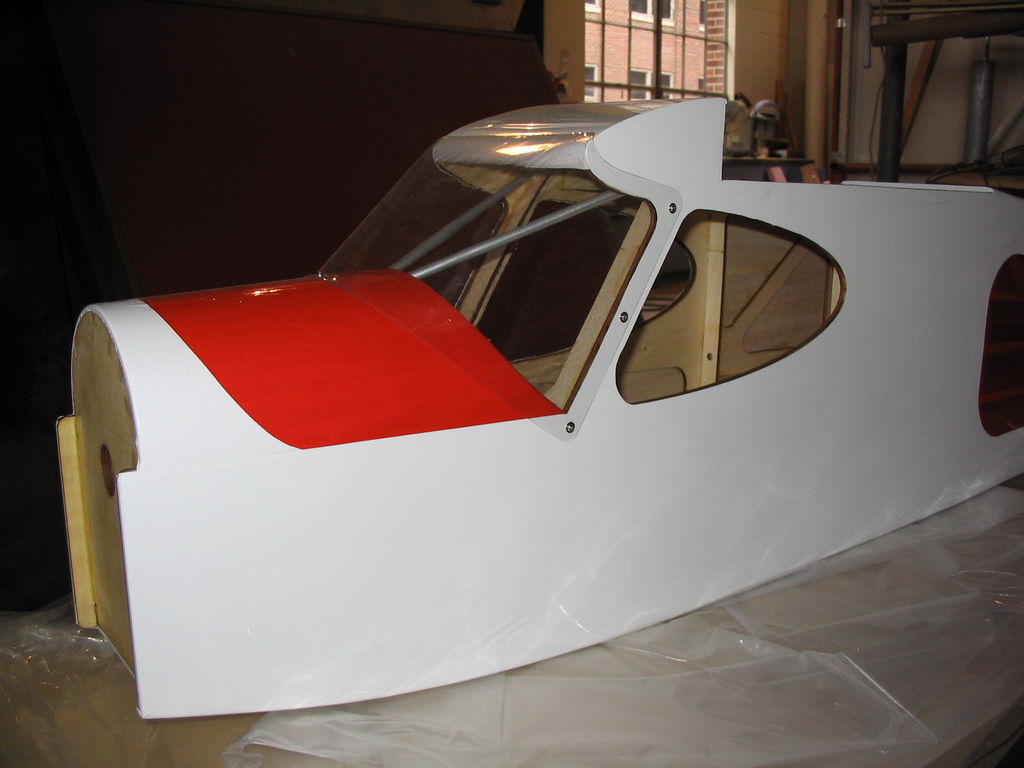
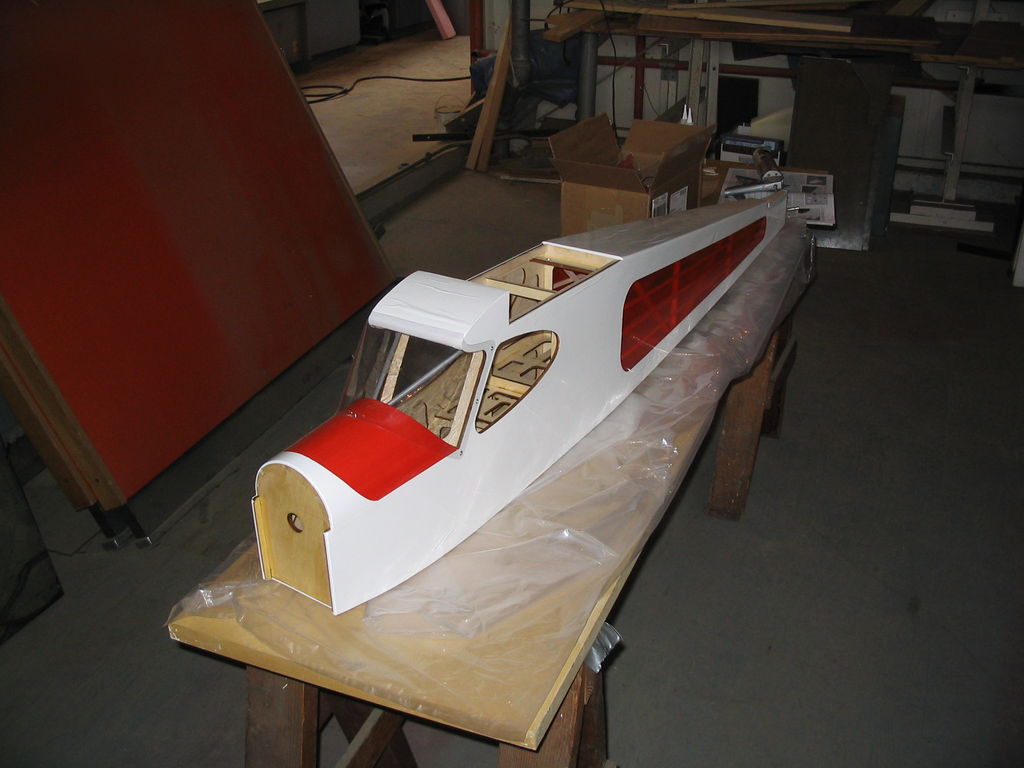
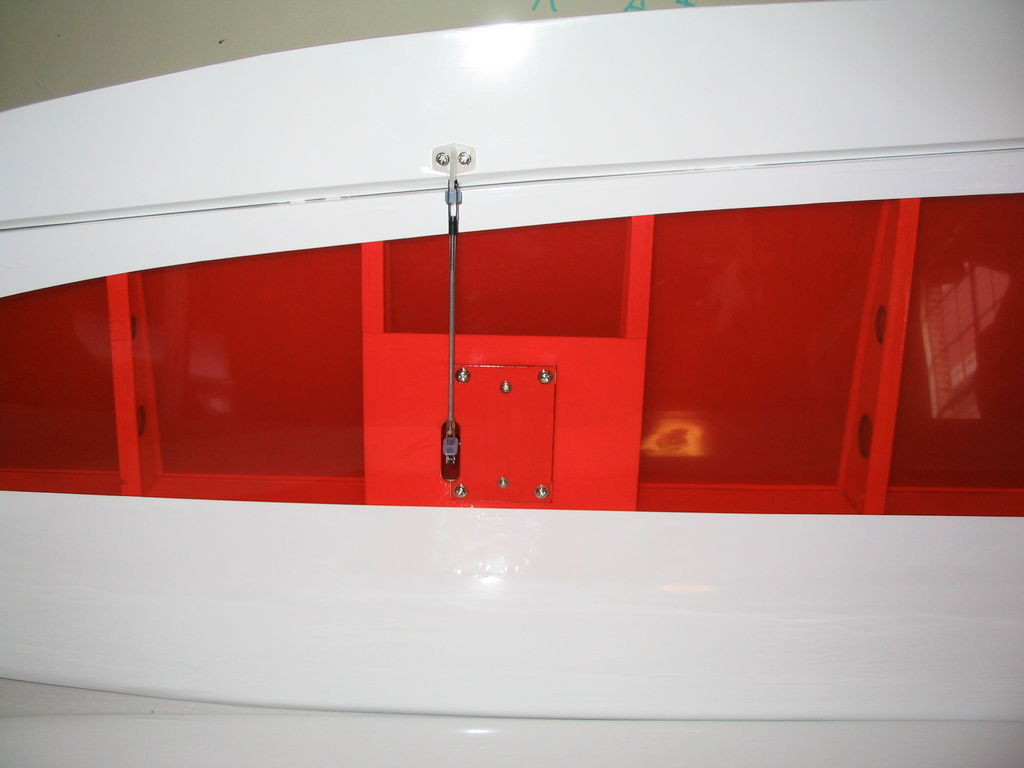
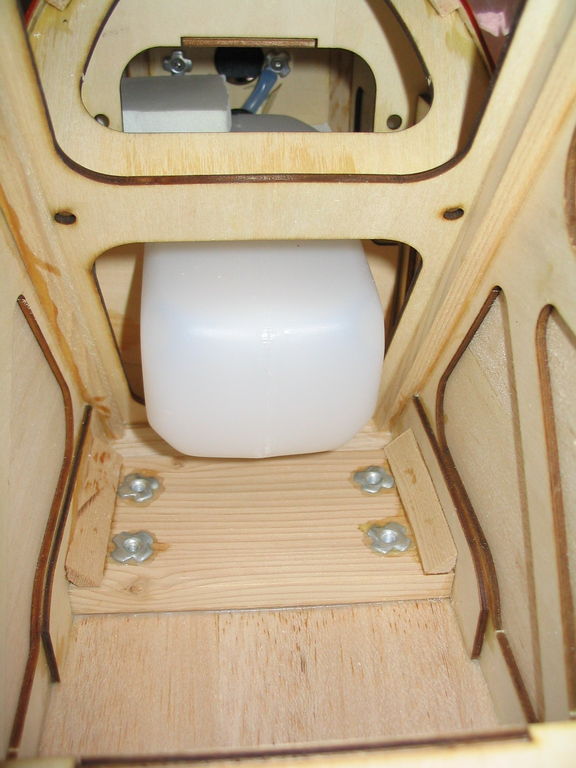
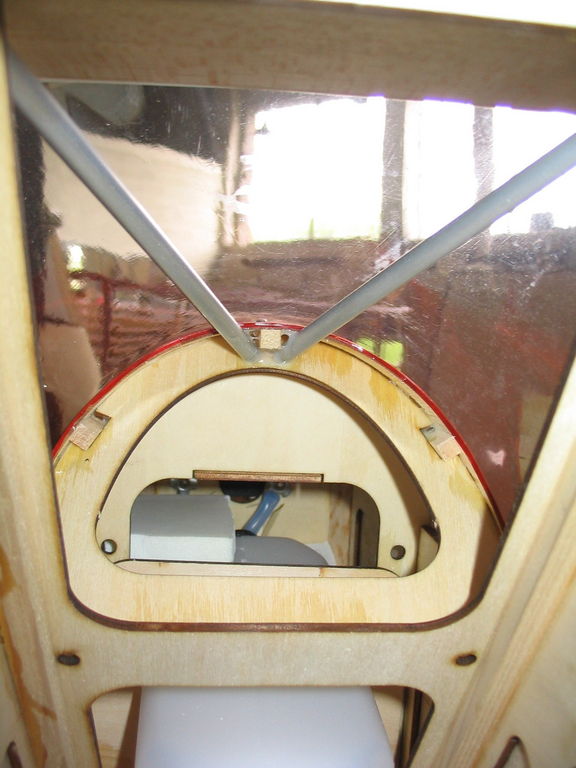
Today I bought a larger tank (24oz) than stock and fit it. I haven’t locked it in place yet, but that’s [hopefully] a quick thing. I also glued in the fairings which provide a bit of extra support for the horizontal stabalizer where it attaches to the fuselage. Next up is installing the elevator and rudder servos in the tail. Here are a couple pictures from inside the cabin.
img_2512
img_2513
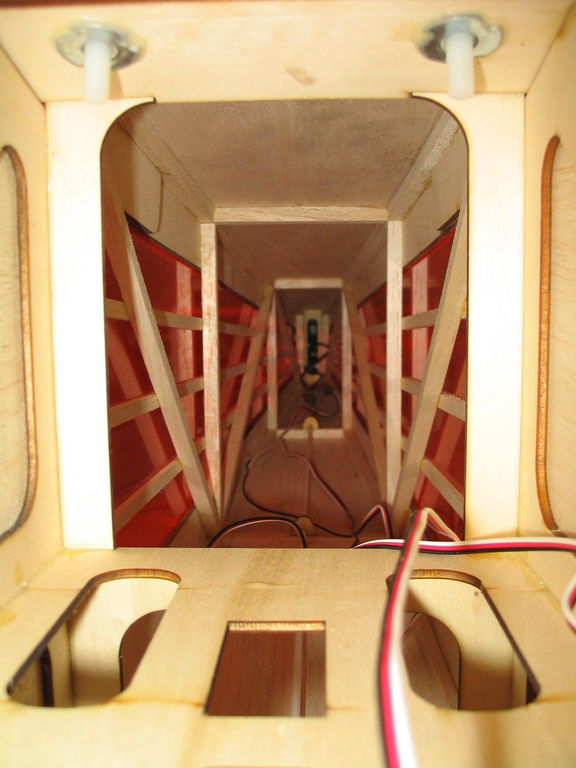
img_2514
May 9, 2005.
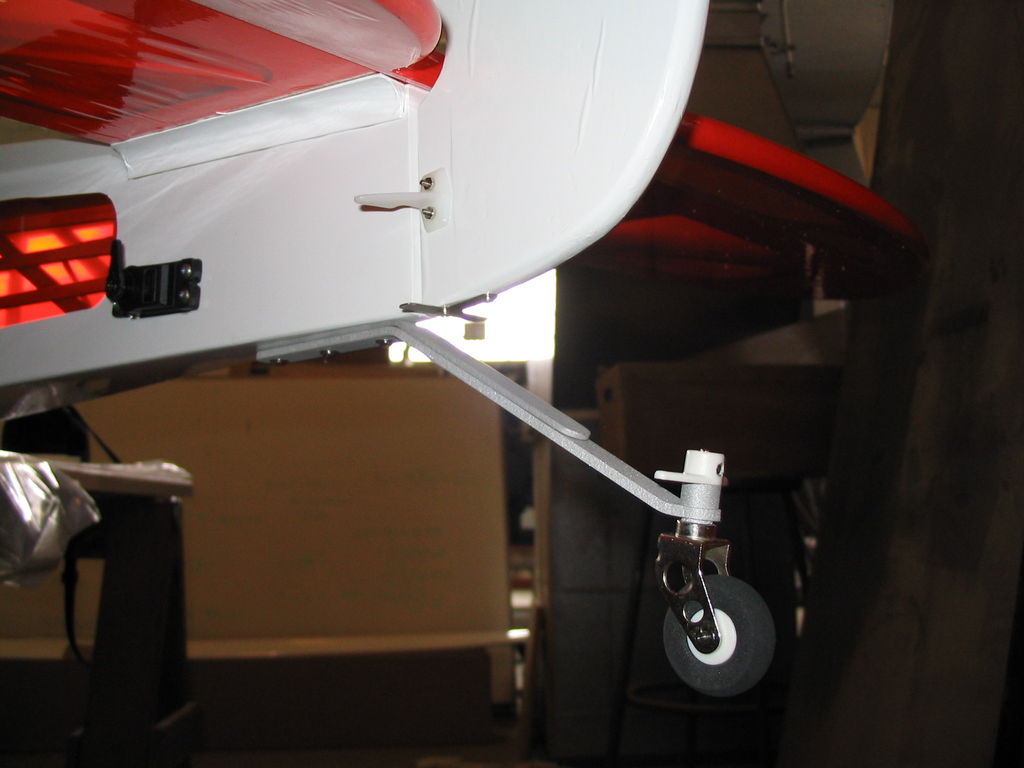
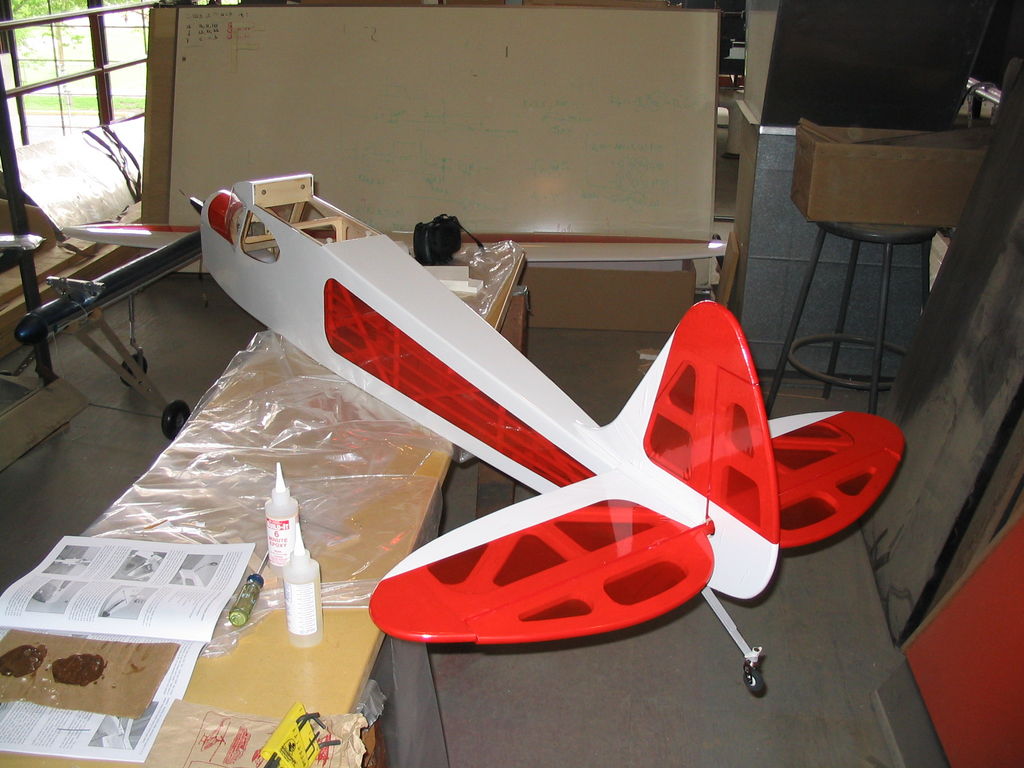
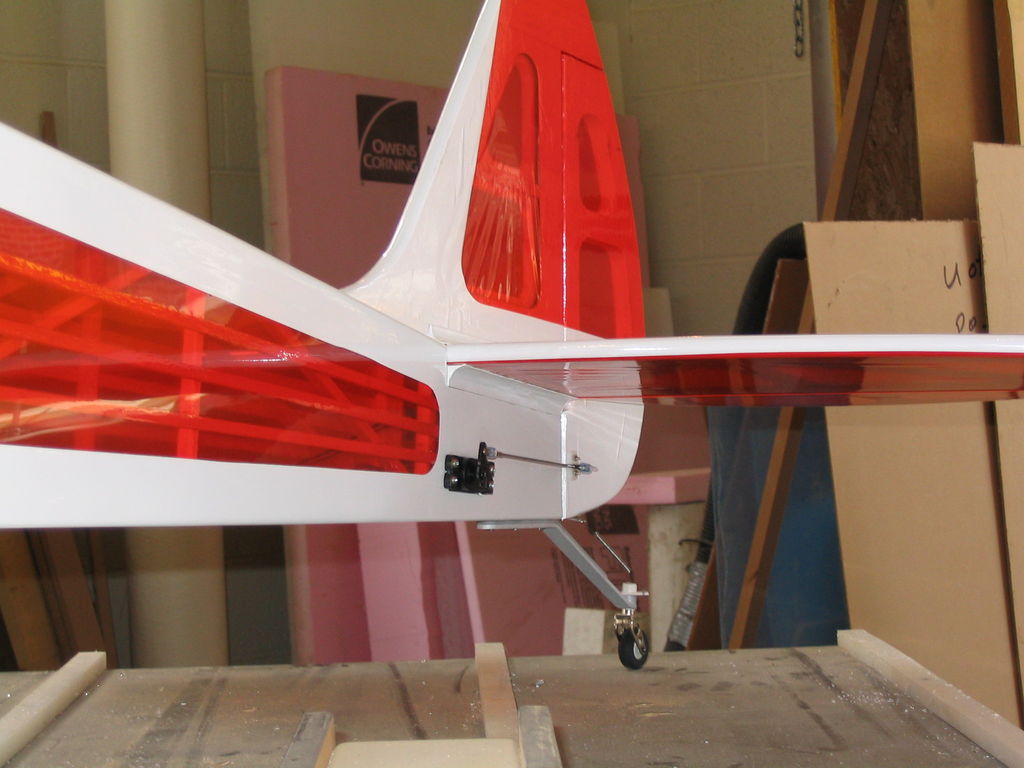
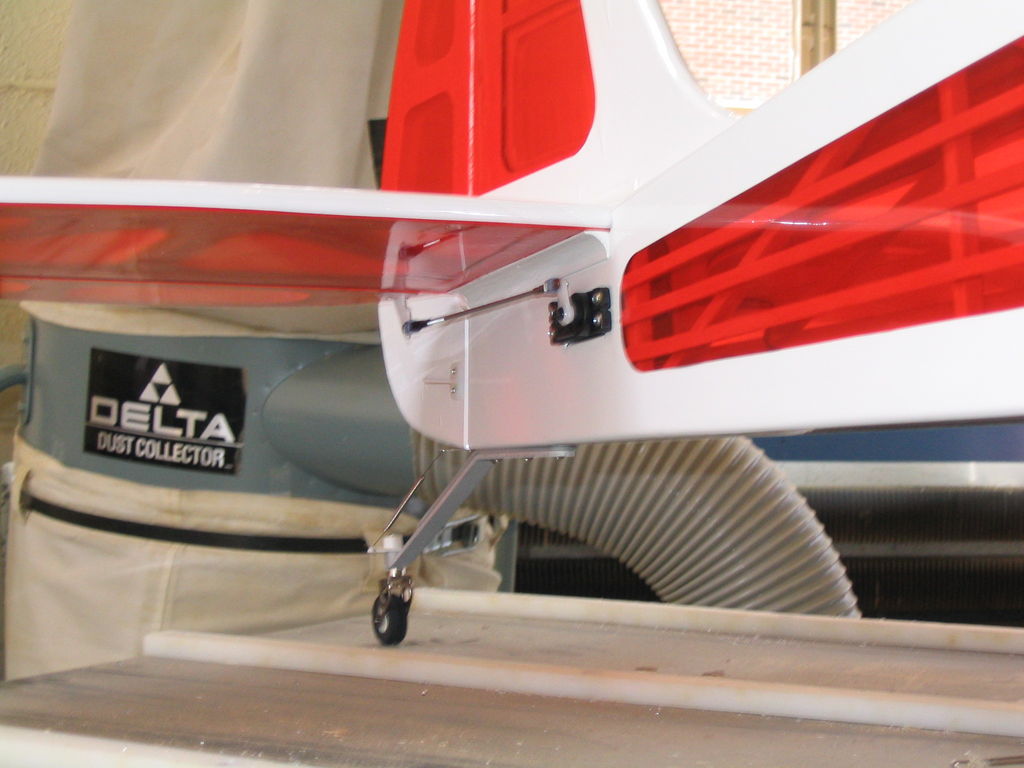
Today I installed the rudder and elevator servos in the tail of the Rascal. This minimizes the length of the linkage used (thus reducing slop and the risk of flutter.) I then attached the horizontal and vertical stabalizers and the additional two fairings on the top side of the horizontal stab. Then I attached the elevator, tail wheel, and finally attached the rudder. Next up is the rudder and elevator linkages.
img_2508
img_2509
img_2510
img_2511
May 10, 2005.
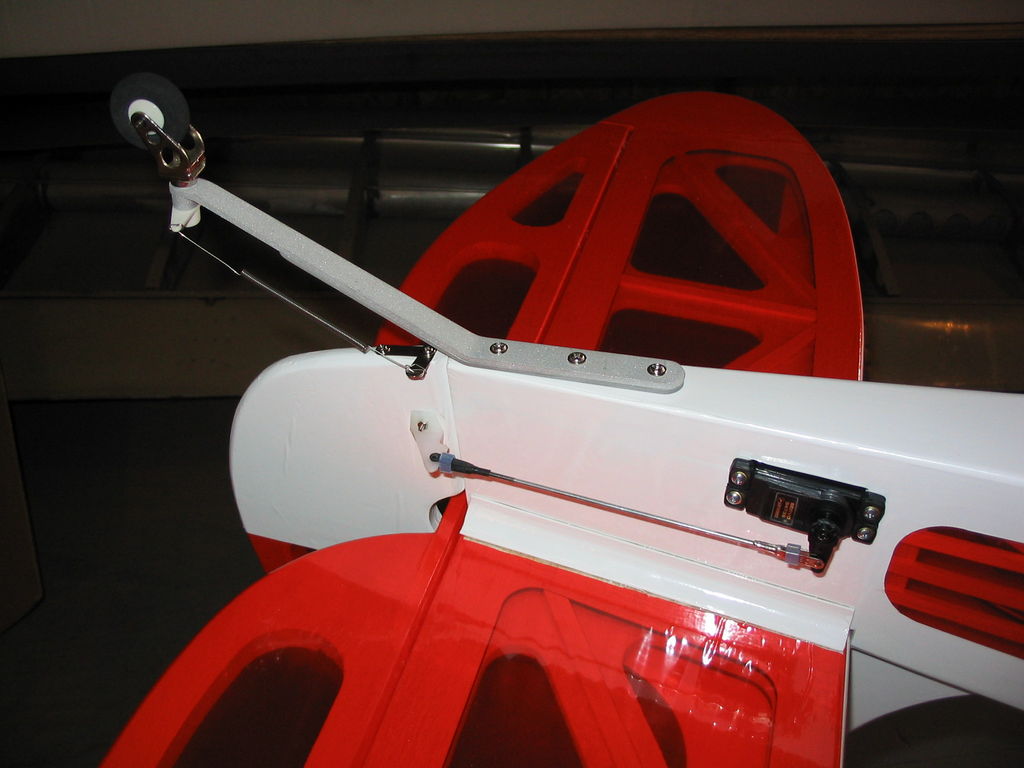
Today I fabricated and installed the rudder and elevator linkages. I also installed the springs that attach the rudder to the steerable tail wheel. After that I turned my attention to the inside of the aircraft and installed the onboard radio on/off switch and the throttle servo and linkage.
img_2515
img_2528
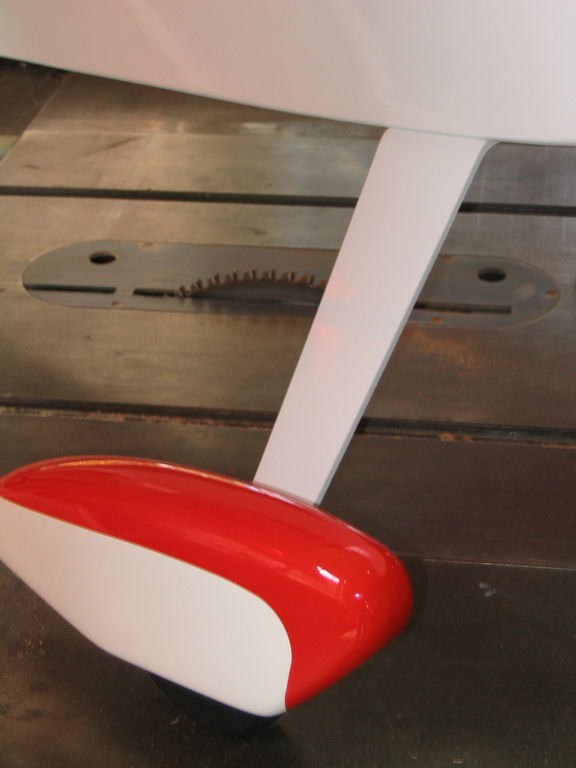
img_2529 Then I assembled and installed the main gear. The Rascal wheel pants come completely finished, even with blind nuts already installed. It’s about a 10 minute job to assemble and attach the main gear, wheels, and wheel pants, including taking them out of the baggies.
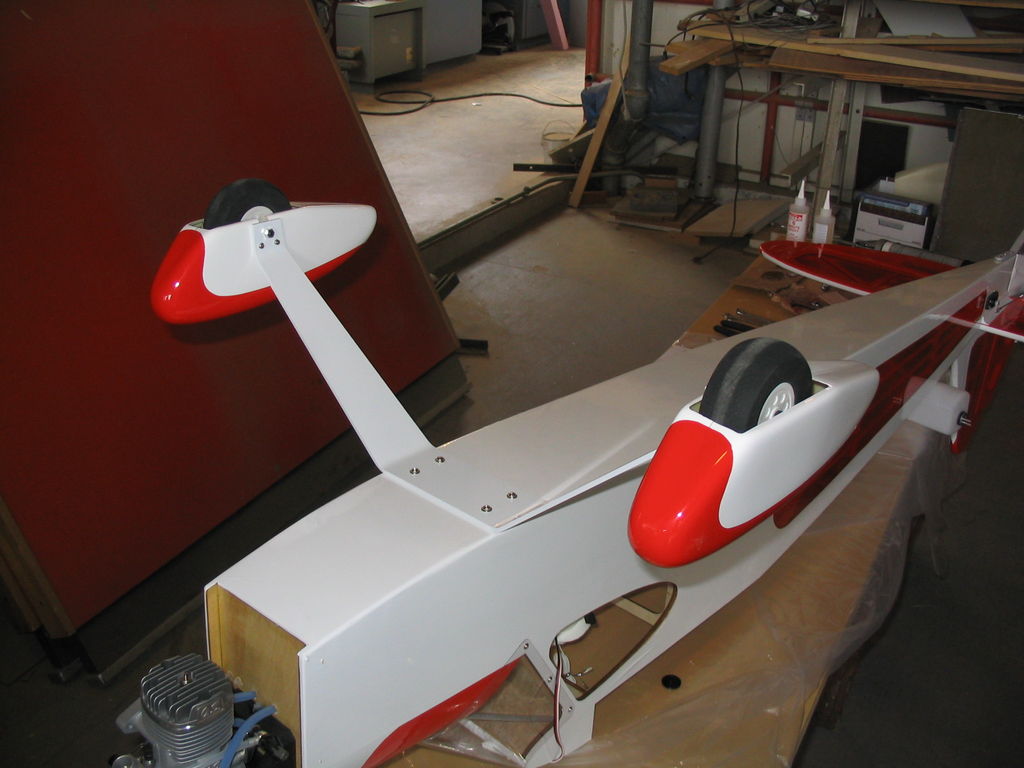
img_2516

img_2517
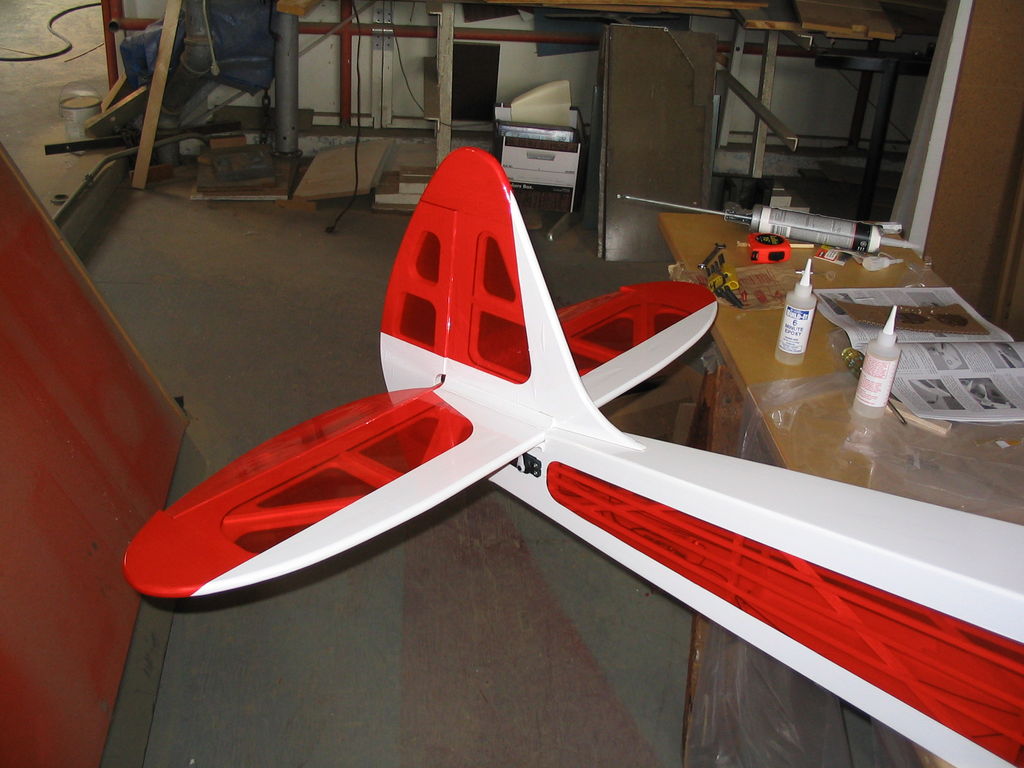
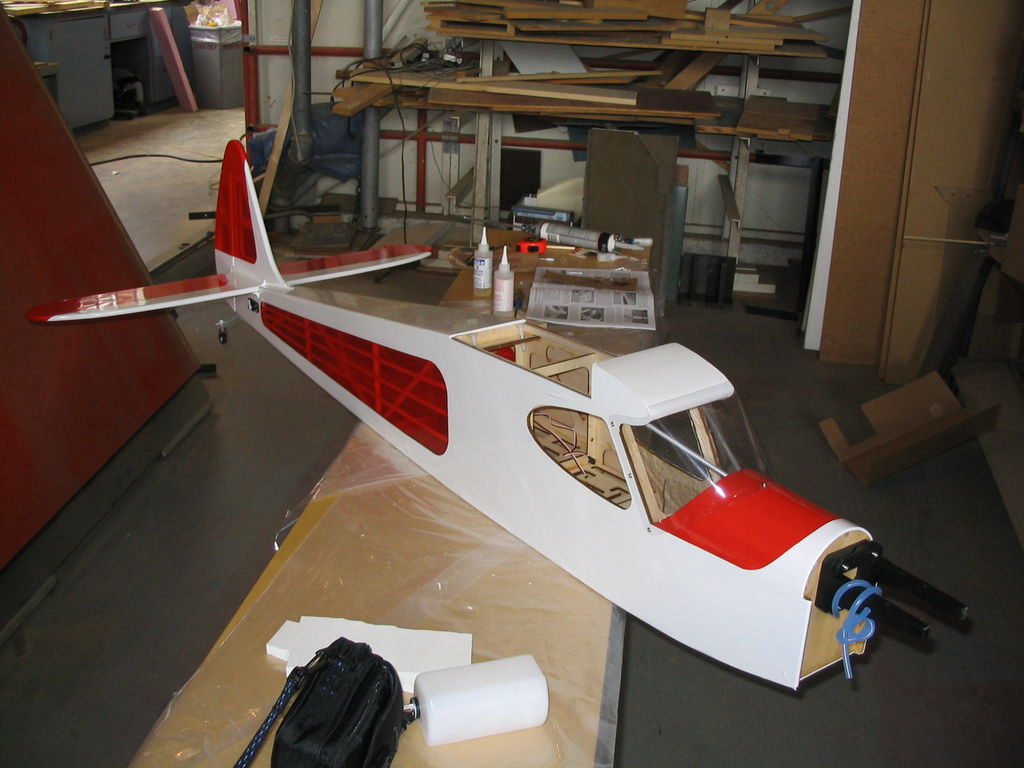
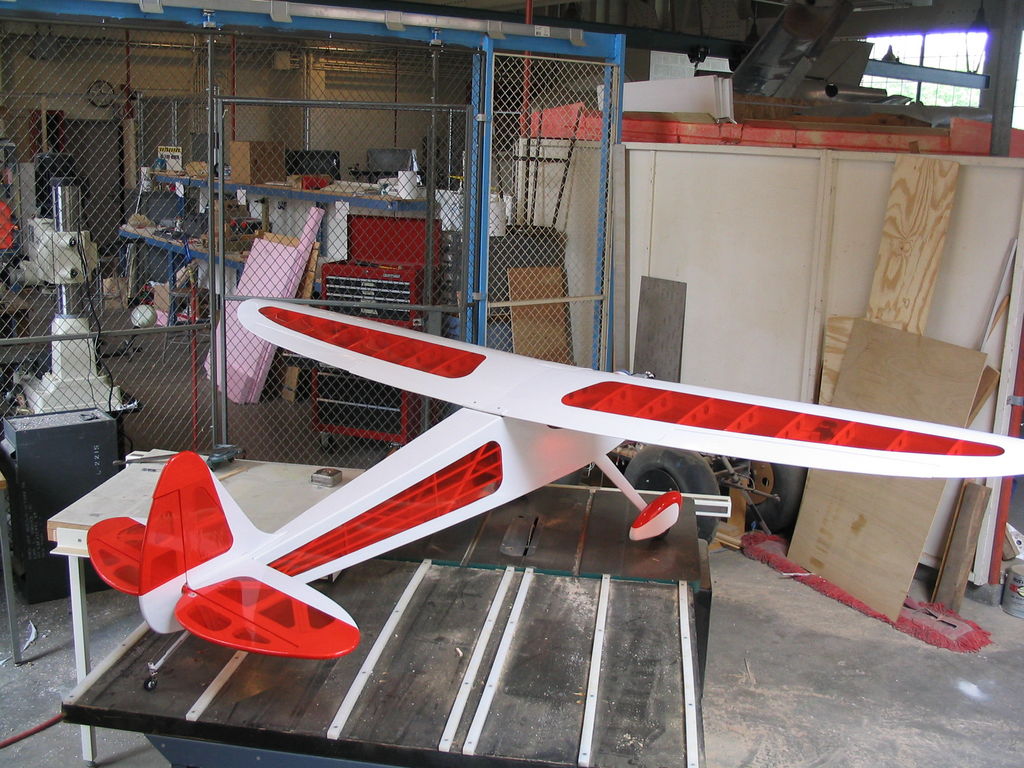
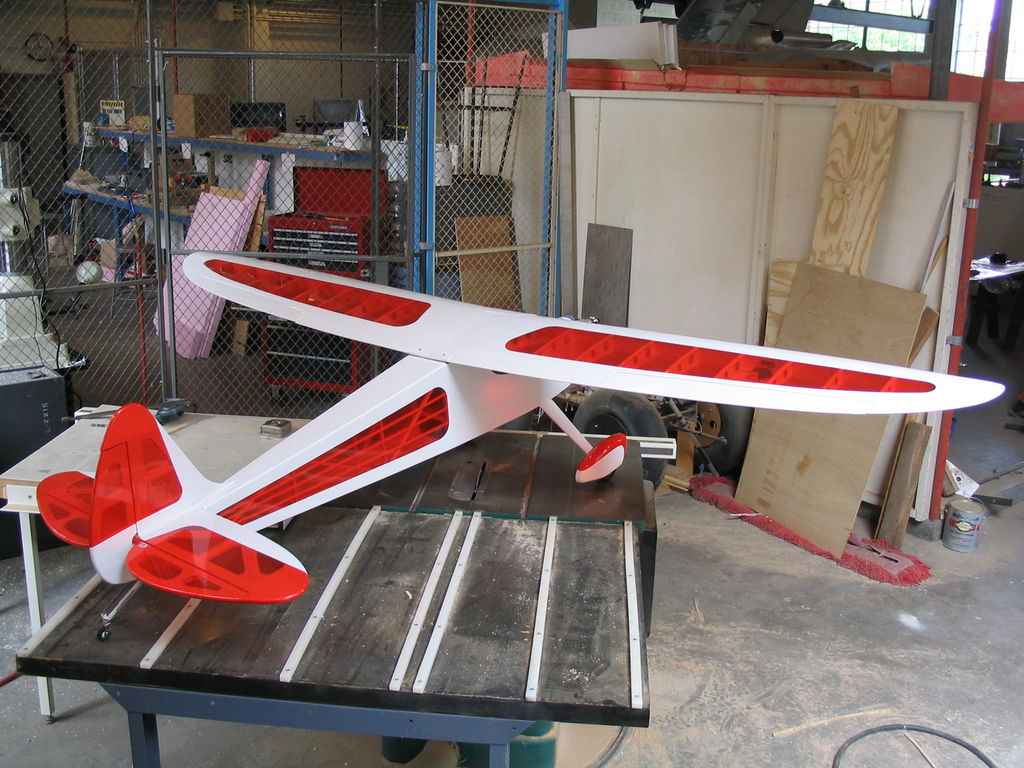
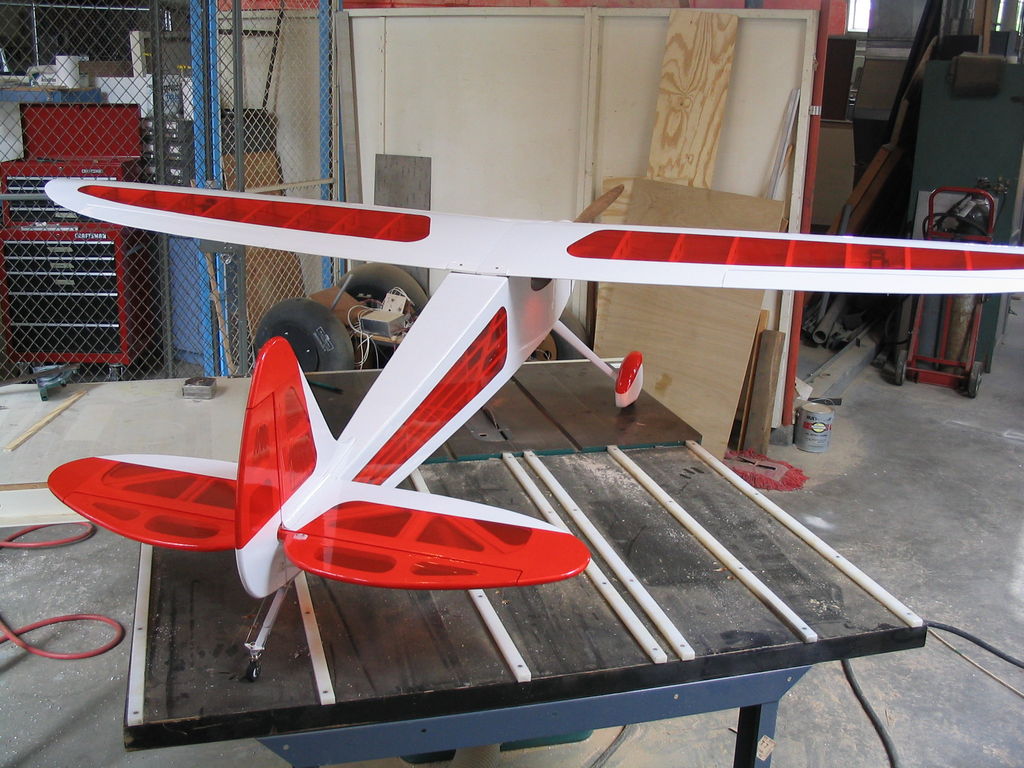
img_2530 With the main gear installed, the Rascal can now stand on her own, so it was time to pose for some pictures.
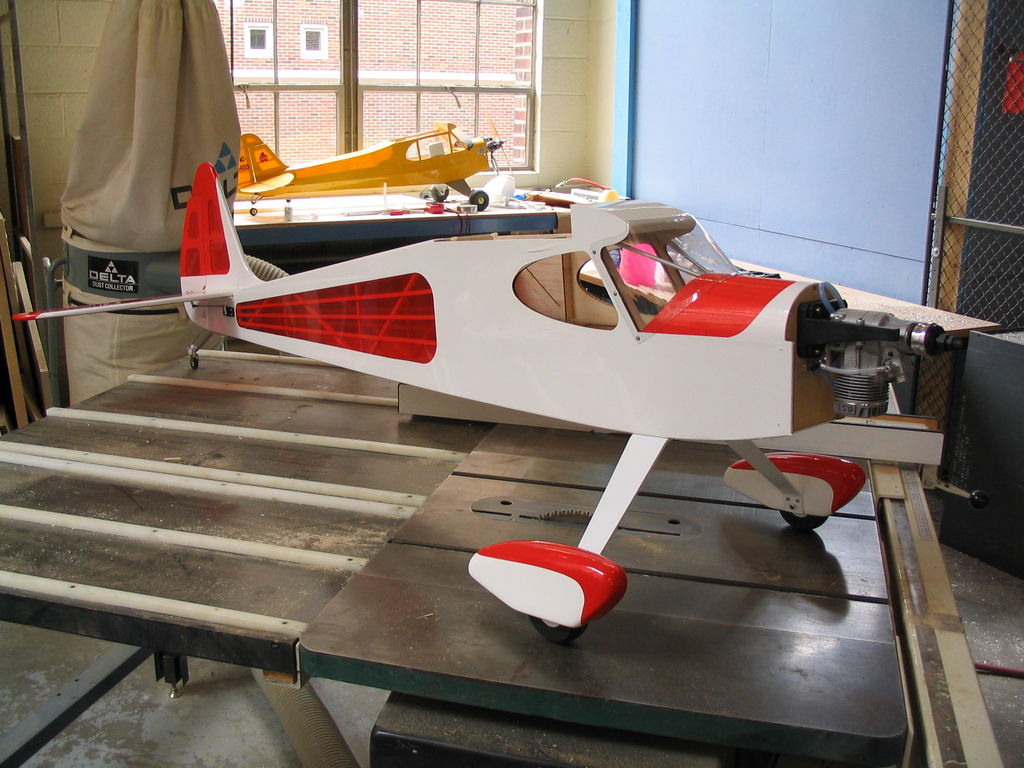
img_2518
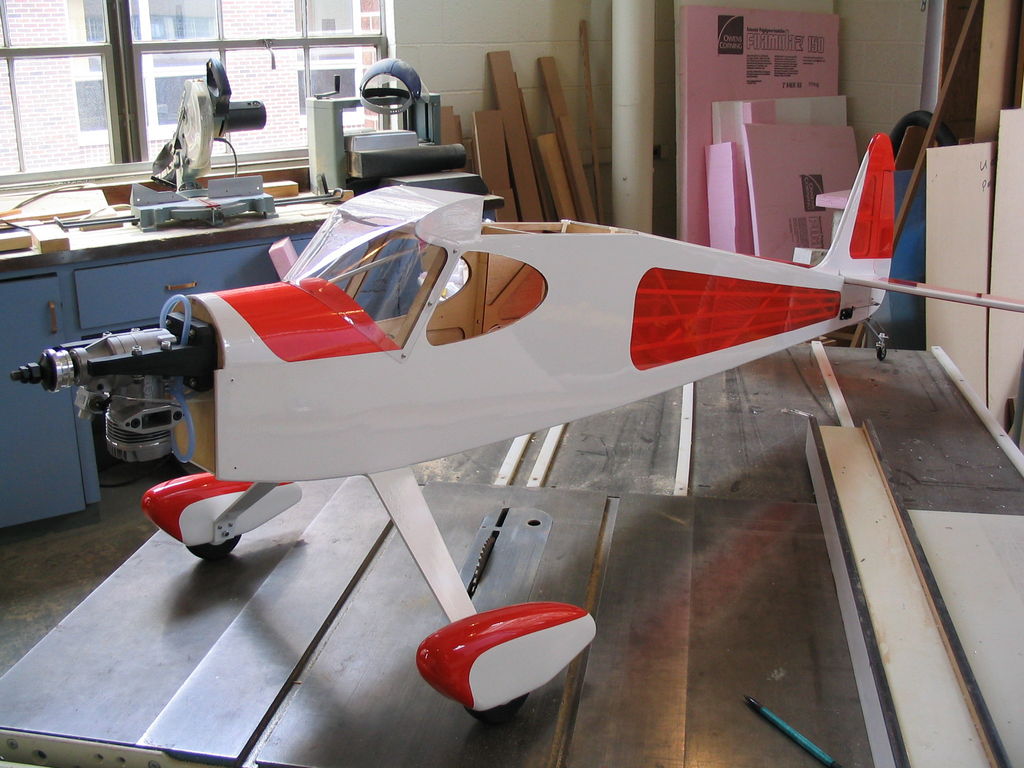
img_2519 Now I add the wing.

img_2520
img_2521
img_2522
img_2523 I almost forgot about the cowl.
img_2524
img_2525 And I might as well put on a prop while I’m at it.
img_2526
img_2527

img_2531
img_2532
img_2533
May 11, 2005.
Items completed today:
Installed the side windows.
Installed a new prop (appropriately drilled out for our shaft diameter.)
Secured fuel tank.
Installed an extension to the receiver on/off switch.
Initial balance tests indicate that we might come out pretty close with no added weight.
May 12, 2005.
Items completed today:
Pad and secure battery and receiver.
Route the receiver antenna.
Touch up and shrink covering in a few areas.
May 13, 2005.
Today I checked the control surface throws to verify they matched the manufacturer’s recomendations. I also moved the battery as far forward as possible to put the aircraft in balance. I think we are now balanced with no need to add additional dead weight. With the exception of final checks, this plane is ready to fly.
May 19, 2005.
Today we fired up the brand new OS 1.60 FX 2-stroke engine and ran 24oz of fuel through it. The engine behaved well and pulls *very* strong. The next big step is the maiden flight. I will be gone most of next week so we will likely shoot for a day the week after next weather permitting.
May 30, 2005.
Fit and installed new spinner. We still need to get all the right tools so I can properly tighten everything up. Right now a couple pieces are only finger tight, but they look good.
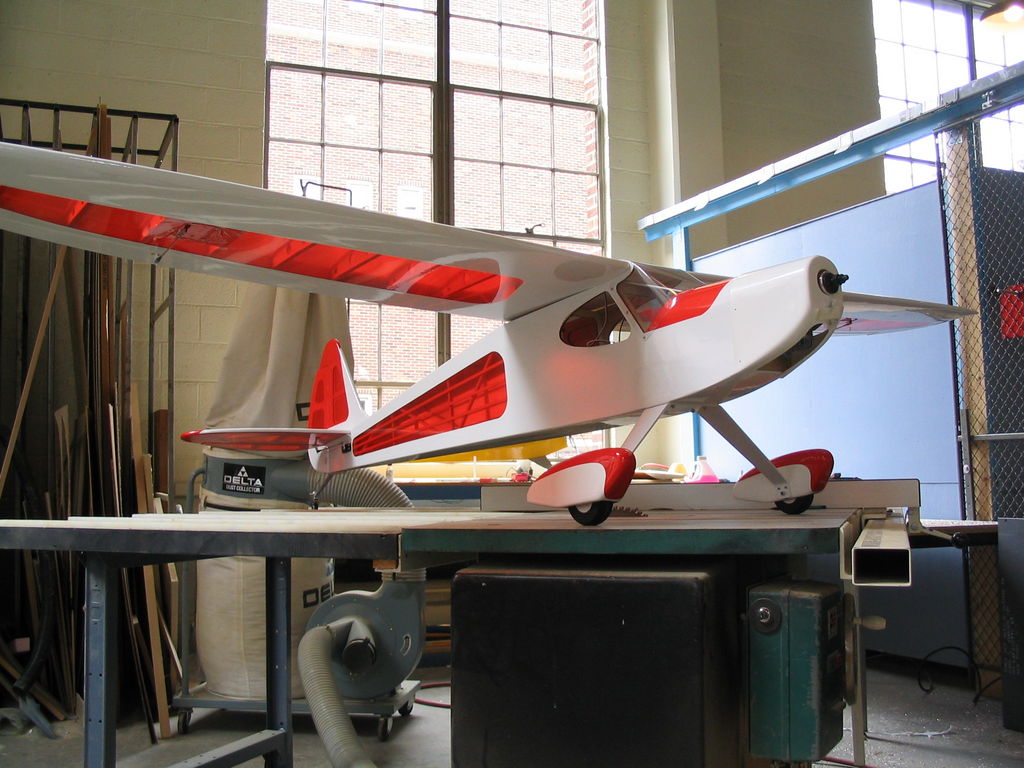
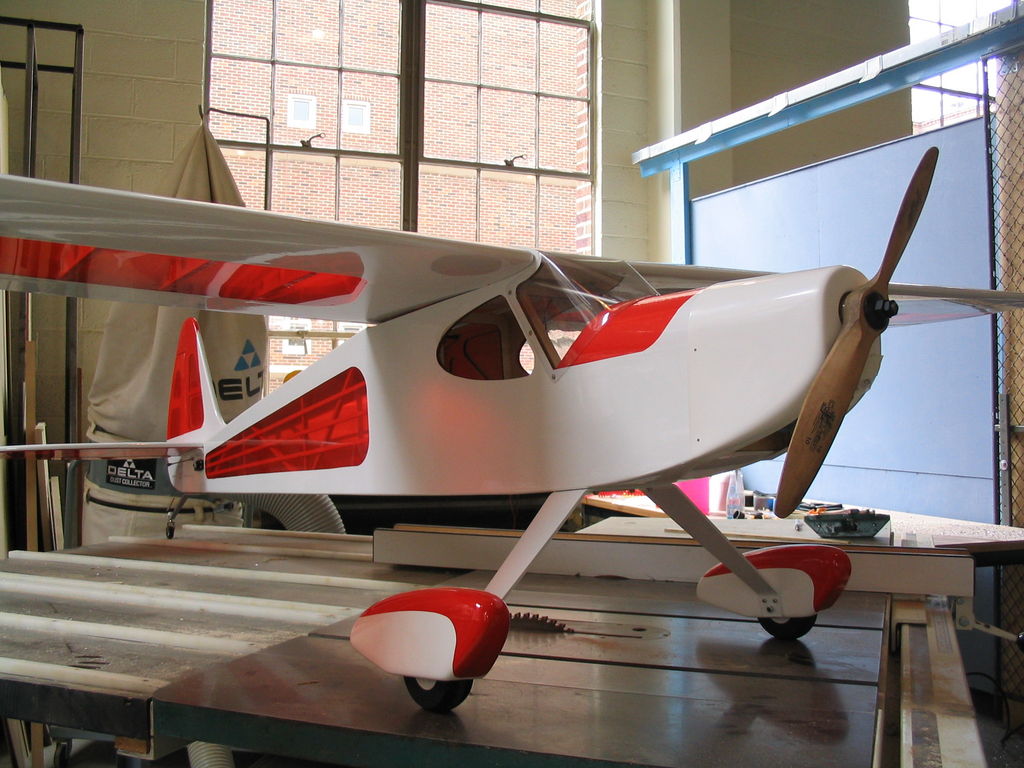
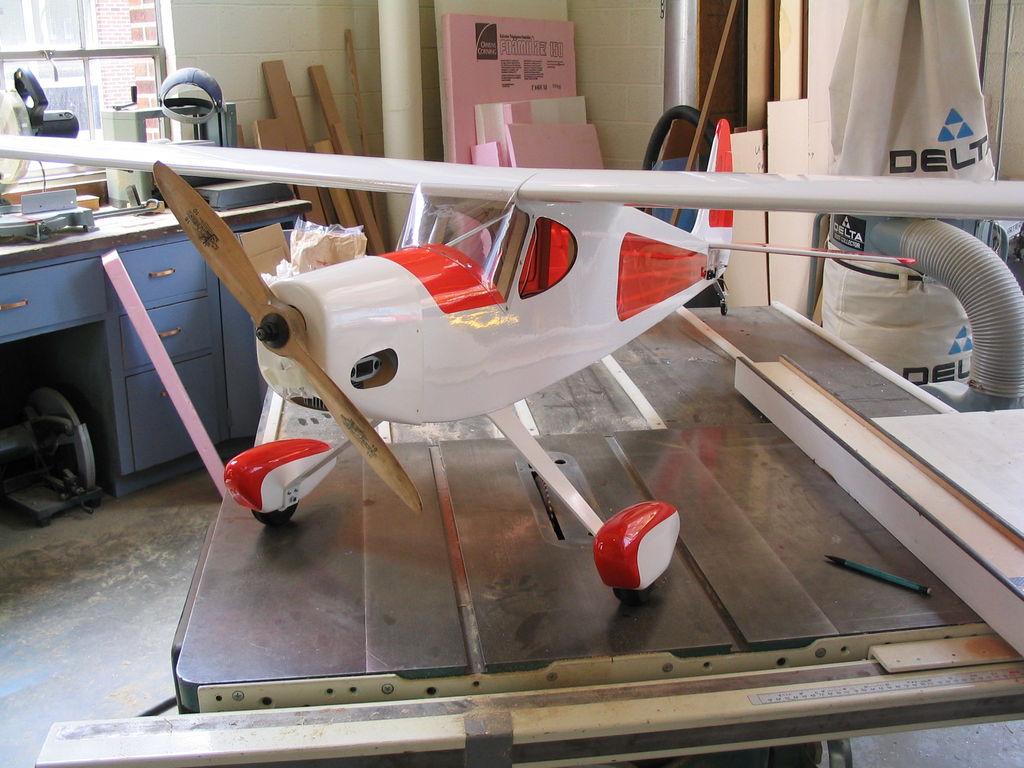
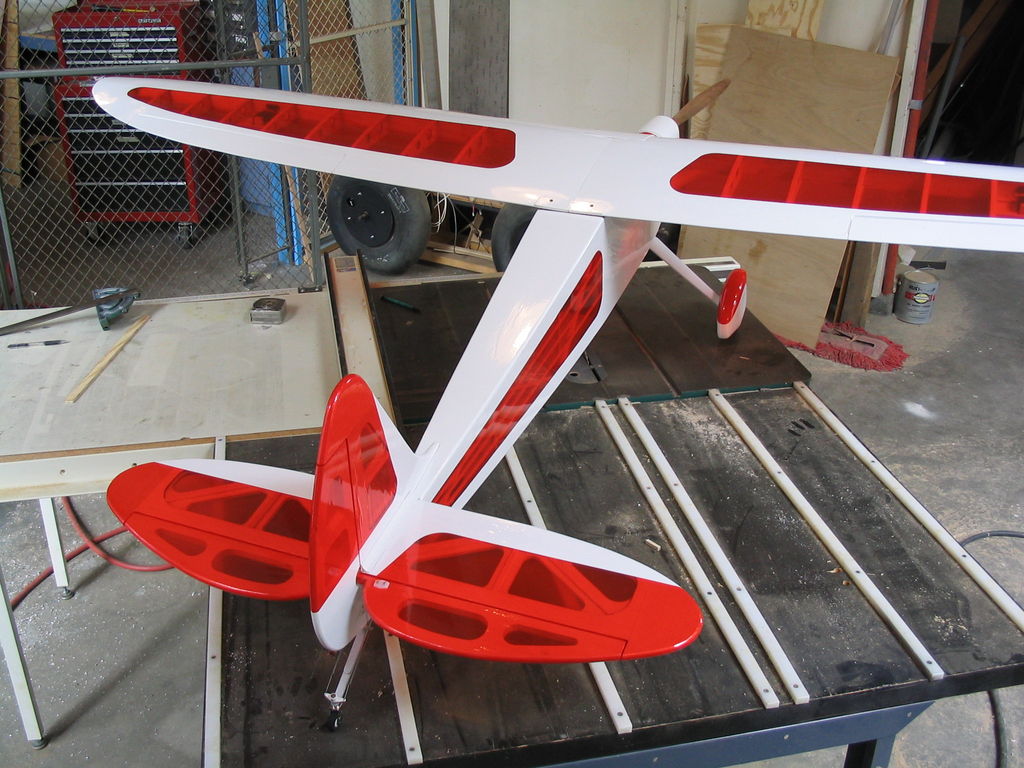
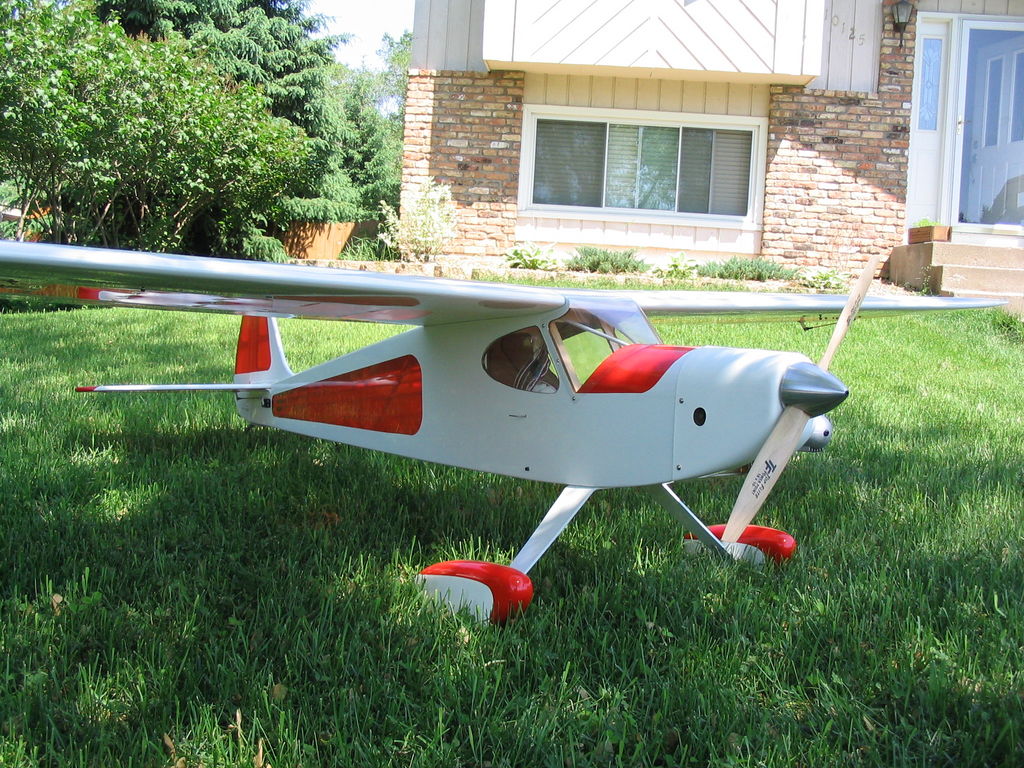
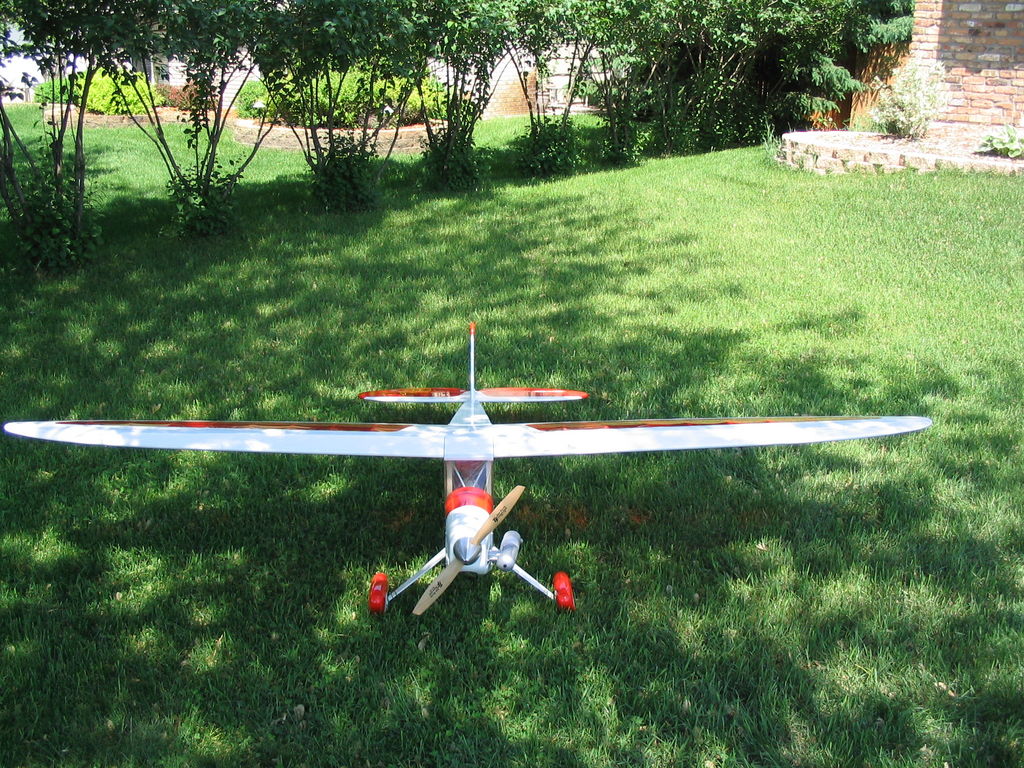
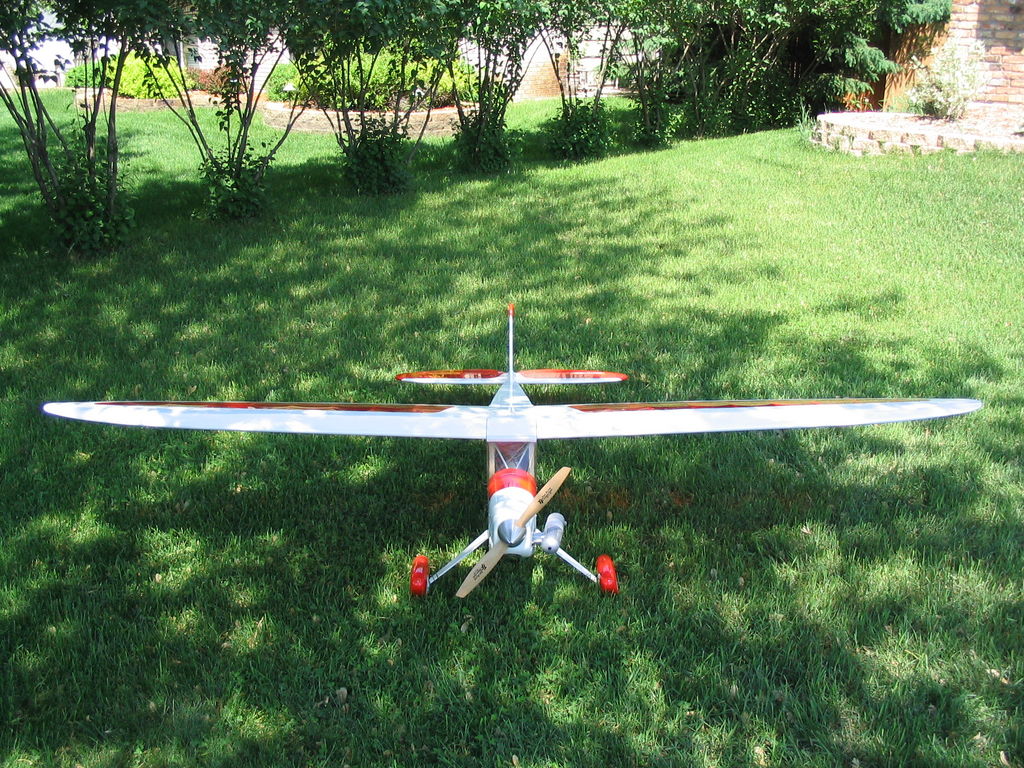
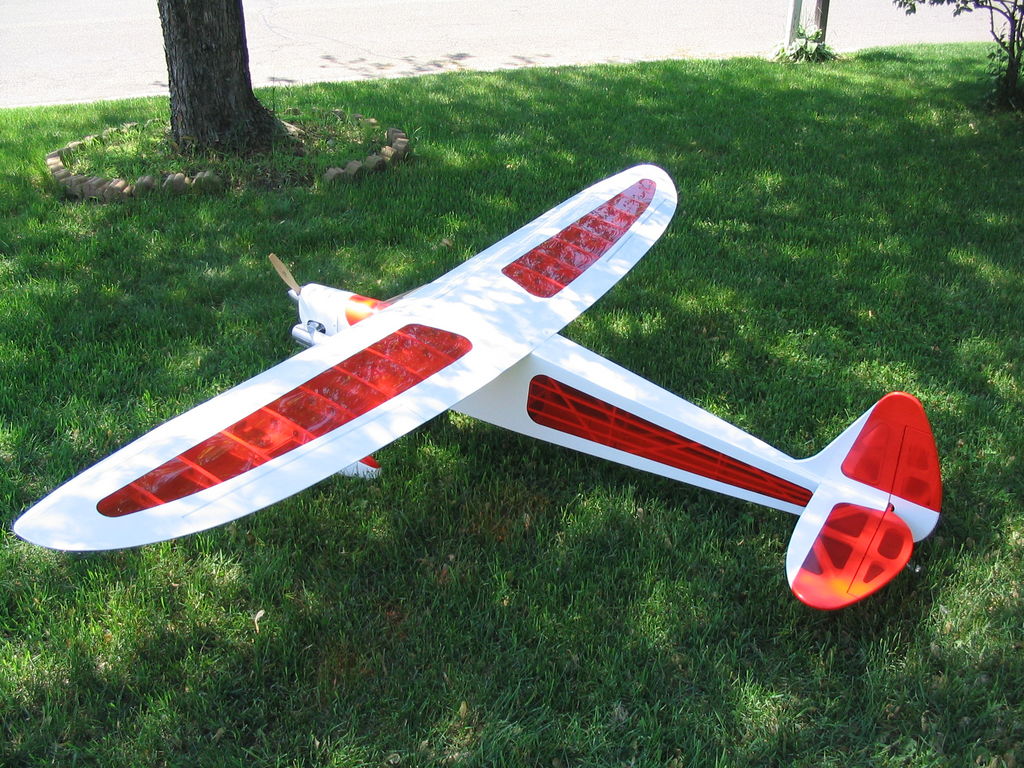
June 6, 2005.
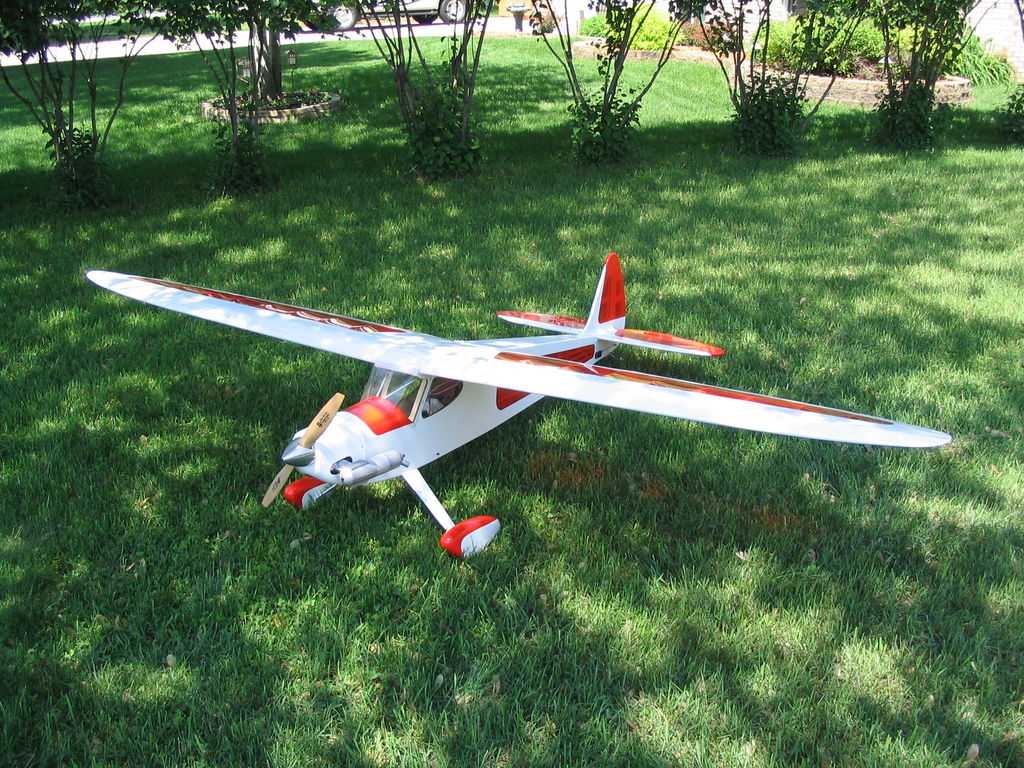
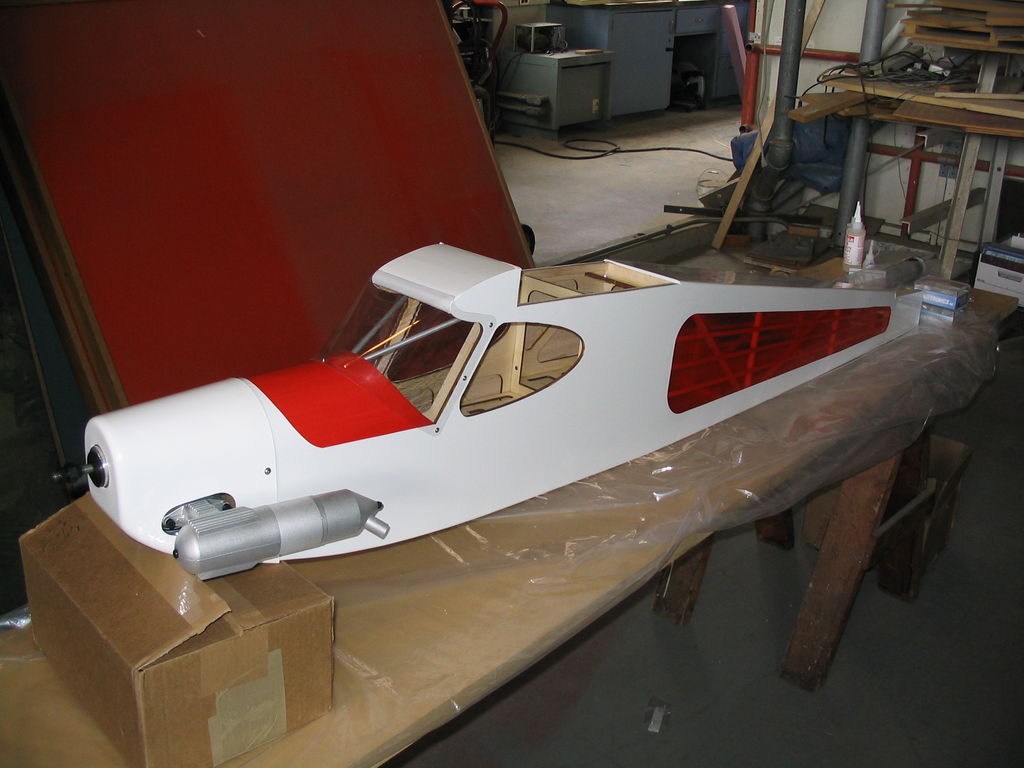
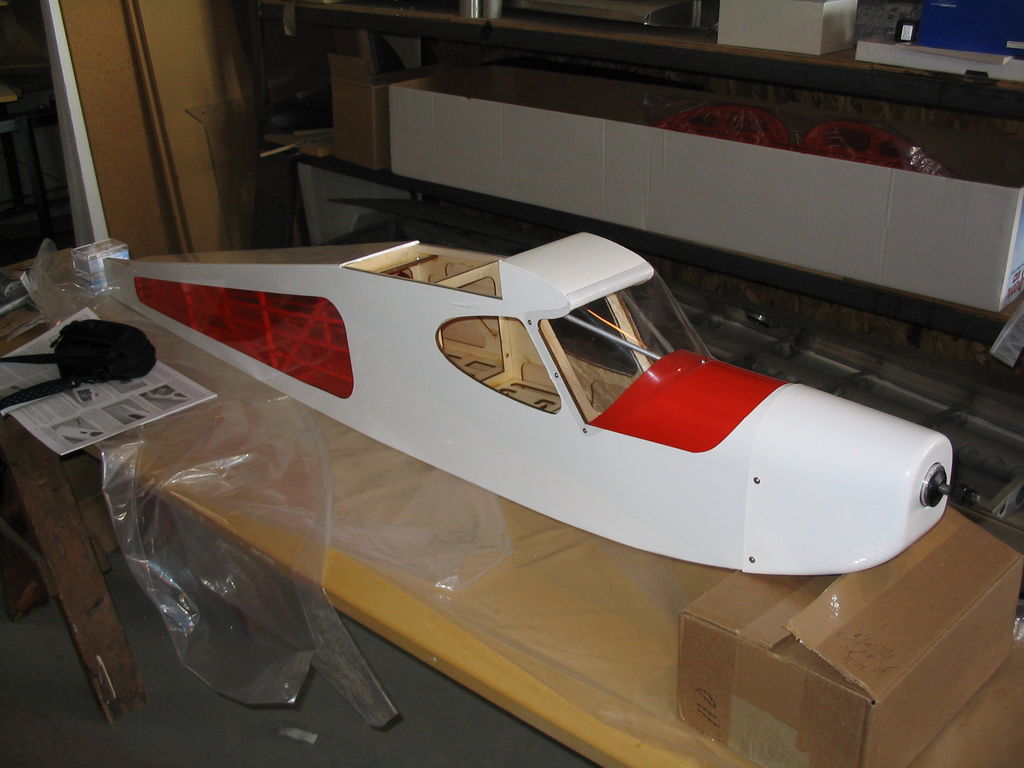
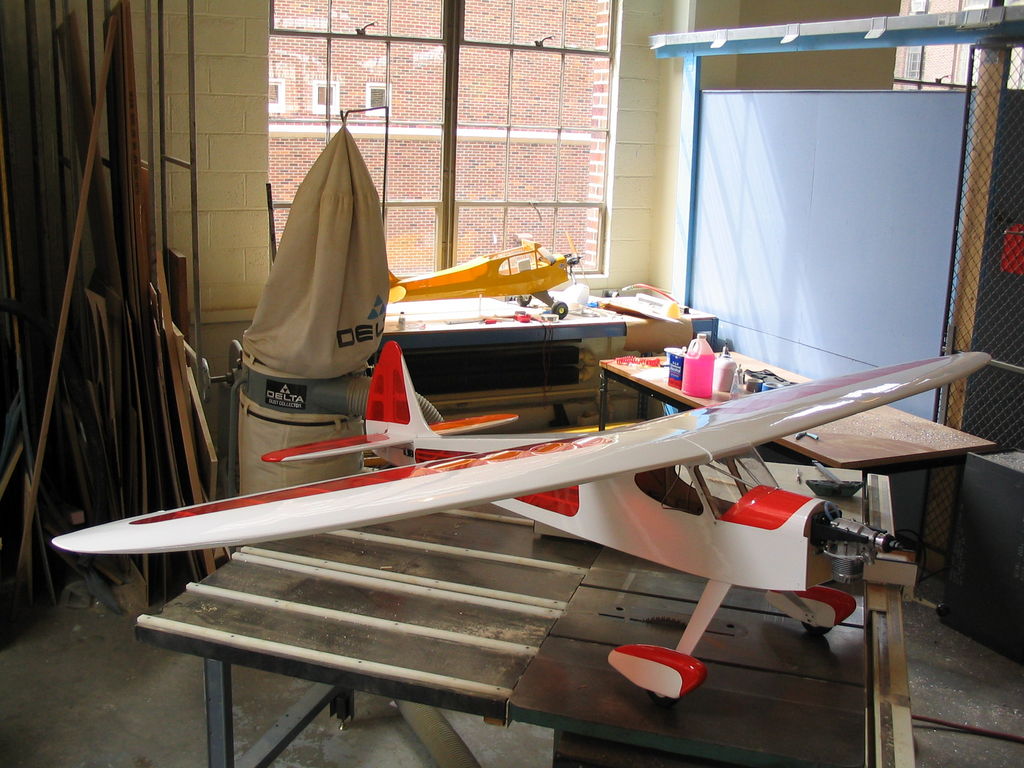
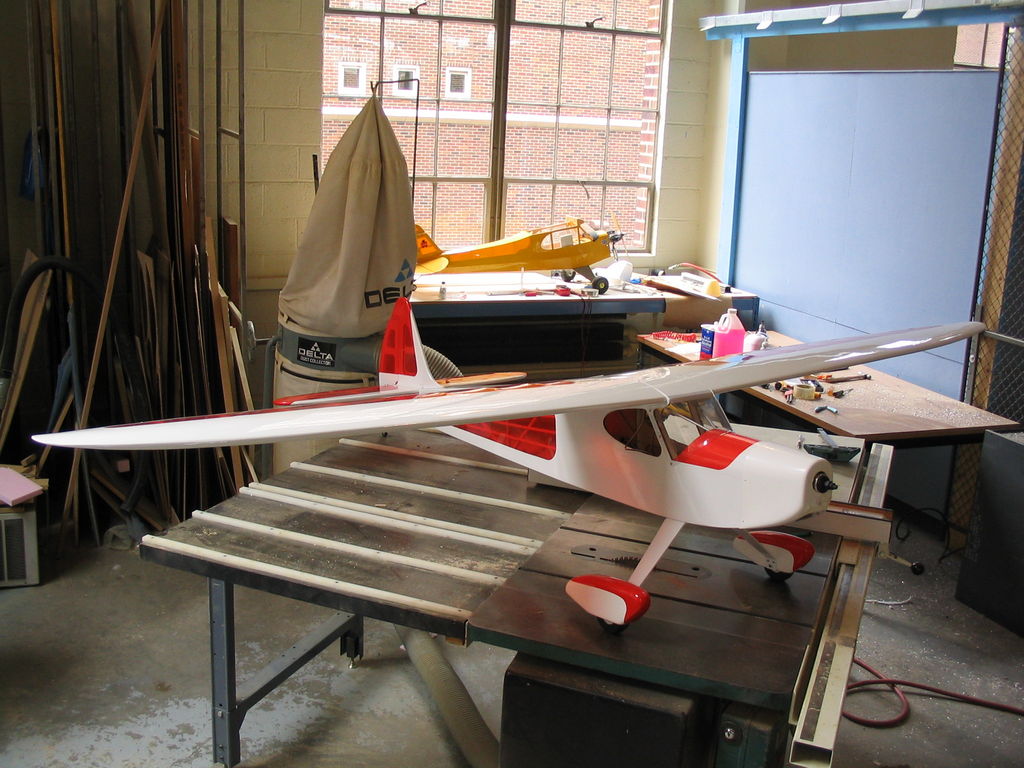
New pictures … all ready for her maiden flight tomorrow (weather permitting.)
img_2541
img_2542
img_2543
img_2544
img_2545