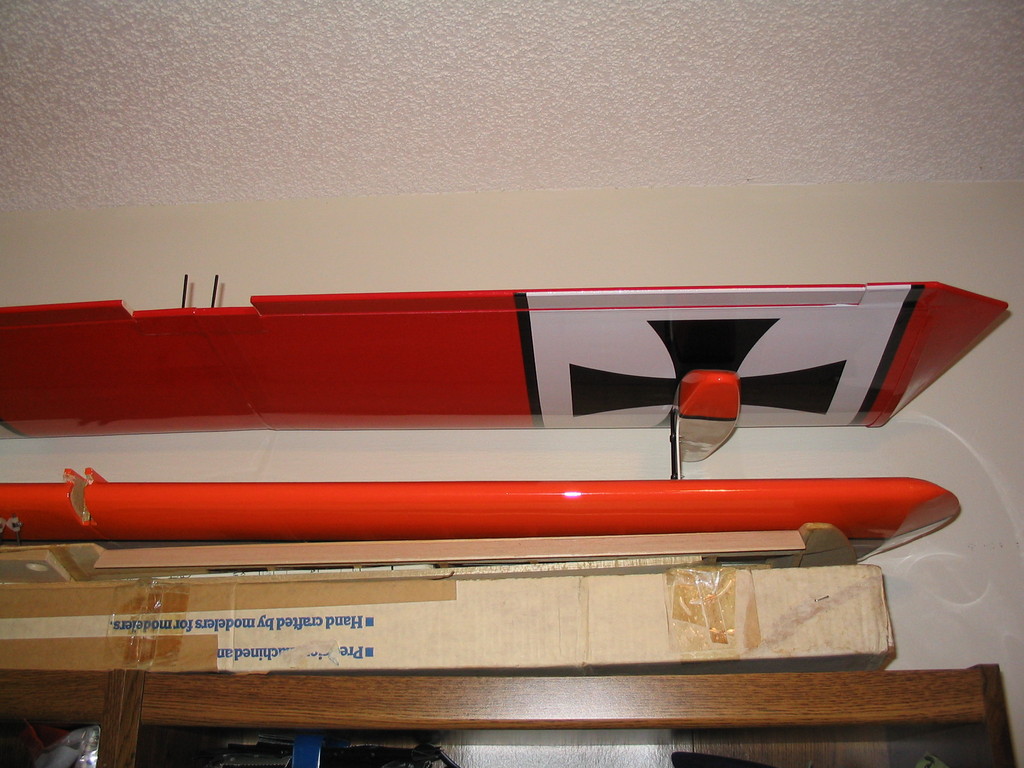
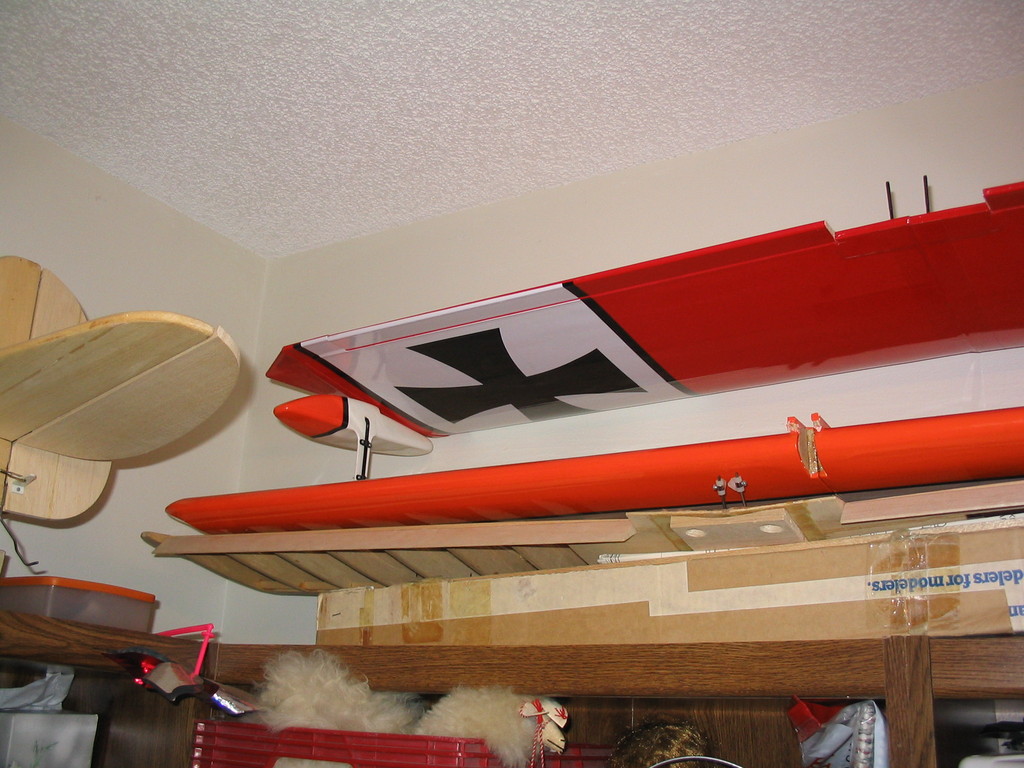
Great Planes Big Stick 40
Great Planes Big Stick 40

gpma1226-wallpaper-800
This is an original release (not the updated version, nor the up-updated version.) I got a great deal on it and I missed my old Sweet Stik so much I had to build another Stik.
December 4, 2012
I have sold this aircraft. I hadn’t flown it for a couple seasons and my focus has been more on electrics lately anyway. Hopefully the new owner has many good flights!
June 2, 2008
Successful maiden flight!
IMG_1118
IMG_1119
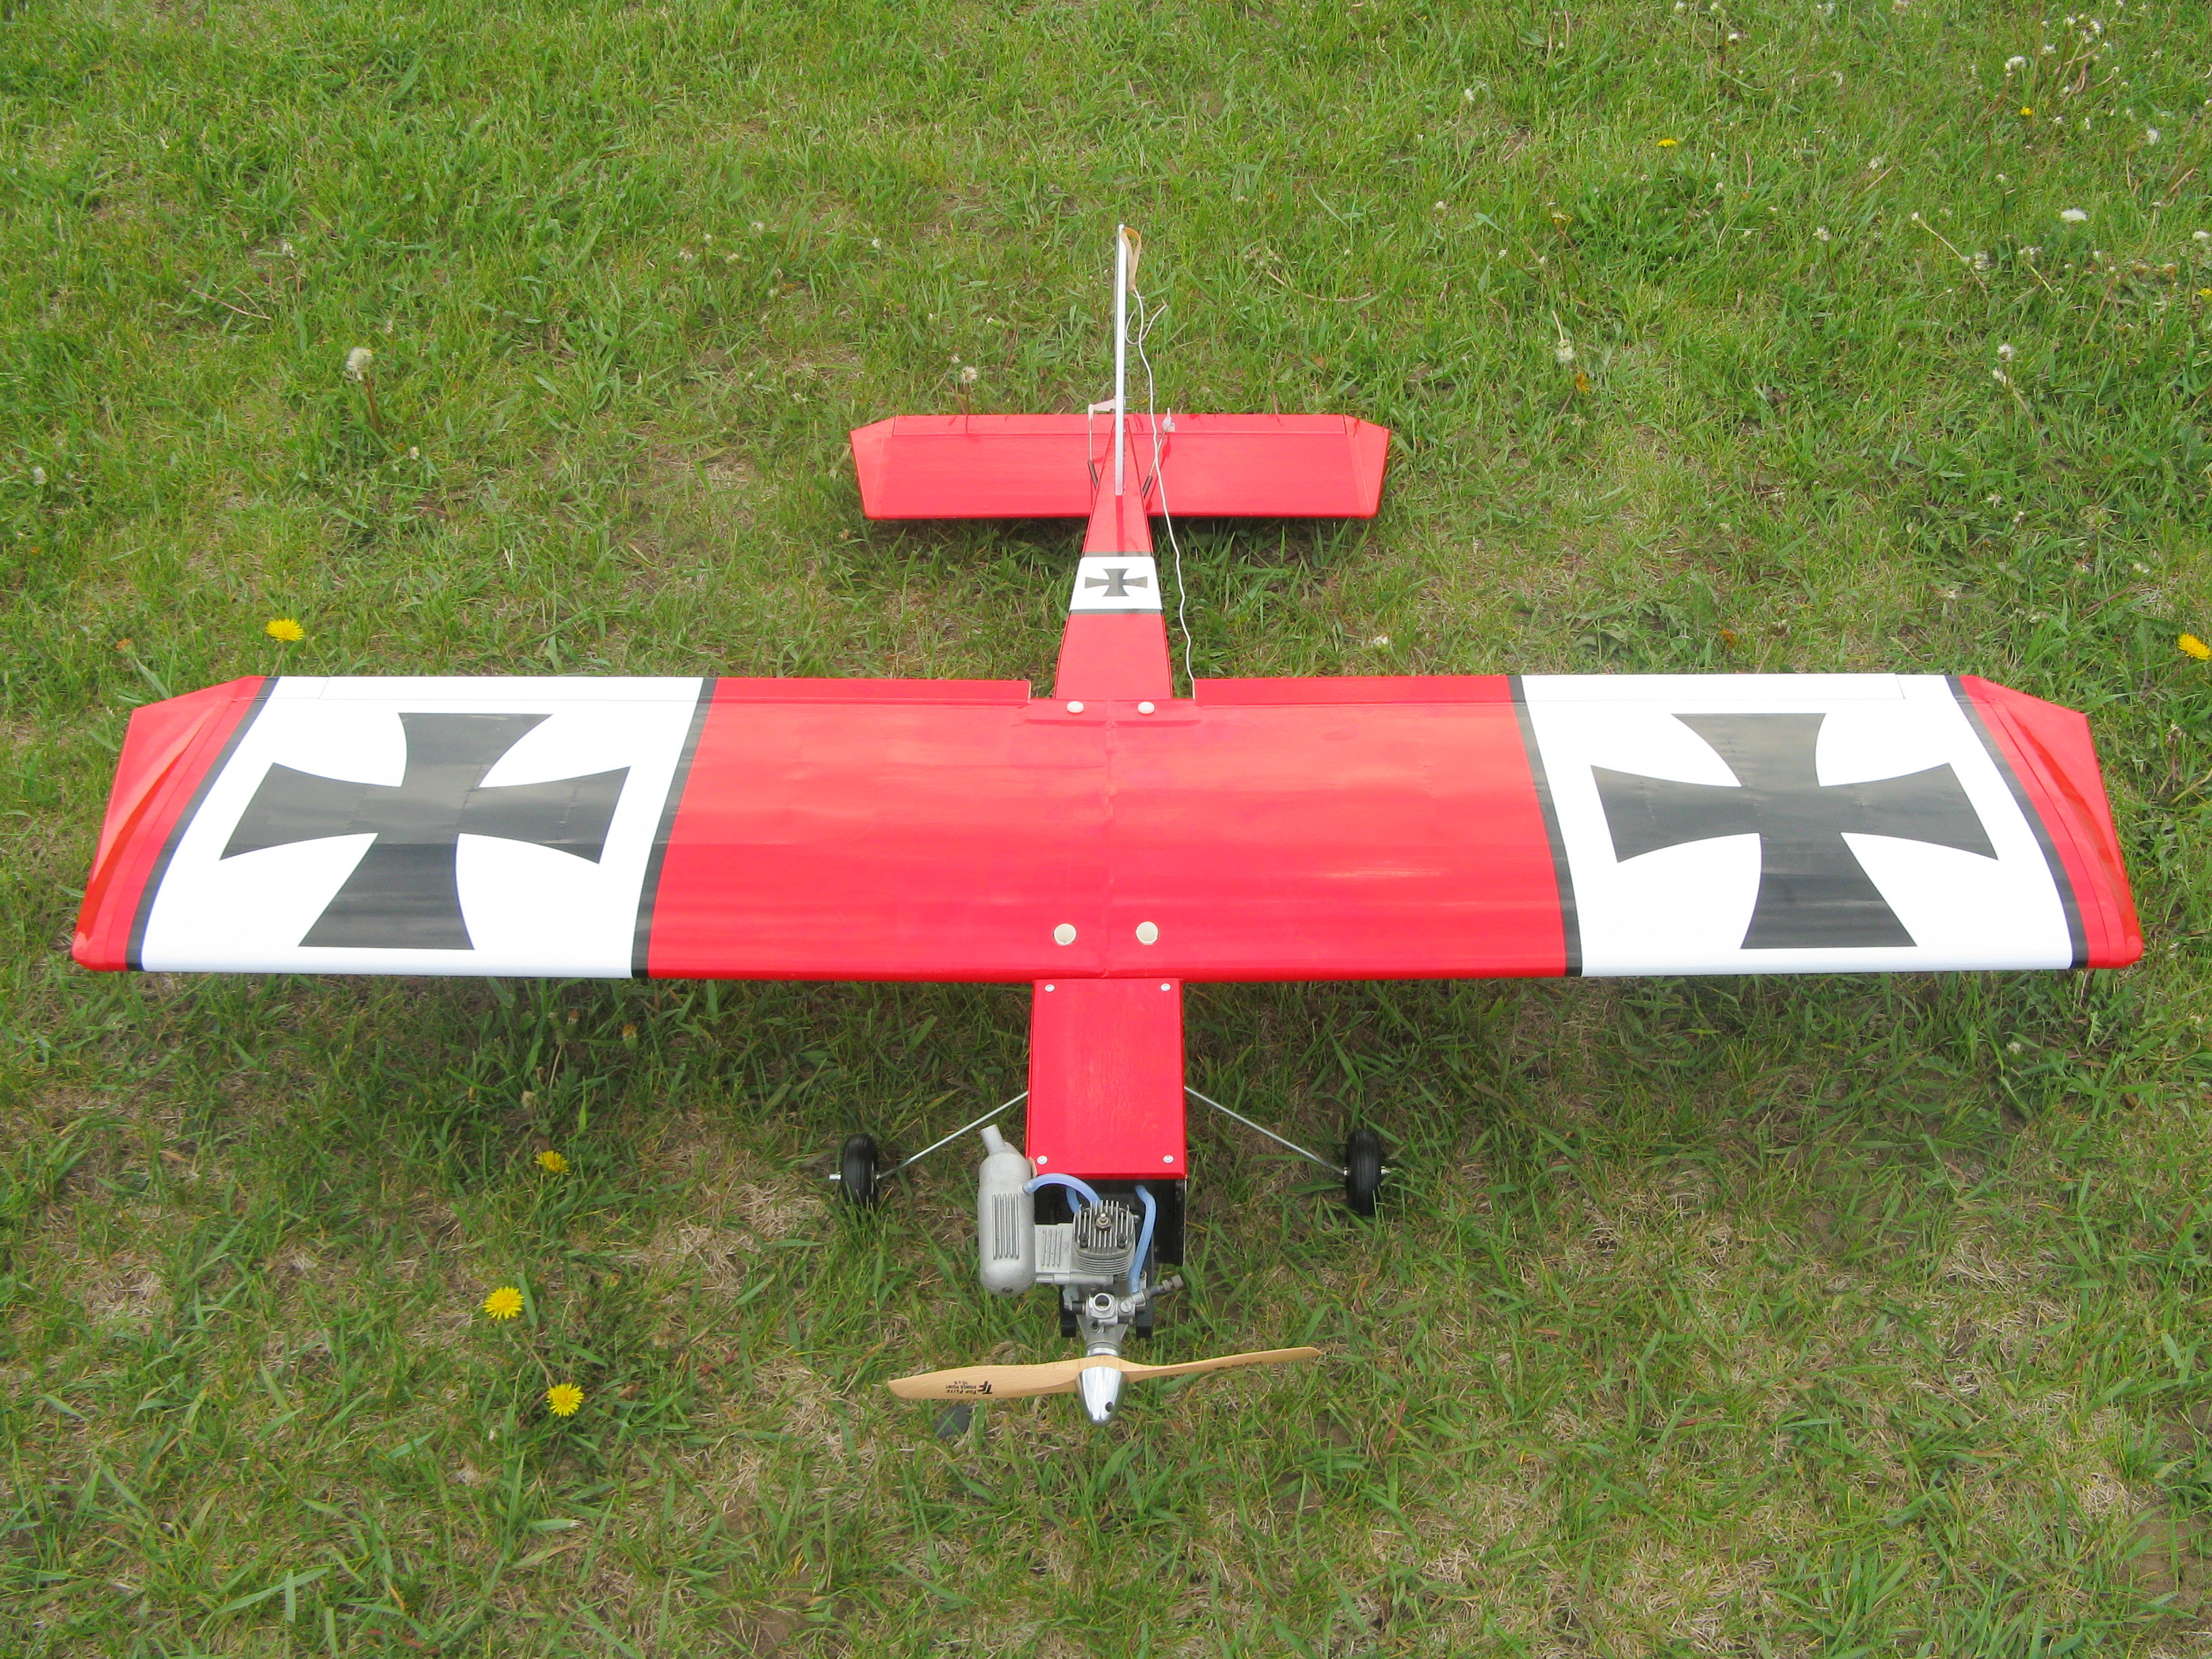
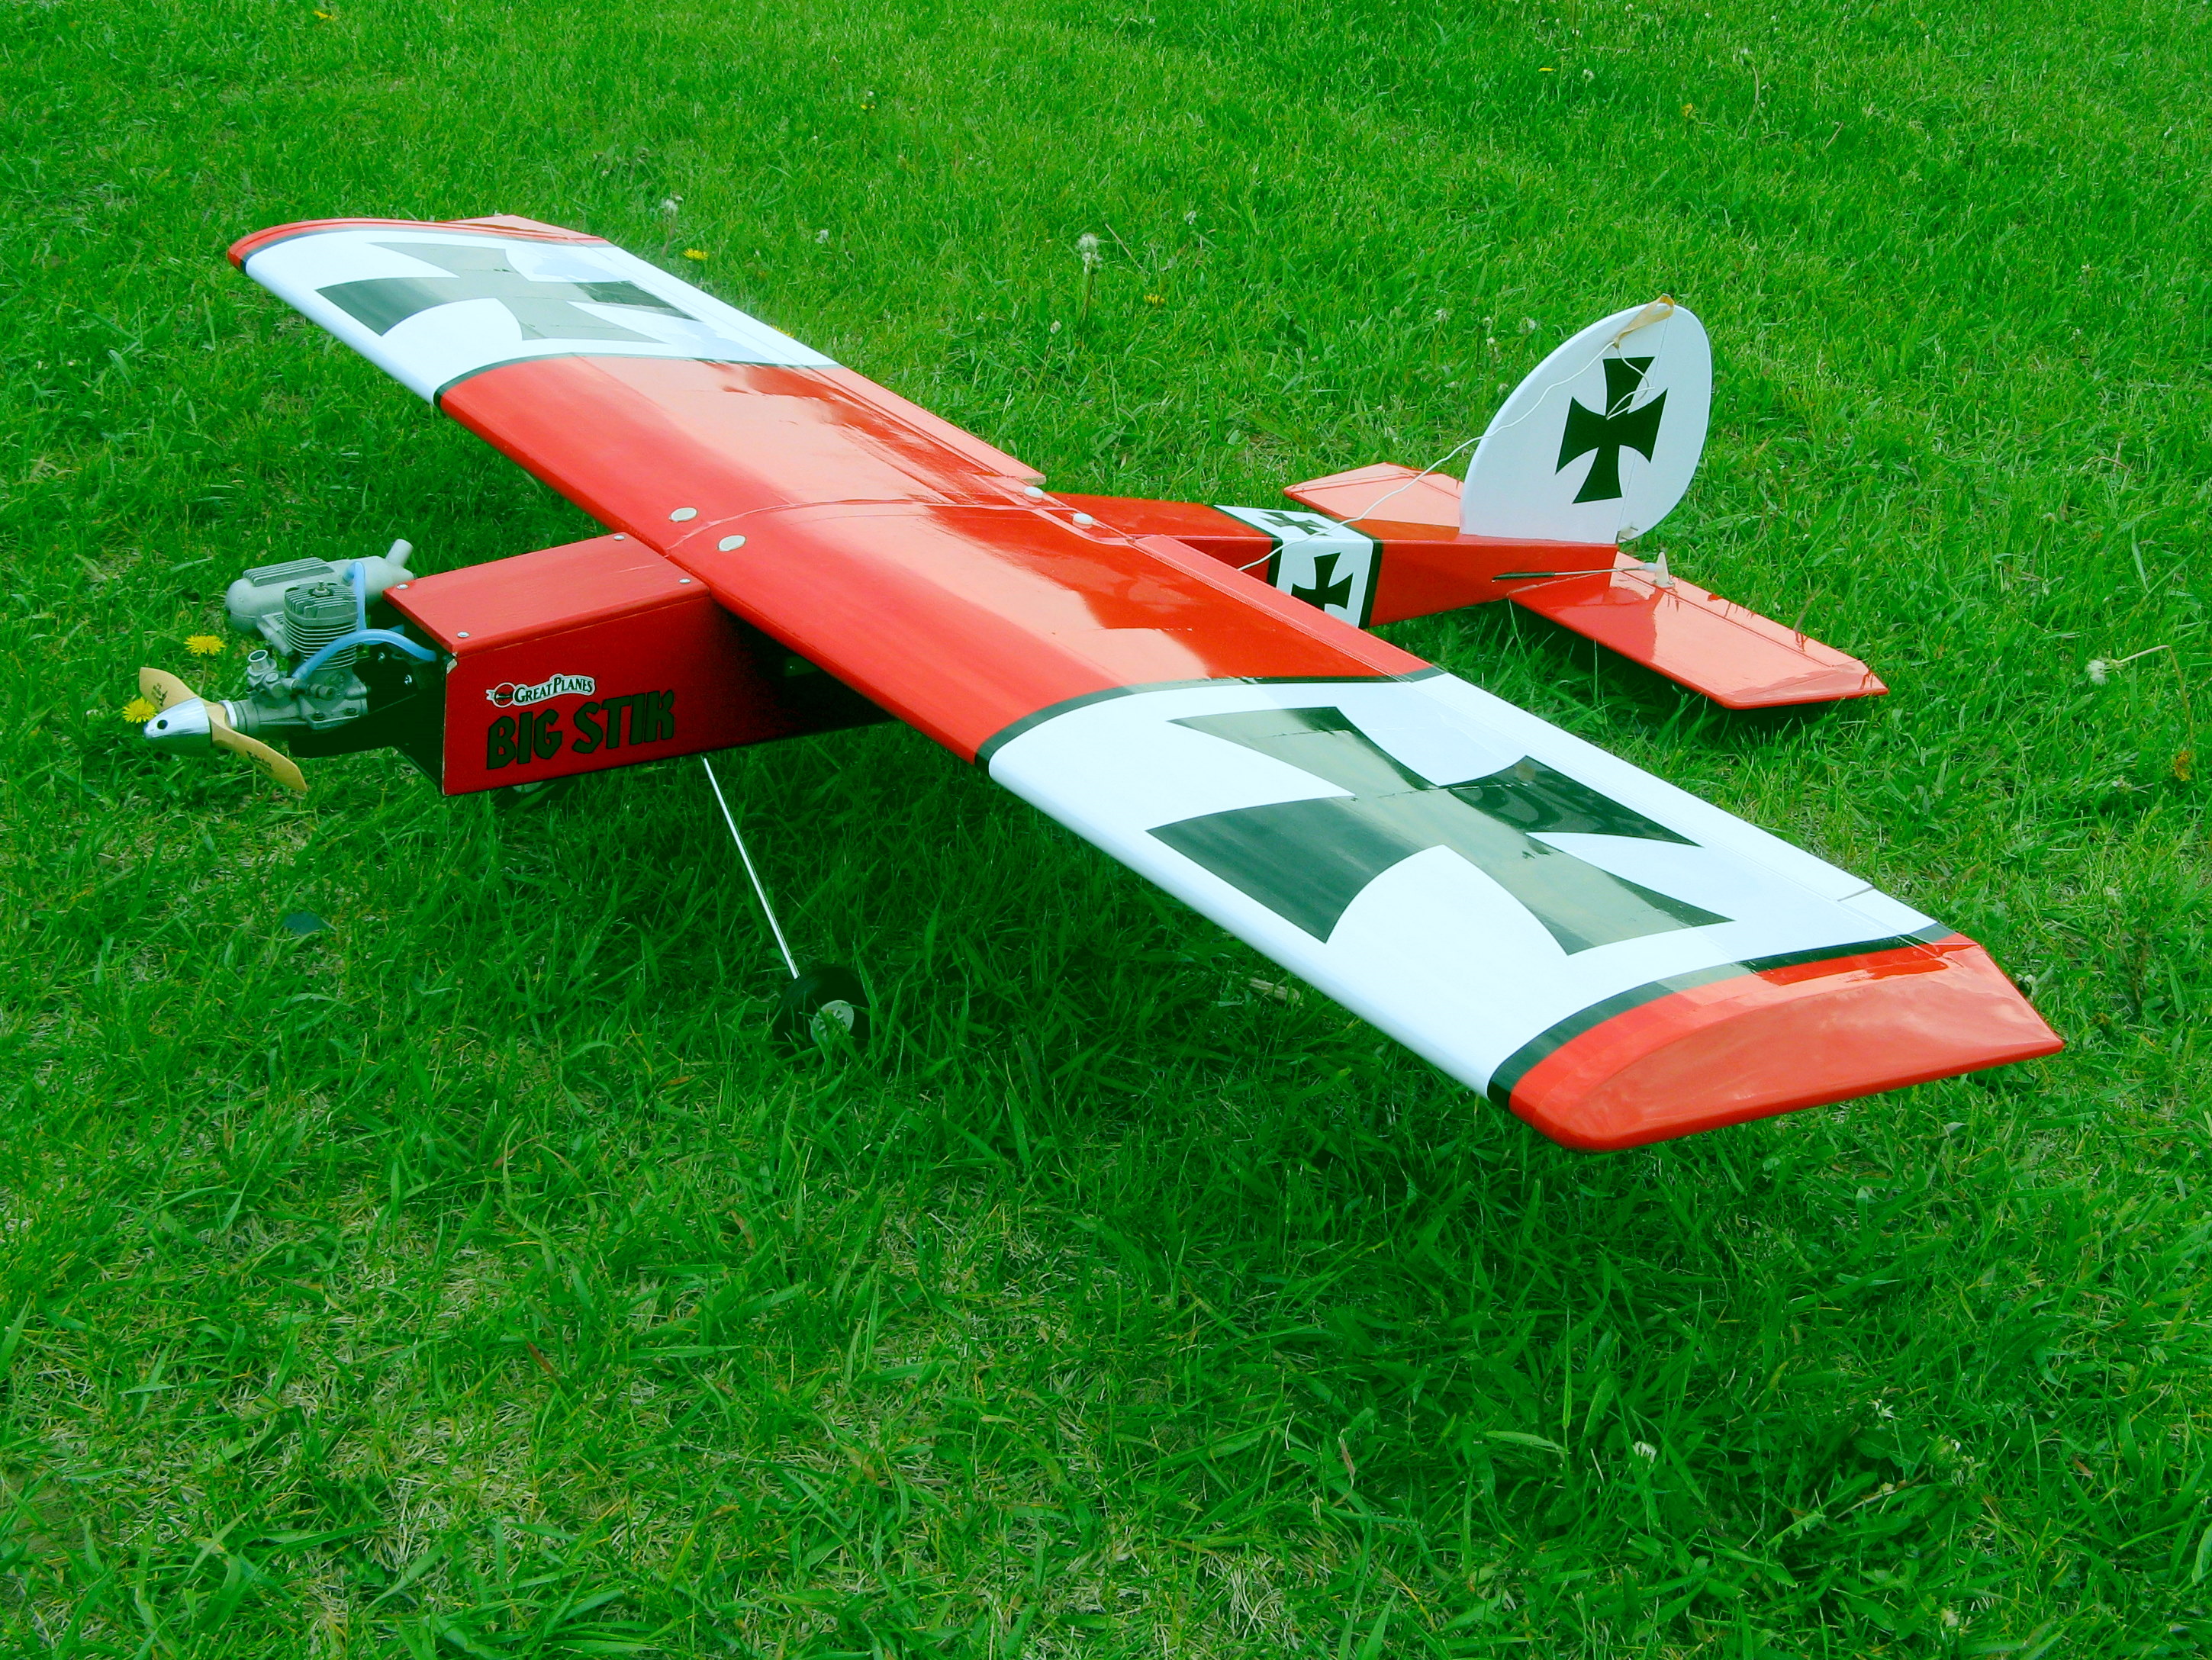
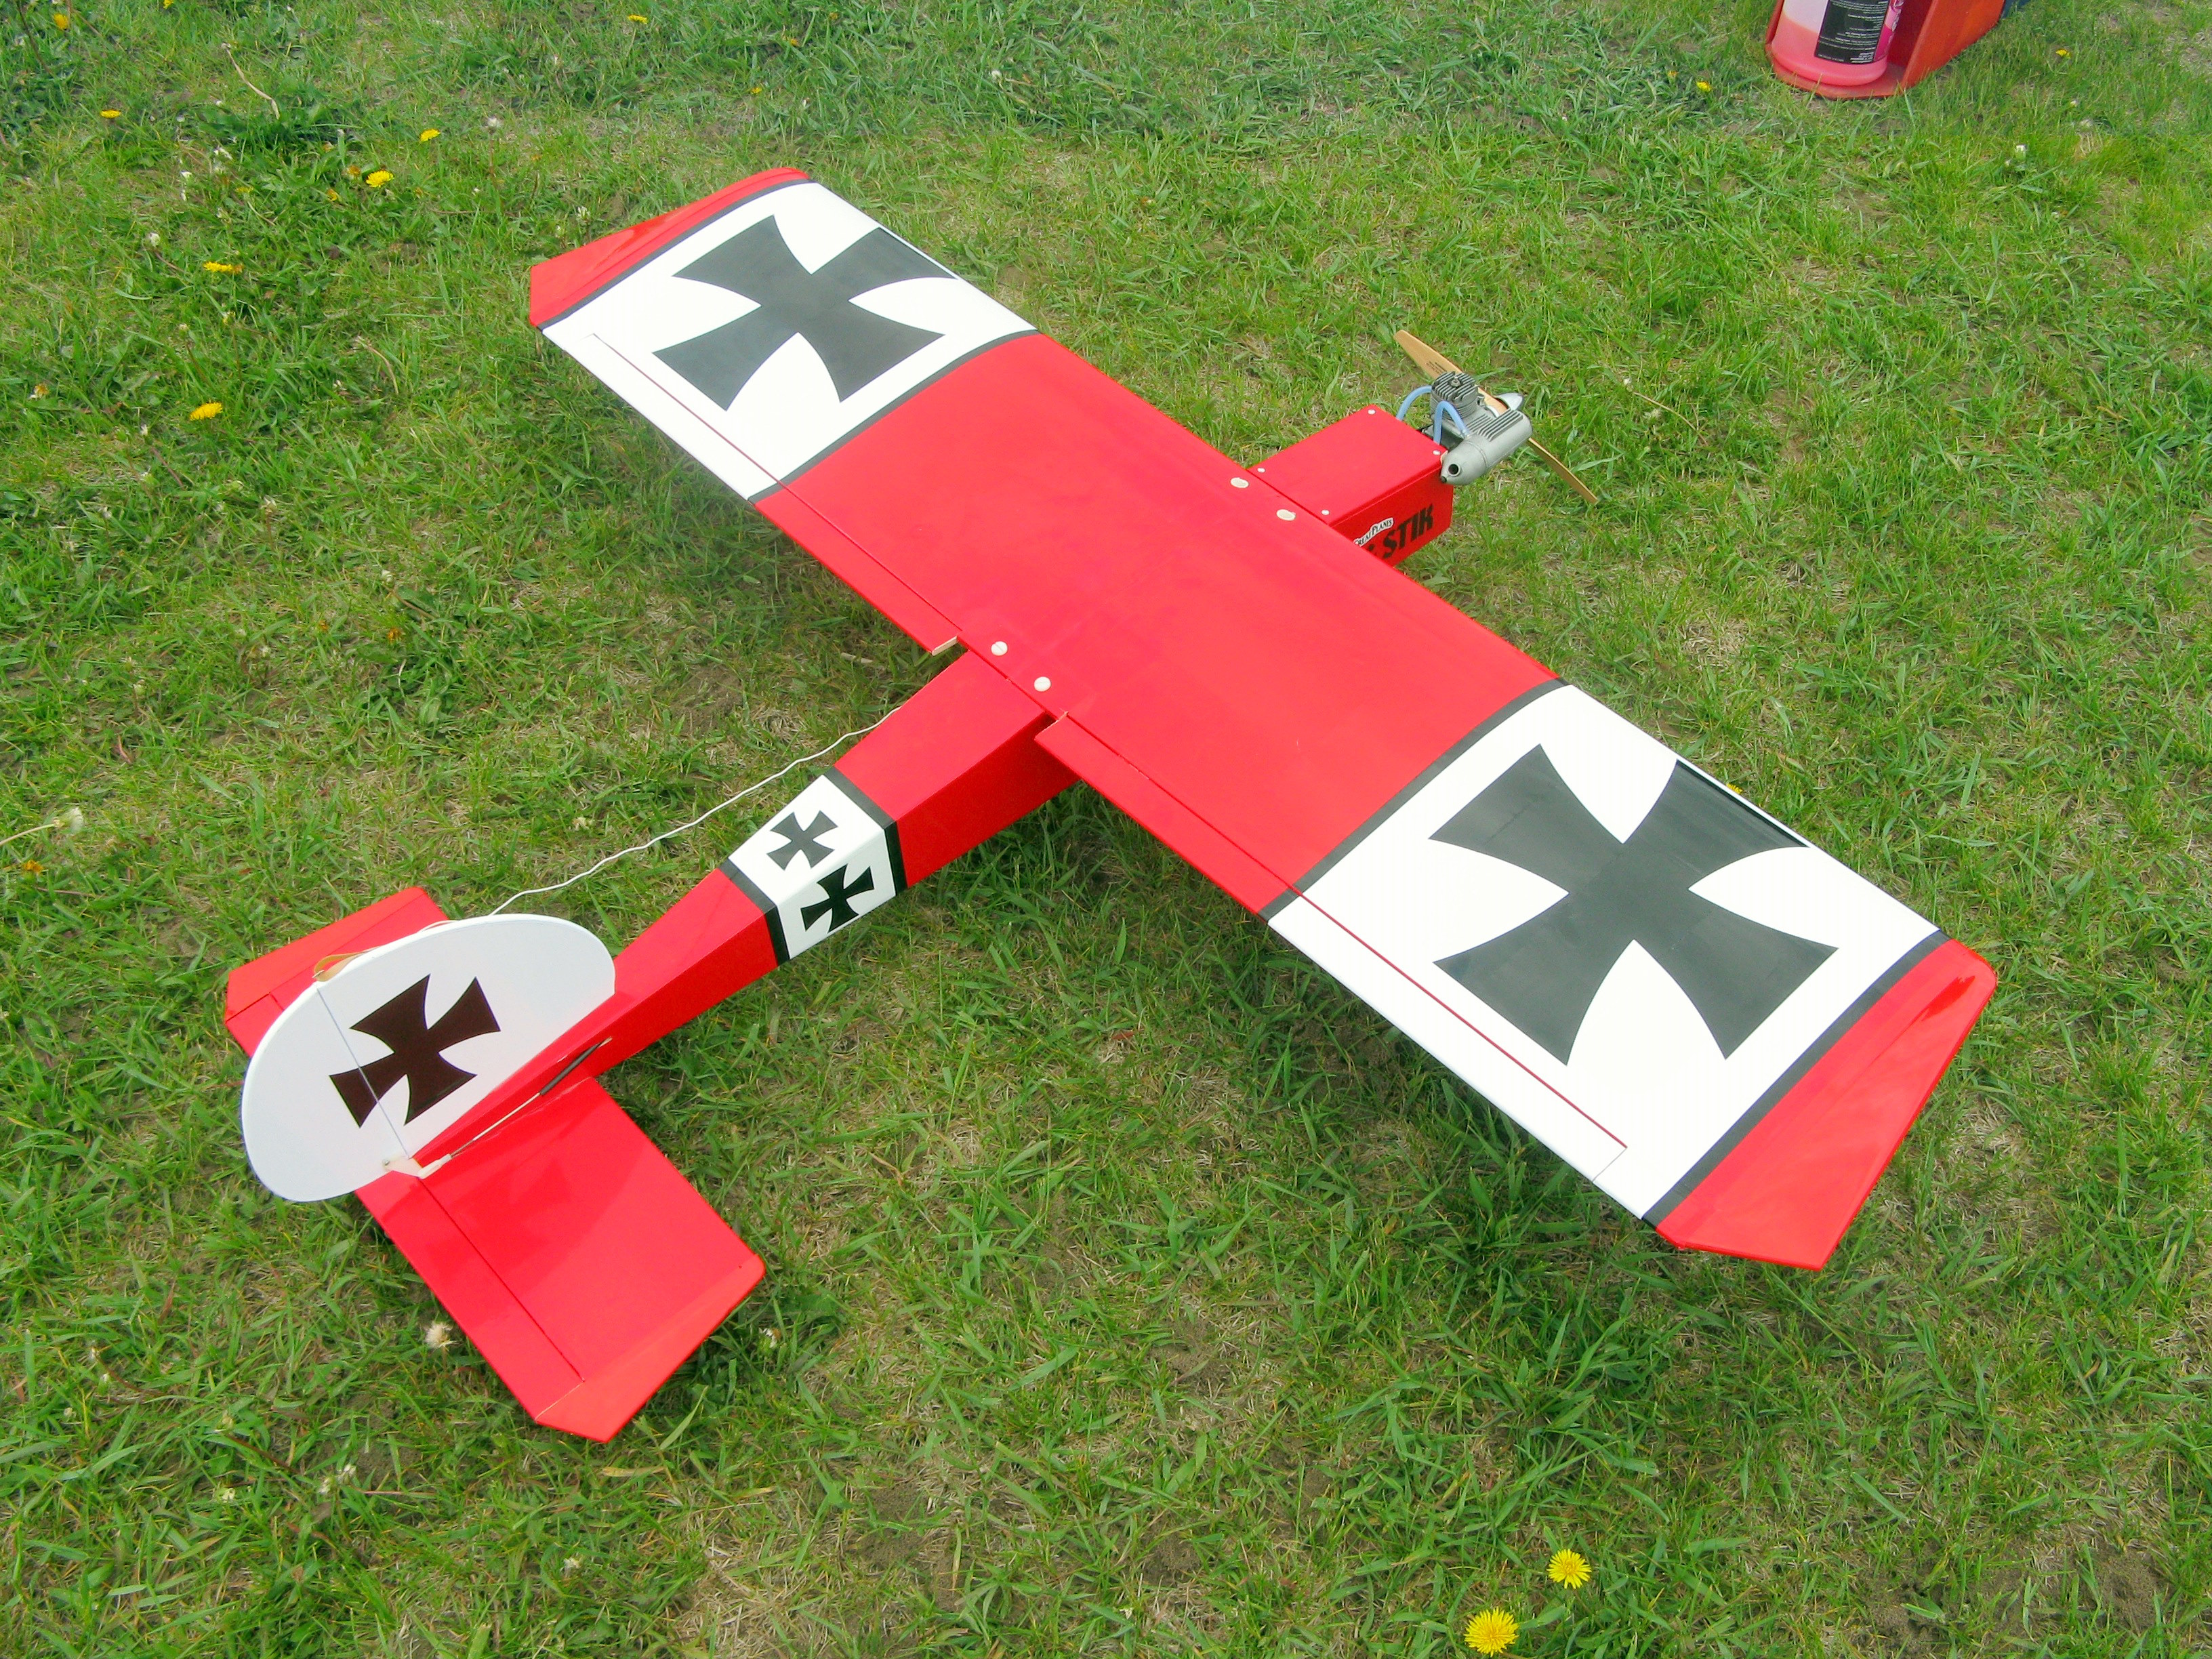
IMG_1120 There’s not too much to say … she flies a lot like a stik. 🙂 Today was pretty windy and lots of swirling eddies at our field. I played with control throws and dual rates on the ailerons. The initial rates were pretty lively for a landing approach, especially in the crazy winds we were having. I had one dead stick … pulled the idle too low on approach, but was able to land and roll out entirely within our runway. The GP 42 offers plenty of power for near vertical performance. The tail dragger configuration is kind of tricky on the ground though … I might substitute larger wheels?
June 1, 2008
I got fed up with this thing sitting around unfinished, and I was really itching to fly it, so I spent the last day and a half this weekend knocking it out. There are a few things that maybe aren’t perfect, but this is a old school ARF so things don’t line up as well as newer ARFs. So I think it will be good enough, and fly well enough. It’s pretty much ready to go.
I’m excited about this airplane because my first post-trainer aircraft was a Midwest Sweet Stik and it flew great and I loved it. But my original (built in 1984) was getting rattier and rattier so I eventually sold it to some guy for cheap … probably ended up as target practice are trash can filler somewhere. So this project lets me revisit one of my all time favorite models, but with a snappier engine, hopefully lighter airframe, and this time as a tail dragger configuration.
November 19, 2005
Today I reinforced the floor at the rear of the cabin in case I want to install floats later on. I then installed the main servo mounting tray. Finally I cut and began installing the pushrod housings.
November 14, 2005
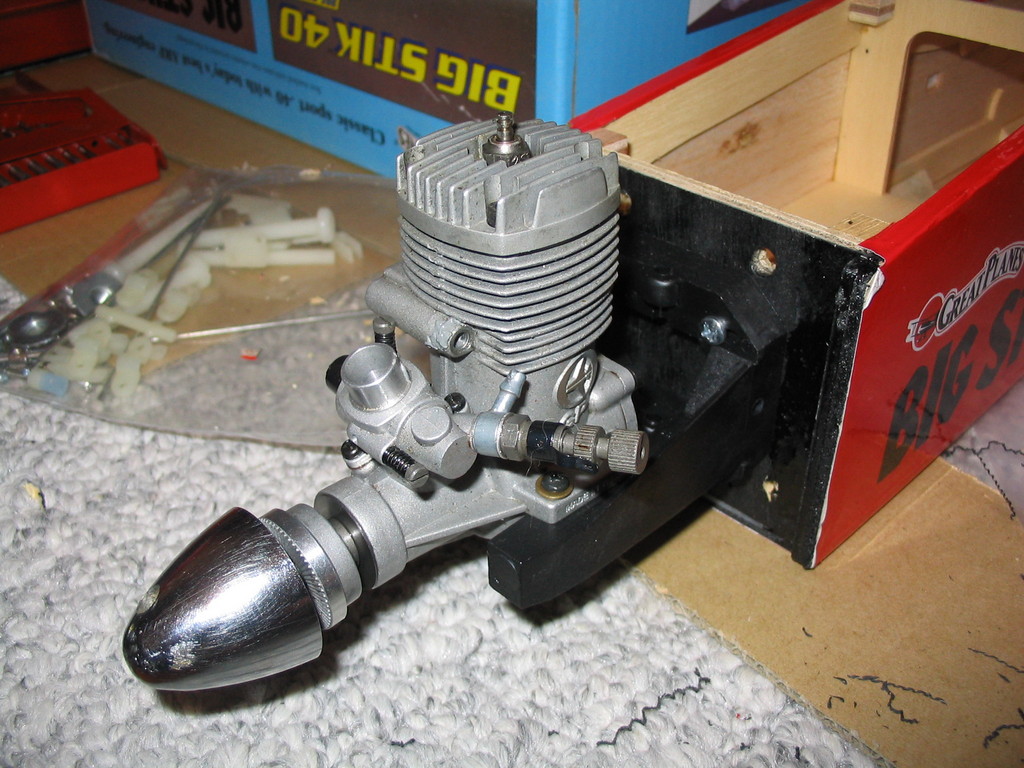
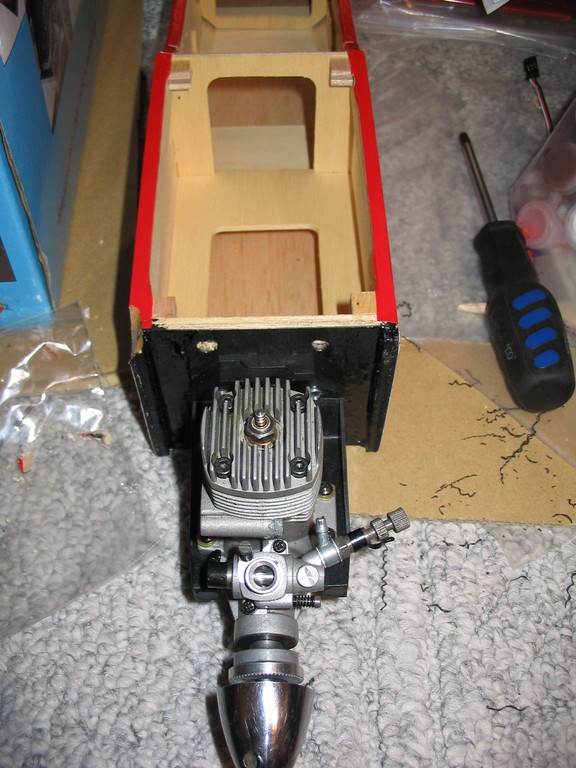
This evening I went to the hardware store and purchased 4 sheet metal screws small enough to fit through my engine’s mounting holes. I positioned the engine and using my new “dead center” tool, marked 4 engine mounting holes “dead center”. I drilled them out and sure enough they were dead center. Finally I used my replacement screws to fasten the engine to the mount. Simple basic stuff. 🙂 I really need to get a flight pack because servo/linkage installation is the next step.
img_3143
img_3146
November 10, 2005
Two days ago I dug out my epoxy and glued the 3 plywood wing joiner pieces together to form one hopefully strong enough wing joiner/spar piece. I’m always nervous about wings folding up in flight, but I’ve never had one fail in flight [yet]. 🙂
img_3144
img_3145
Yesterday and today I diddled away at a few more things and pretty much finished up the wing minus the servo and linkage. I’m still negotiating with the wife over how we are going to fit a new flight pack into the family budget. 🙂
I started looking into the engine mounting today. The supplied engine mounting screws are too big for the holes in my engine. I have a really nice running Thunder Tiger GP42 I am putting on this airplane. I guess I’ll take a trip to the hardware store tomorrow.