RC Aircraft Precision Balancer and Work Stand
This morning I whipped together a “precision aircraft balancer” (like the Great Planes “C.G. Machine”.) I built it out of $5.57 worth of PVC pipe and connectors from Fleet Farm and it probably took me an hour at the most.
The Plan
Here is my concept drawing:
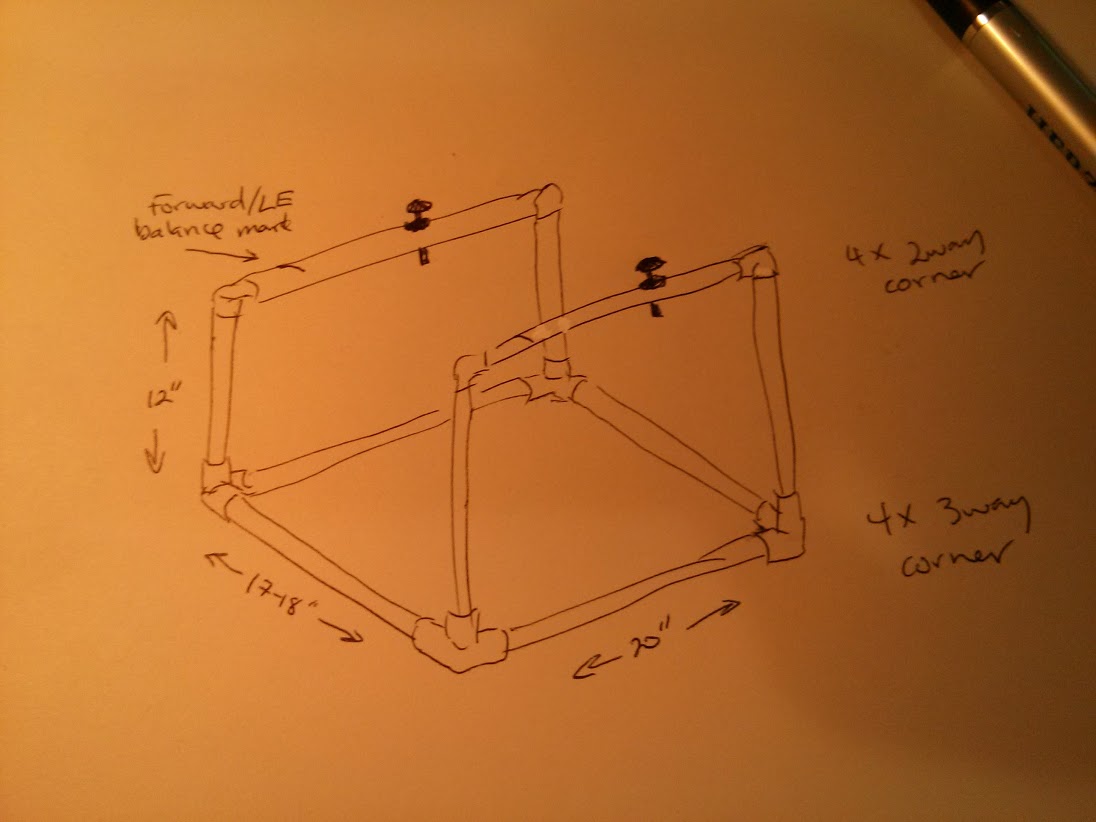
Shopping List
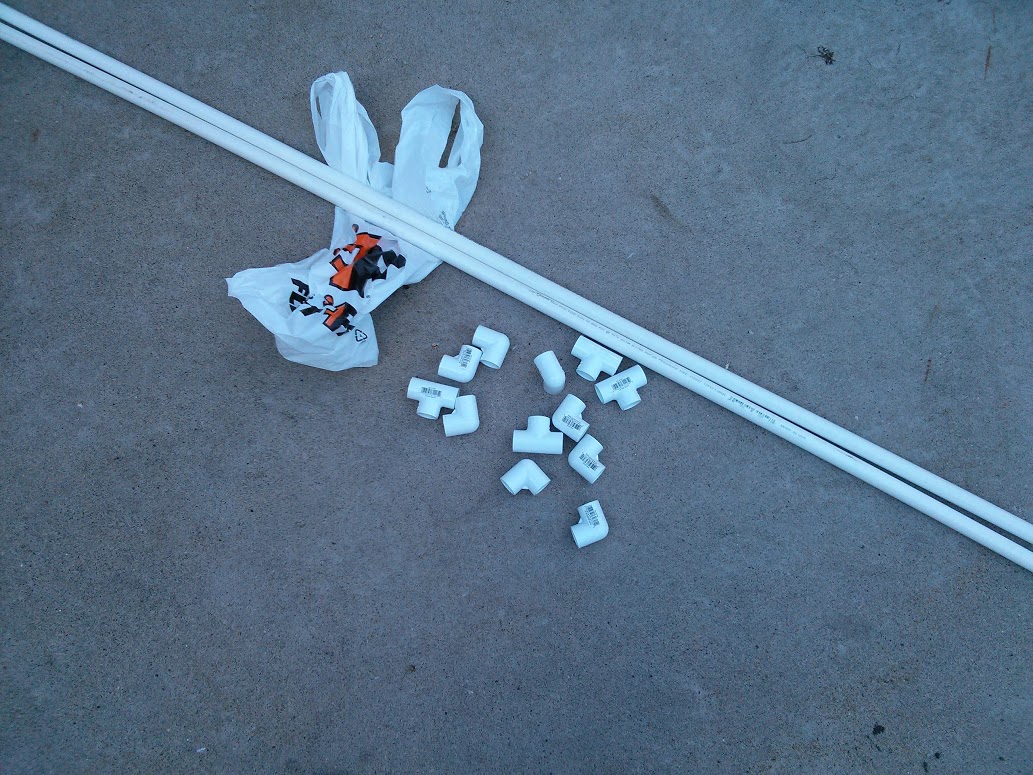
Here you are looking at $5.57 worth of PVC parts purchased locally. The one flaw in the original design is that no one locally sold those 3-way corner connectors. Maybe they don’t even exist? So I made an on the fly design change while I was shopping. The new design uses a “T” connector and a 90 degree elbow with 1.5″ long pieces of pipe connecting them. The parts list is: 8 x 90-degree elbows, 4 x “T” connectors, 14′ of 1/2″ PVC pipe (in 2 10′ sections.) I went with 1/2″ PVC and that is plenty strong for my needs, but 3/4″ PVC would work just as well and make the stand a bit beefier.
Construction
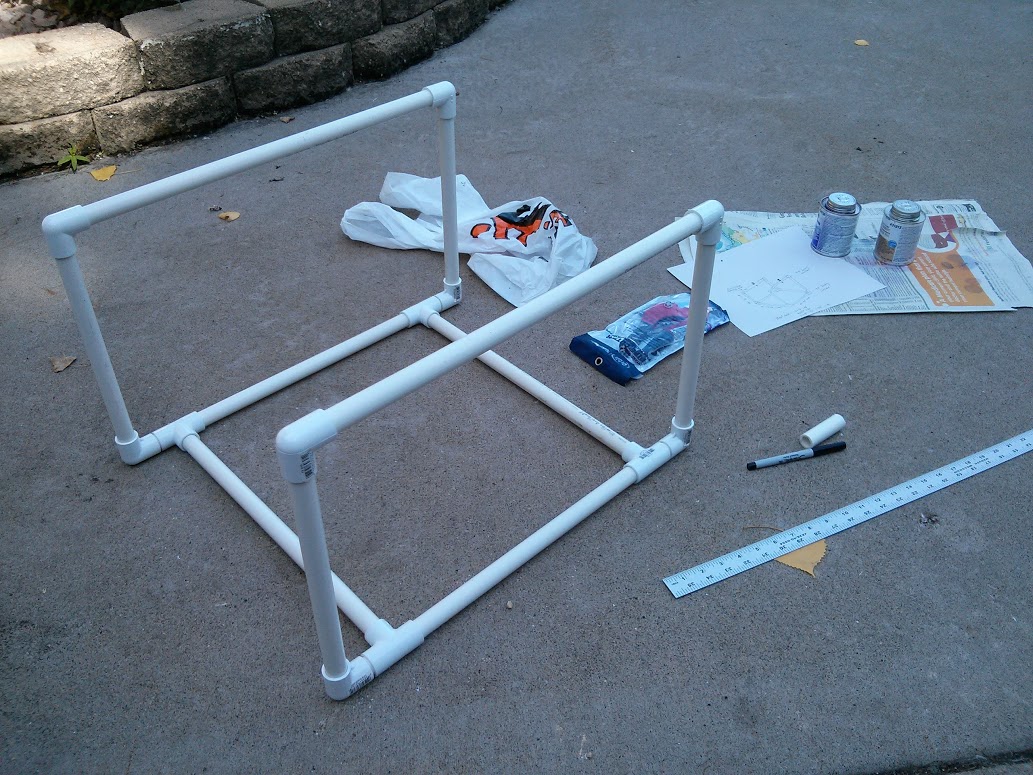
Cut the straight sections and fit it together. There is no rocket science, but do remember “measure twice, cut once”. Here you can see the parts starting to come together. How exciting! 🙂

Finally here it is all put together:
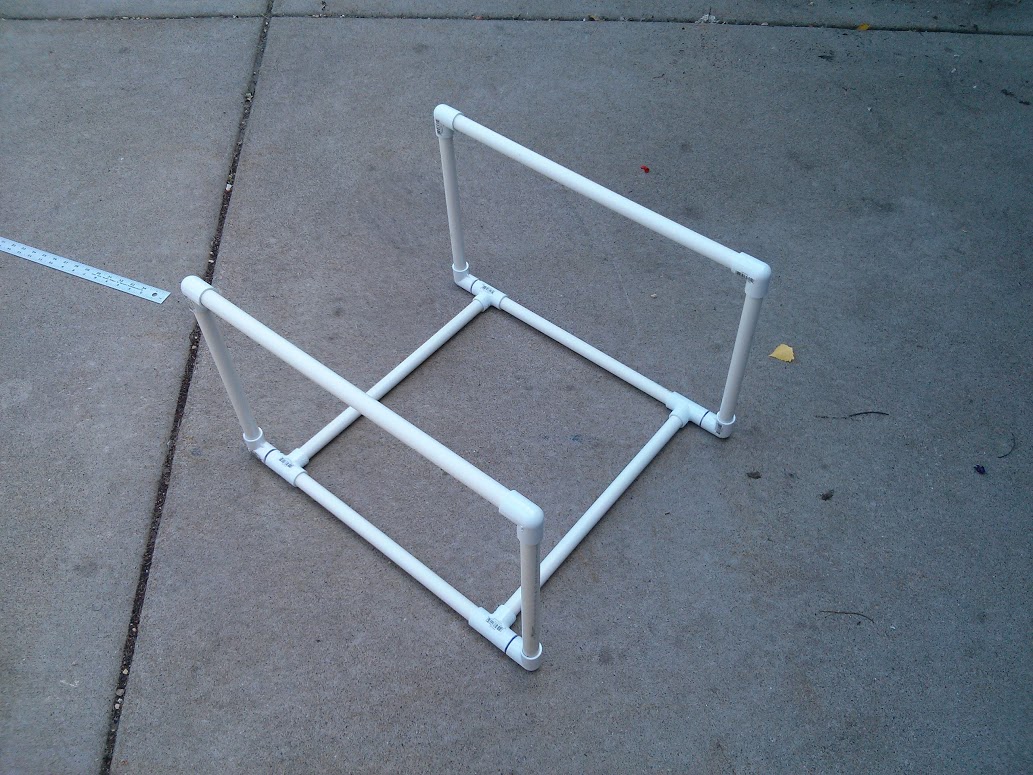
You might imagine that if the parts are only friction fit together, the two rails could flop over if you placed a heavy model on top. So what I did was use PVC cement to glue the joints between the “T” connector and the 90 degree elbow connectors at the base. I left everything else just friction fit so I could potentially take it apart for transport/storage.
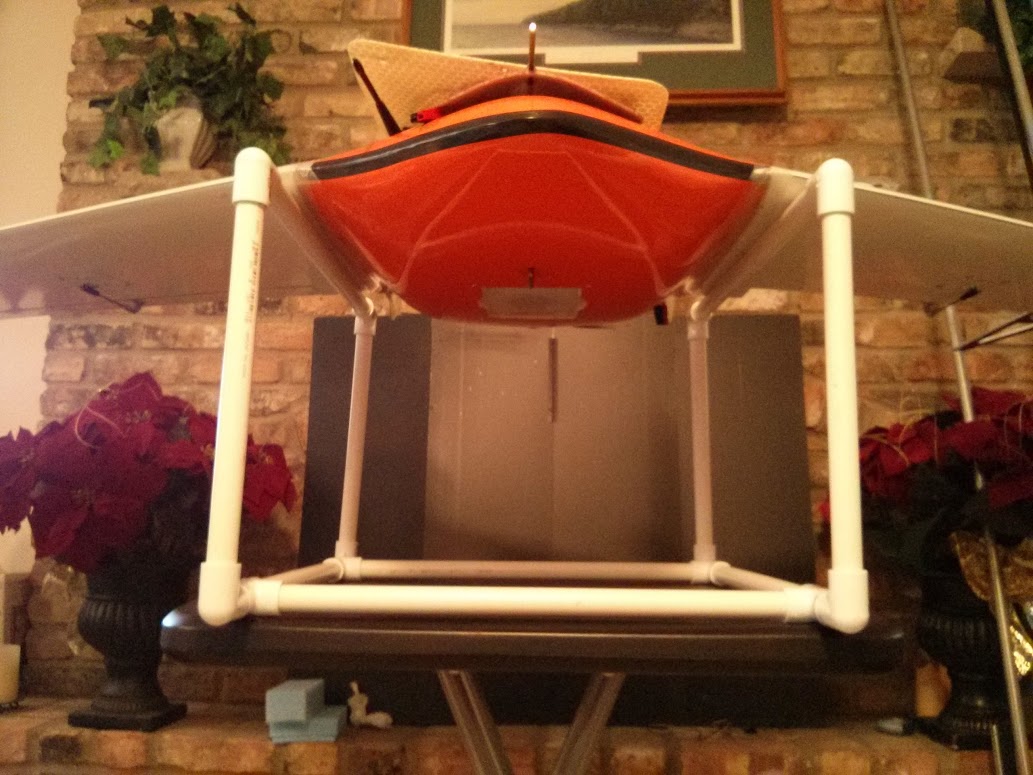
Finished Stand
Finally, here is the payoff picture of the stand in action!!! Yes, those are Christmas decorations that have not found an off season storage location.
 Modifications
There are a variety of modifications that could be made to the design
- Add pipe insulation to the top rails to help protect your more fragile models
- Go with bigger PVC (like 3/4″) to make a beefier stand.
- Drill a vertical hole into the top rail to insert a peg. (A bolt with a rounded head with a nut screwed most of the way in makes a nice drop in peg.) Make marks on the top rail in your favorite units. Now you have a “Precision C.G. Machine” and saved yourself $50 at the hobby shop. Personally I would suggest locating the peg about 1/4 to 1/3 from the rear along the top rail (not dead center) so it’s easy to just place the aircraft forward and use it as a stand without removing the pegs.
- If you add balancing pegs, make them drop in/removable and tether them to the rail with dental floss so you can use the device as a stand without worrying about scratching or denting your model with the balance pegs.
- Adjust the dimensions. I built this for a flying wing with a 16″ wide fuselage so I made my stand really wide. I also made it pretty tall to accommodate setting the aircraft on it inverted (leaving room for the vertical fins.) If you have a different aircraft in mind, it might make sense to adjust some of the dimensions … but don’t make it too tall and skinny or it’s likely to blow over in the wind at the field.
- Do an image search for Escher and instead of making an aircraft stand, try to build some sort of perspective/perpetual work of art.