Senior Telemaster
Airframe Todo List
(Sep 4, 2010 edit: I’ve moved way beyond this todo list, we are on our 2nd and 3rd gen autopilot hardware now. The software has been totally revamped. Still, kind of fun to look back to see where we were a few years ago. Never did clean the gummy residue off the load struts though …)
- Setup a heading hold mode and implement waypoint following.
- Setup auto-throttle control module.
- Install secondary “tapped PPM signal” receiver.
- Install MaxStream radio modem.
- Low priority: clean gummy sticker residue off the aluminum load struts.
November 16, 2007
Today I logged about 50 minutes of fully autonomous flight. Since I fixed the MNAV firmware bug, I have not seen any servo glitching or problems. The (patched) system is starting to earn my confidence.
August 14, 2007
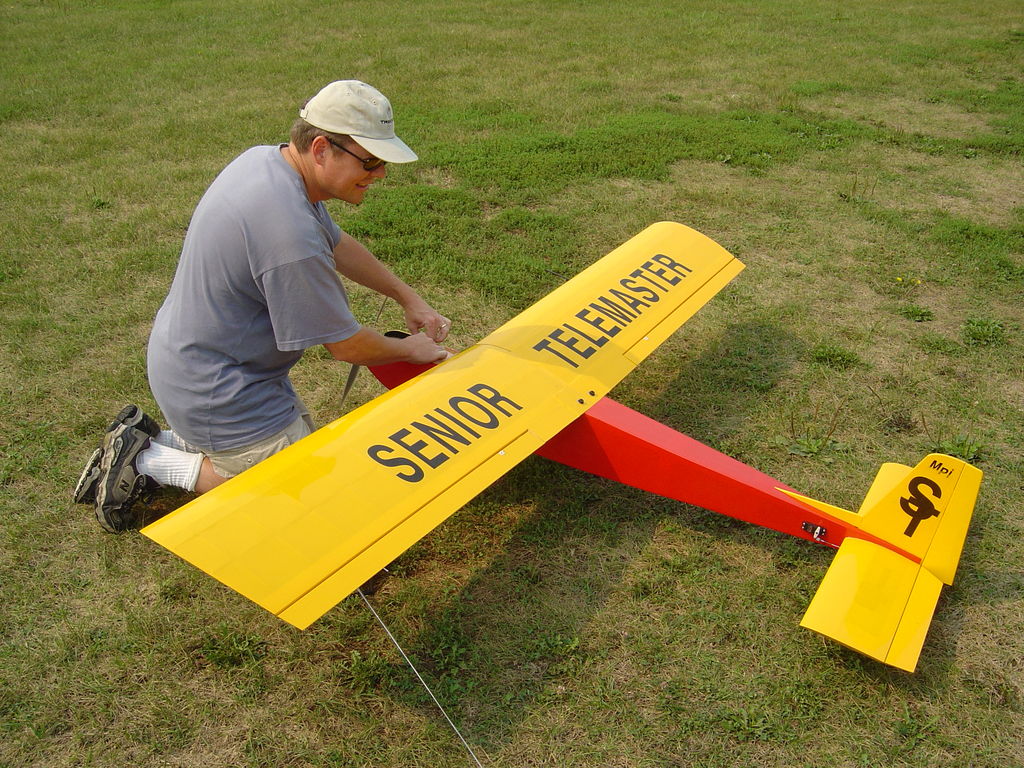
Today I did two test flights in some non-trivial wind.
DSC01721
On the first flight the gps gave me a couple sequential bogus readings so the aircraft thought it was -1000 MSL (i.e. below sea level.) This caused it to climb towards what it thought was target altitude, but in reality was way too high. So we shut down the motor and brought it back. I’ve never seen the gps glitch like this so I’m not sure what to make of it.
On the second flight we had good altitude readings, but I observed that I constructed my sequence of waypoints in a way that it was impossible to reach the 3rd waypoint from the 2nd waypoint given the existing wind conditions. I “cheated” and helped tighten that turn with the rudder and with that small amount of help, it was able to reliably negotiate the course.
July 28, 2007
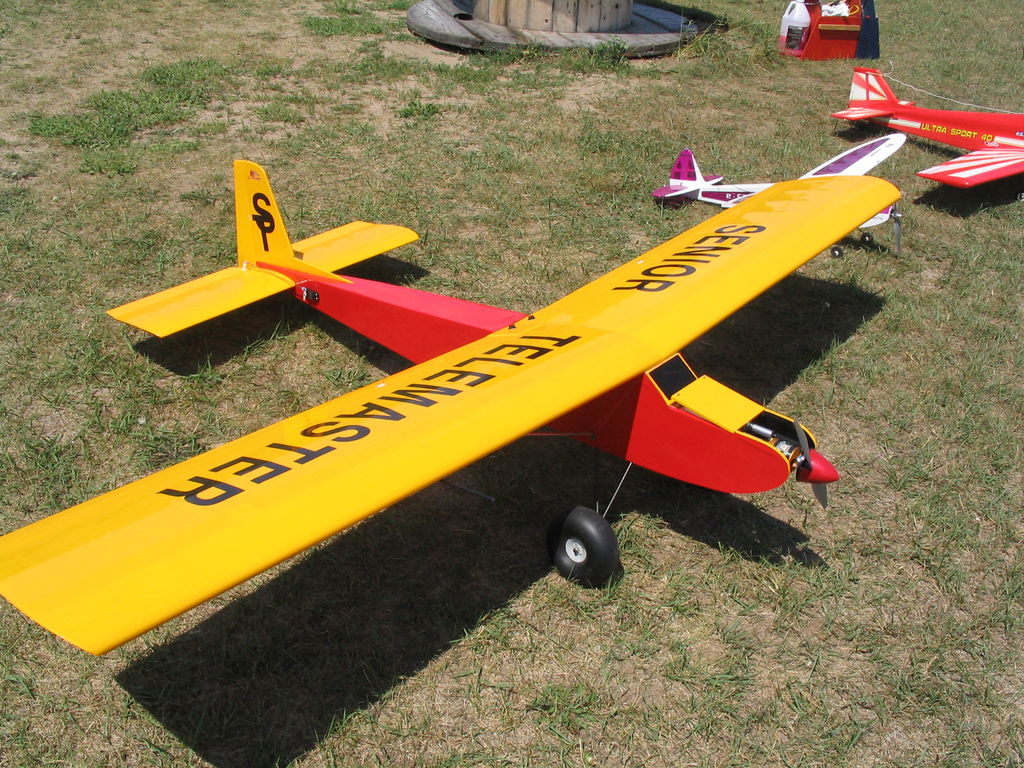
Today I flew twice to collect airspeed data from the pitot tube. The data is noisier than I hoped, but seems to be pretty plausible and certainly usable if I filter/smooth it a bit.
IMG_4695
July 27, 2007
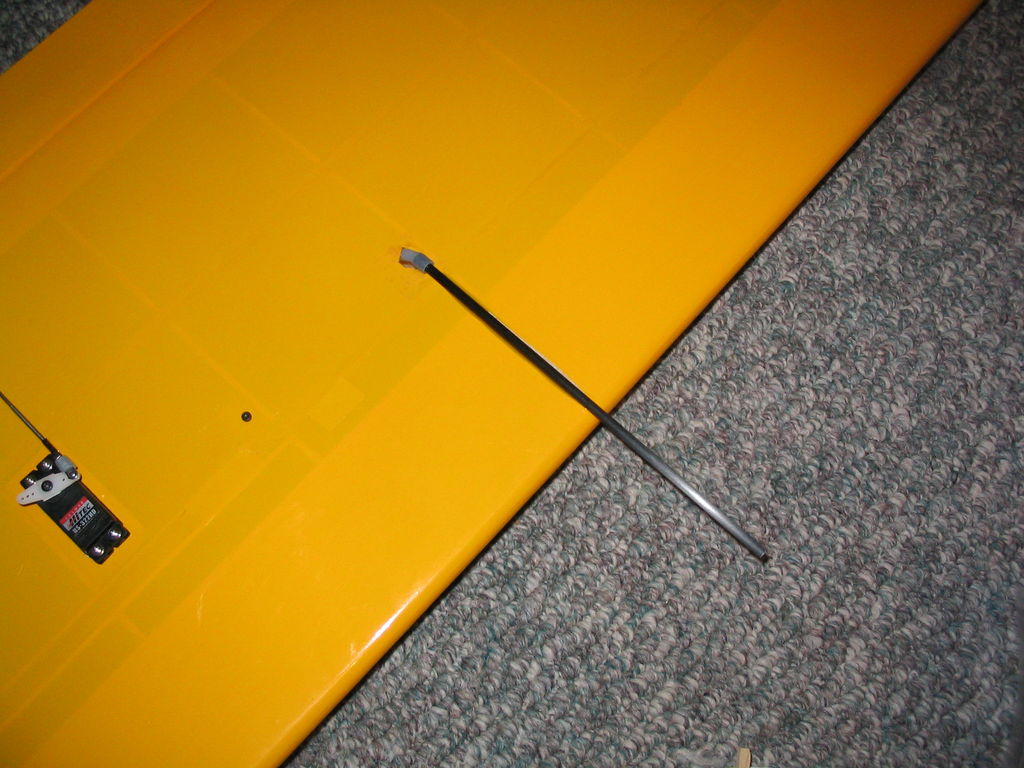
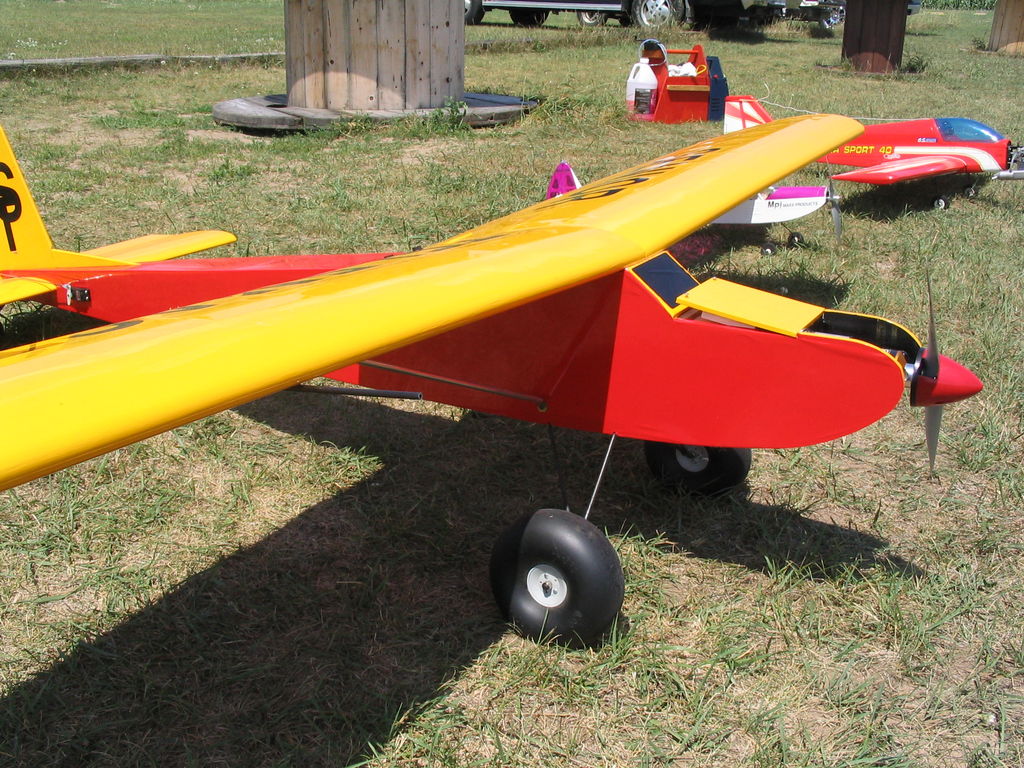
Today I installed a pitot tube on the Telemaster and routed some flexible out the center section of the wing so I can plug it into the MNAV when I install the wing. I used a length of carbon fiber tube rather than metal. These pitot tubes take a lot of abuse, even when you know they are there and are trying to be careful. 🙂
IMG_4694
IMG_4696
July 13, 2007
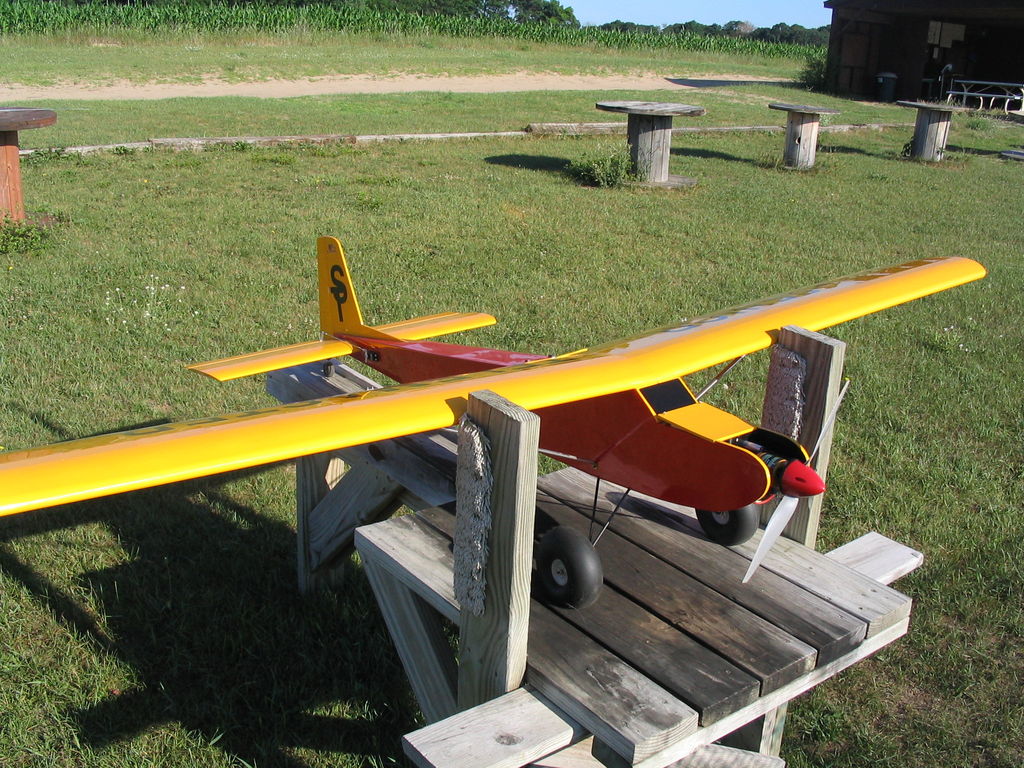
Flight report: The goal of today’s flight was to excercise the altitude hold system after making a couple small tweaks to the gains. It was a beautiful morning, temps in the mid-60’s, not a cloud in the sky, wind out of the west at about 4-5 mph, nice smooth air.
IMG_4689
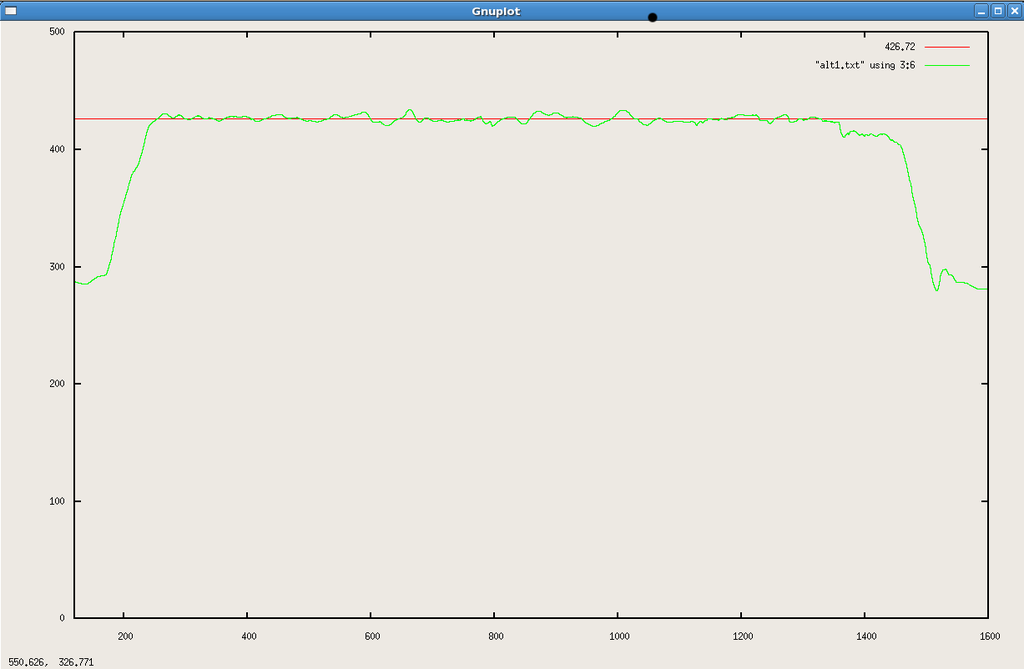
Here is the plot of altitude vs. time. The red line is the target altitude of 426.72 meters MSL (or 1400′ MSL which is about 500′ AGL.) Altitude statistics for the flight: average altitude = 426.44m, min = 419.6m, max = 434.4m, standard deviation = 2.85m.
TMaster-20070713-alt
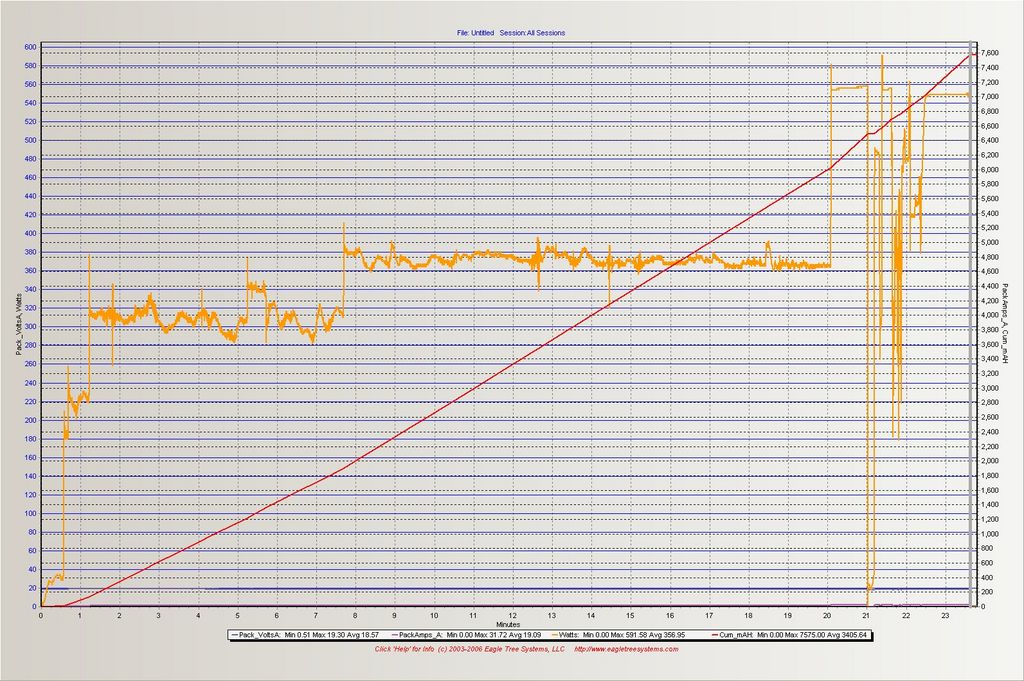
Here is a motor/battery plot from my eagle tree data logger:
TMaster-20070713-power
Here is a movie of a synthetic replay of a portion of the flight:
June 23, 2007
I took the telemaster out and ran out the 8000 mAh battery over the course of two flights. I didn’t quite have a full charge on it to start with and ran it up at full throttle most of the time, so I only got about 22 minutes of motor on flight. It is a bit surreal to see such a large airplane fly so quietly, smoothly, gently, and slowly — but also very pretty to watch. The air was really smooth this evening and winds were light so the big telemaster was super stable and solid.
On the first flight the MNAV performed great. I saw one momentary servo glitch, but other than that, it tracked rock solid each time I activated the autopilot. I would fly down to one end of the field, turn around, line it up, and activate the autopilot. The autopilot would hold a pitch attitude and lock the wings level, so I could then steer with the rudder and fly a pass. At the other end of the field I’d flip back to manual control, wheel around, line her back up, and reactivate the AP again. I flew a dozen “long” passes like that and it worked well.
On the second flight, the MNAV servo output was in glitch mode the whole time. Each time I activated the AP, it drove the servos to full stop which puts the controls hard over. So I just flew it manually around the pattern, and checked periodically to see if the MNAV revived itself, which it never did. I should point out that I’m 95% sure the servo output glitch is something specific to this particular MNAV unit. It’s not a more general problem as far as I know. I should also point out that the sensors and flight computer runs fine during the time the servo output glitches out. Once I get the other MNAV back from Xbow, I will probably send this one in for service.
June 9, 2007
Today I flew two more flights with the MNAV involved. I activated the pitch angle hold and that seemed to work reasonably well to. I think the control outputs jitter more than the simulator and the plane reacts to turbulence more than the simulator, so the result is not a super smooth solid lock on the target values, but at the same time the bouncing seems really random like turbulence, not regular like an oscillating, not quite tuned, PID.
The flight control computer/mnav blipped out on me once and kept trying to put the controls hard over to full stop. I’m not sure what happened there, but it eventually recovered itself. I need to do some more ground testing to see if I can reproduce the problem.
June 8, 2007
First flight with the MNAV helping!
For the past weeks I have been battling one problem after another getting all the components together and working on this new airframe. The biggest problem has been interference and noise and a corresponding dangerous drop in range for manual control.
Ok, so tonight, I finally have everything together (I think — I hope! — it’s always those pesky oversights that can kill your airplane.) I pass my range check (not by a lot, but I pass), there is a 10 mph direct cross wind which I’m not especially fond of, but not too worried about. Skies are perfectly clear, temp is 70 degrees, I’m the only one at the field tonight, I need to be especially careful not to put my finger in the prop, I can’t dial 911 with out it! I power on the flight computer and verify it is up and running, I verify the borrowed IMU/GPS sensor is up and running, I verify I have gps lock, I double check all the controls are working and in the right direction, and finally I verify I can hand over control to the autopilot and yank it back reliably with a switch on my transmitter.
Tonight I only had the aileron channel routed through the flight computer, so when I hand off control, the AP is only going to do wing leveling, I still have manual control on all the other axes.
With everything in place, I took a deep breath and taxied out to the end of the runway and lined myself up. I took another deep breath and smoothly advanced the throttle. As the airspeed came up, the aircraft weathervaned strongly into the direct cross wind so I quickly shut down the motor and aborted the take off run. This was my first try at a cross wind take off in this aircraft so I didn’t have my thumb gains set right! 🙂 On the second try I pretty much held the runway center line, and after what seemed like an eternal take off run in the grass, the tail came up and I coaxed it off the ground. It climbed out more lethargically than I thought it should, but it was climbing … temps were warmer than when I’ve flown before and I had an extra battery pack on board … I’m not too worried just yet.
I circled the field for a couple minutes to gain some altitude and catch my breath. I was paying careful attention to whether or not I had solid manual control with no glitching. Flying this airplane manually is a no-brainer, so I’m not nervous about that. But this is the first time I’ve flown all the equipment plugged together and powered on. I’m very worried about the effect of noise and reduced range. If my receiver is overwhelmed with noise once the aircraft is at altitude, and I can’t control the airplane … it goes in hard and half my life for the past couple months goes home in a garbage bag (I did bring one just in case!) Failure at this critical point in the project could mean giving up all my UAV hopes and dreams. Success here is the gateway to all sorts of interesting future projects and fun. I’m usually not a highly dramatic type of guy, but for some reason, I felt a heavy weight that this was a very critical junction in my life. So I was *very* apprehensive about possible equipment failure or some oversight that would lead to the aircraft being destroyed.
But so far so good, I’m up and flying, control inputs feel solid, no glitches that I can see in my receiver. This was the main focus of my test flight, to validate the manual override board I have recently added to the whole system and to make sure I can fly the aircraft safely and reliably no matter what goofiness the flight computer might attempt.
So now I’m at altitude, tooling around, no more excuses … I flipped the autopilot switch to activate it and immediately my wings leveled out and stuck there. I wiggled the rudder back and forth to full stop in each direction. This aircraft has a lot of dihedral and strong roll coupling, so even though a good whack (sorry Bill) of rudder causes quite a bit of roll, and even though holding full rudder deflection puts a lot of pressure on the airframe to roll, the flight computer is able to bring the wings back to level again and hold them there.
This is the bonus part of the flight. I honestly didn’t care if the flight computer put the ailerons hard over and held them there, as long as I could recover manual control any time I wanted. But the nice bonus was that the roll angle estimation and wing leveling code worked great. The gains maybe weren’t exactly perfect, but they were ok, and did the job just fine.
I landed and then repeated everything again with a second flight. I figure anyone can hit the three point shot, but if you can do it twice in a row, maybe it wasn’t entirely dumb luck.
This UAV is running an almost exact copy of the FlightGear autopilot algorithm, it even has the same xml parser, property system, and almost the same autopilot config syntax.
The Rascal 110 dynamics model we have in flightgear is not perfect, but it’s not horrible either. I developed a bunch of flightgear autopilot modes to work with the Rascal 110 model, including a wing leveler, heading hold, pitch hold, altitude hold, speed hold, etc. etc. These autopilot configs were all developed entirely in FlightGear using a JSBSim dynamics model.
Now with this UAV I am developing, I can take the *exact* autopilot config file off the flight simulator (make a couple small syntax modifications) and the actual, real-life, real world uav autopilot can run the same algorithm on the real uav in real flight with the same gains. If the simulation model used to tune the gains is good enough, the real life UAV autopilot should work out of the box (maybe not optimally) but well enough to be stable and do the job.
In this case, the wing leveler config developed in simulation with JSBSim and FlightGear worked out of the box on the real UAV running the same algorithm. (The Rascal and the Telemaster aren’t exactly the same airframe so this isn’t a perfect conceived test case, but they are close enough …)
I hope to head out tomorrow and repeat everything with the pitch axis. So tomorrow night I could be easily be sobbing, but for tonight at least I am happy. 🙂
No pictures tonight … Ruth misplaced the digital camera …
May 28, 2007
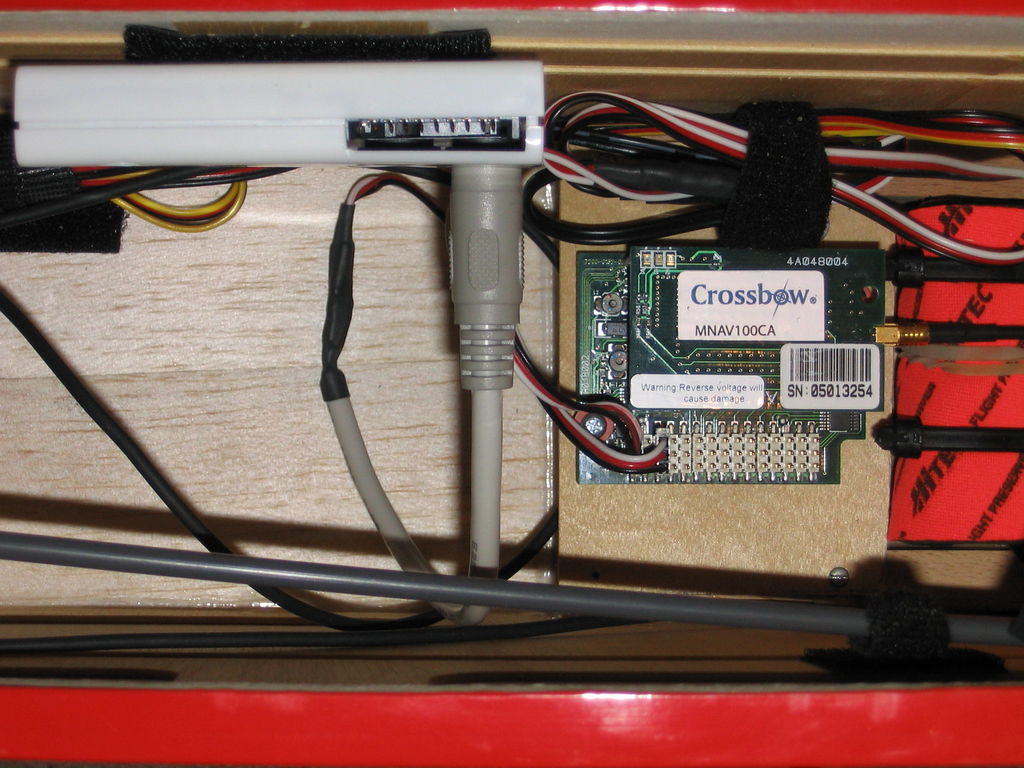
Test flight with MNAV and GumStix collecting data
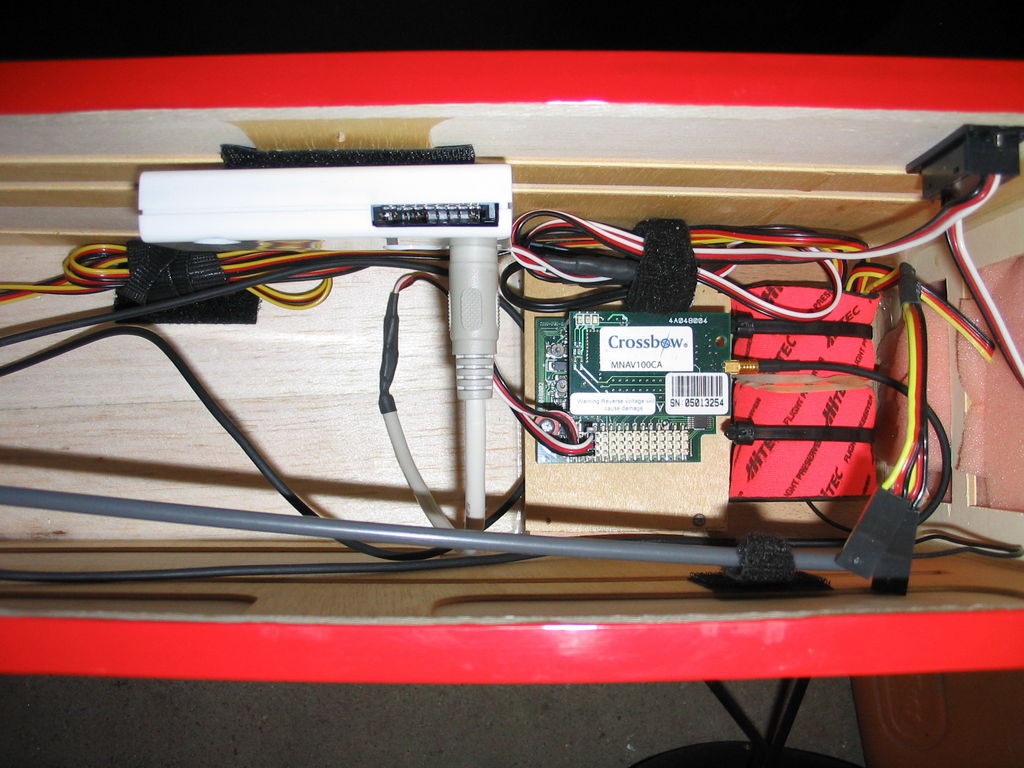
Today was really windy, but right down the pipe so I put in 3 flights on the telemaster. This weekend I mounted the Xbow MNAV connected to the GumStix flight computer. I can log about 60 hours of flight data on-board with the Gumstix’s 1Gb MMC card.
I can take that flight data and replay it in FlightGear to “visualize” the flight and also to get a sense of how well the sensors and flight computer estimate the location and attitude of the aircraft.
Here are some pictures of the initial installation of the equipment.
IMG_4602

IMG_4603
IMG_4606
April 18, 2007
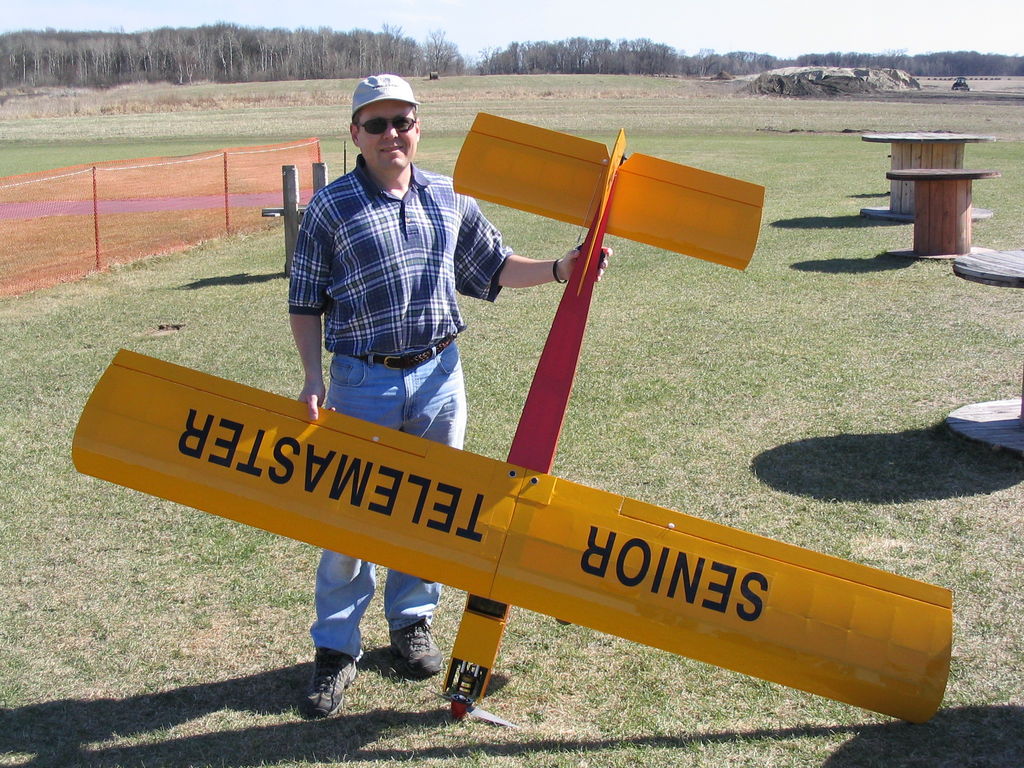
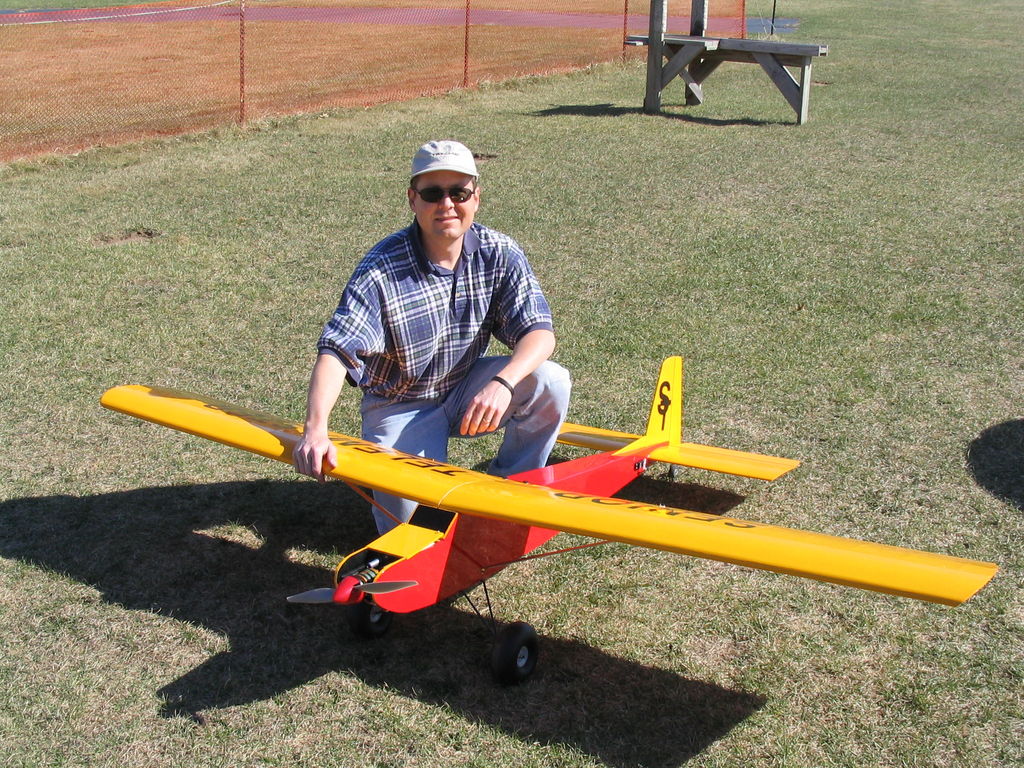
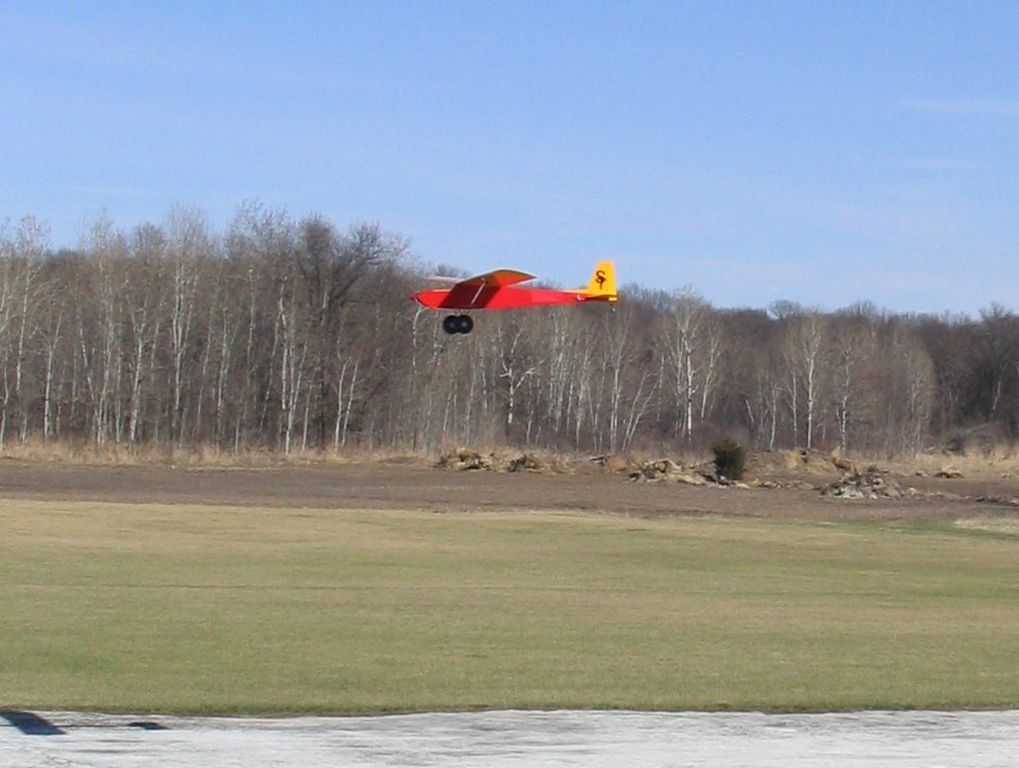
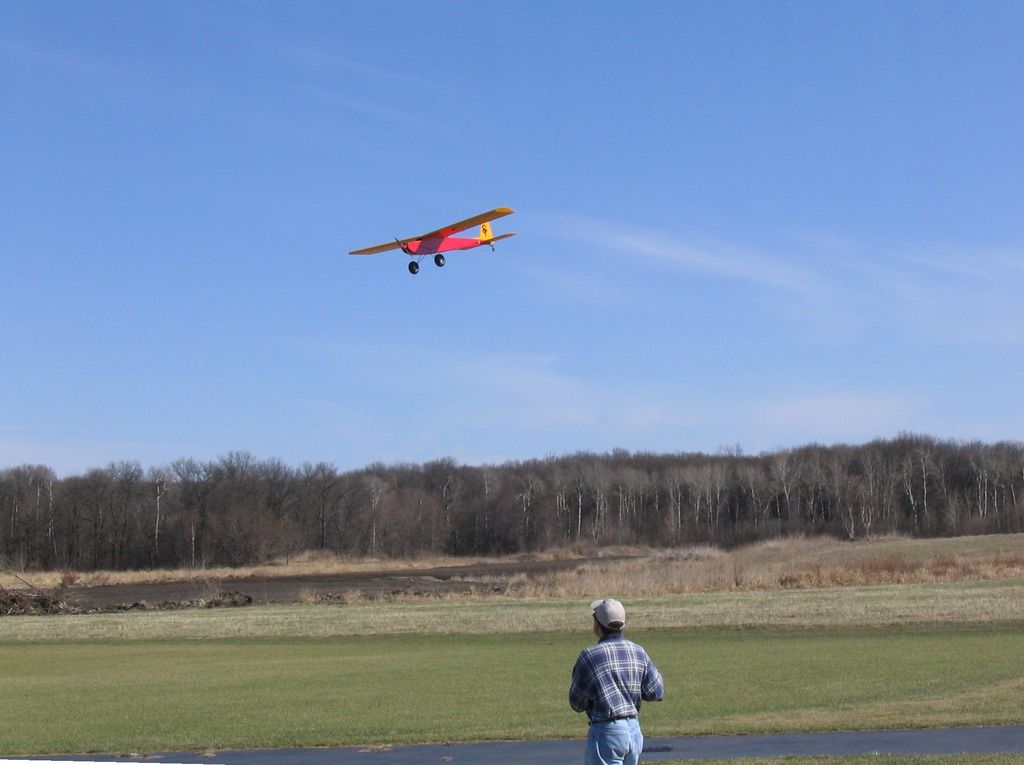
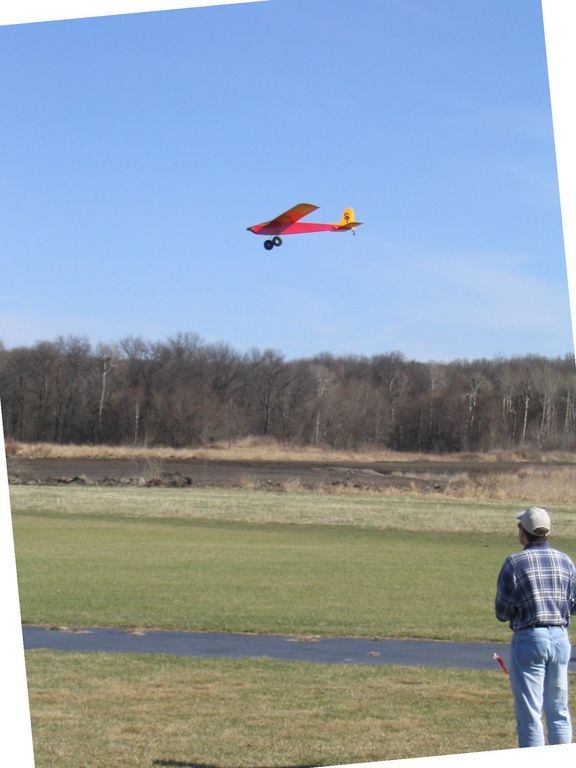
Maiden flight!
Temps were about 60F, clear sky, winds out of the East at 10-15 (runway is N/S.) The winds were very erratic, gusty, and changing directions. Not the nicest for flying but not insane either.
IMG_4445
IMG_4447
IMG_4448
IMG_4449
IMG_4450
March 30, 2007
Today I tightened down the motor mounts, prop, and spinner. I plugged in the battery and fired up the motor. She seems like she generates plenty of thrust to fly. The speed controller seemed like it was getting a tiny bit warm in my short run tests, so just to be safe I moved it back out on the front of the firewall.
I installed the receiver and secured the antenna. I put a bit of effort into routing and securing all the wires so there wouldn’t be stuff flopping all over inside the cabin. With the power on, I setup all the servos to move the correct direction, and adjusted the linkages so all the surfaces start out centered. I think the current control throws look fine.
The aircraft balances pretty close, but is slightly tail heavy … I’m not sure it’s enough to worry about with this design. I think everything is just about ready for a maiden flight.
March 29, 2007
Installed the battery in the nose compartment and packed foam all around it so it can’t move or dislodge (I hope!) It’s a two pound battery. I moved the speed controller installation to just inside the front of the nose hatch.
I found a long tube to route the receiver wire through and stuck that down the tail. I’m not sure I’m happy with that, but it’s a start.
I’m to the point now where I need to finalize the receiver installation, balance, and I should be ready to fly.
March 28, 2007
Mounted the speed controller on the lower outside front of the firewall with double sided velcro tape. I found a 5/16″ washer laying around the lab for mounting the prop. Also, I ran the prop through a balancer and I think it is very close.
On the way home from work I stopped by the hobby shop and picked up a Y-harness for connecting the wing servos, a short servo extender for the throttle channel, and a packet of metal 4×40 x 1″ bolts for installing wing load struts.
March 26, 2007
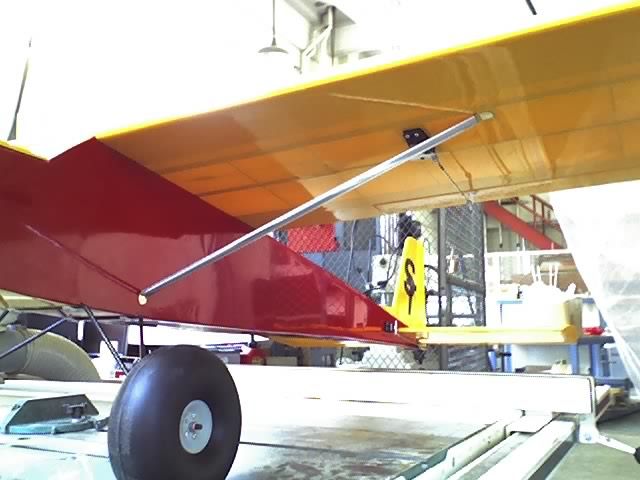
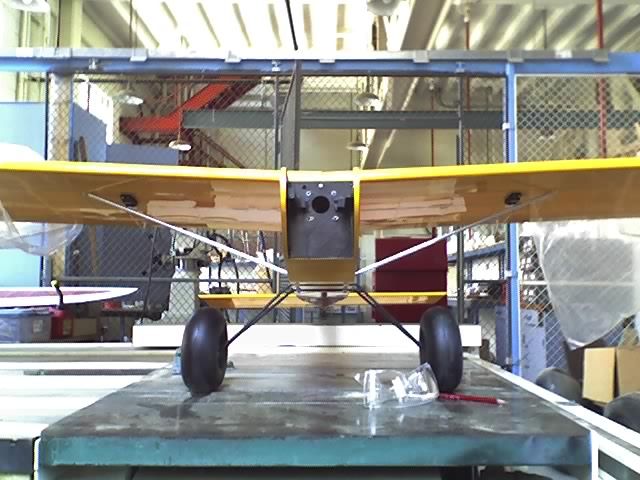
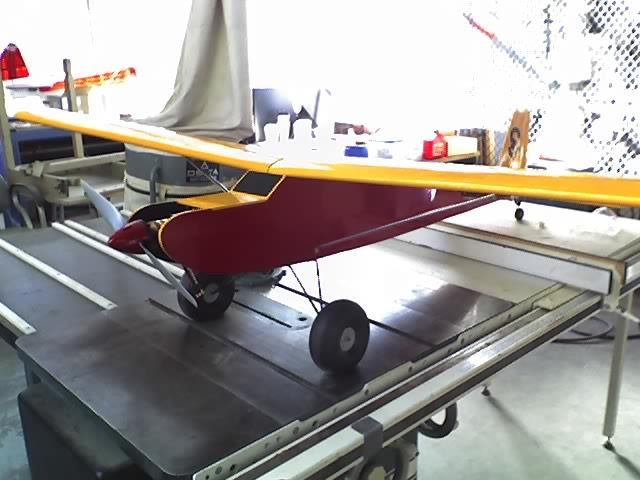
Today I bent the load strut mounting tabs to the correct angles and glued the plugs into the aluminum tubes with the correct insertion distance. I “pinned” the struts for added structural security, i.e. drilled a hole through everything crossways and epoxied a wire pin in to make sure everything is solid.
I then drilled out the mounting holes and installed the blind nuts in the wings and fuselage.
03-26-07_1225
03-26-07_1226
Here are some various angles of everything assembled as far as I can right now:
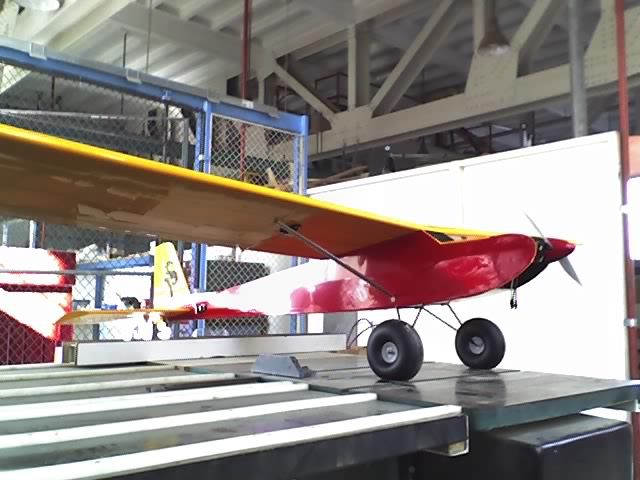
03-26-07_1641
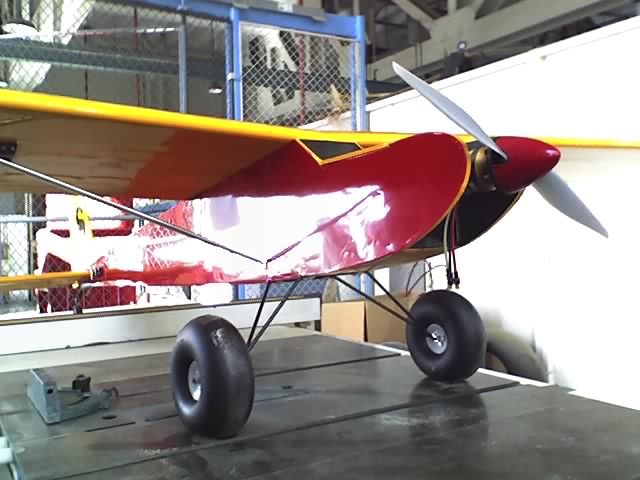
03-26-07_1642
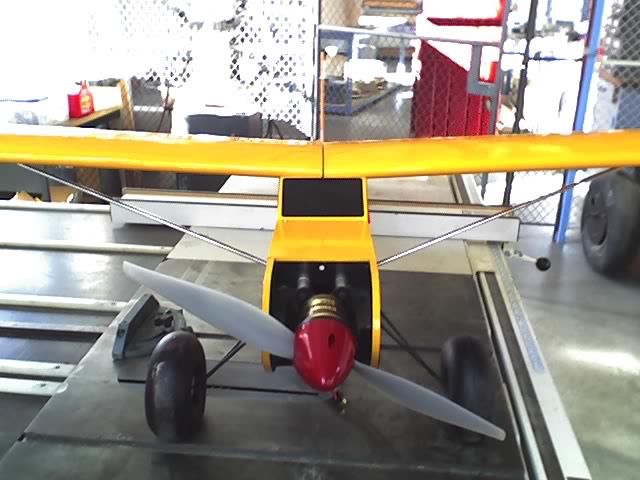
03-26-07_1643
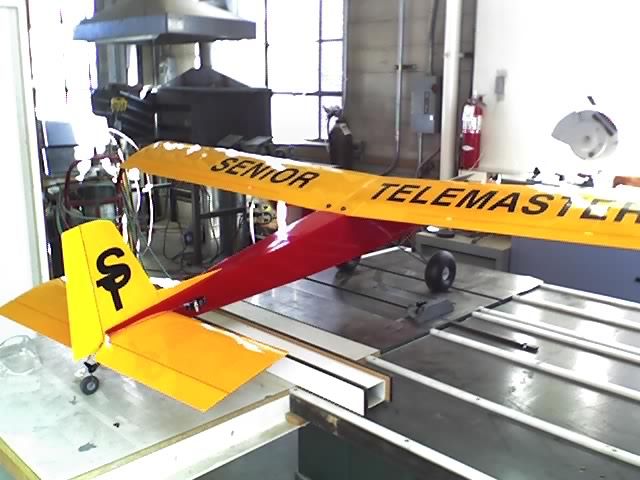
03-26-07_1644
03-26-07_1645
March 23, 2007
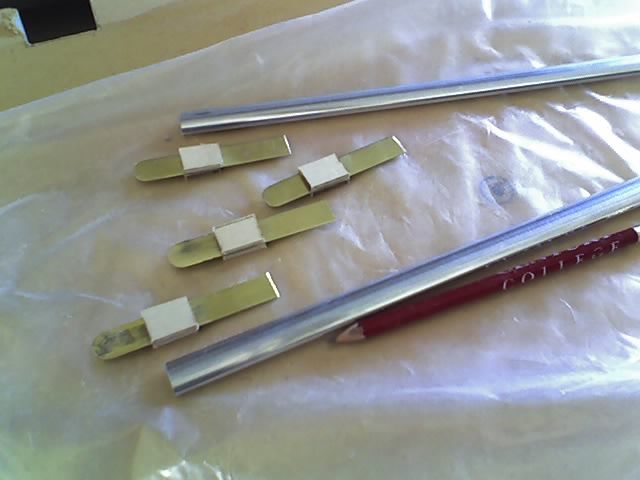
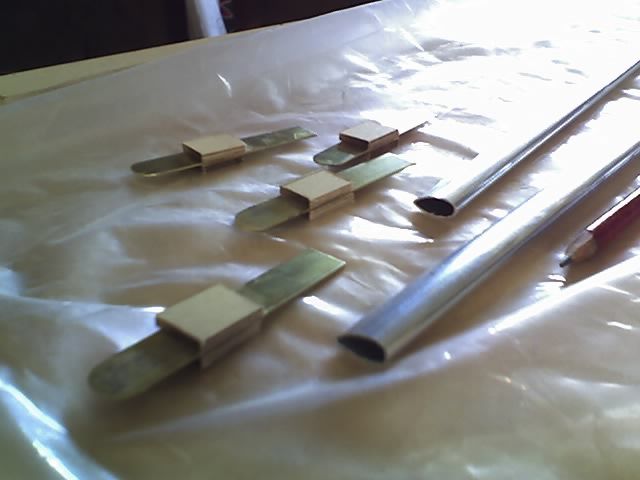
Load struts: assembled plugs and straps that I will fit into the ends of the aluminum tubing. Sanded the wood plugs down to the inner shape of the tube for a nice snug fit … well, one is a little loose, but it will be ok.
“All” that is left is to glue the plugs into the tub ends, bend the tabs to be flush with the fuselage and wing, drill the mounting hole, feed the bolt through, and we are pretty much done.
The one small thing that I’m worried about is where I’m going to remove the wing covering in order to install the blind nut on the back side of the wood mounting block.
03-23-07_1419
03-23-07_1420
March 21, 2007
Today I fabricated and installed the aileron linkages. I also cut my wing load strut tubes to their proper size (aluminum tubing in a tear drop/airfoil shape.) I have brass strips to mount in each end which will bolt on to the fuselage and wing. I need to cut those and fit them into the ends of the aluminum tube.
March 19, 2007
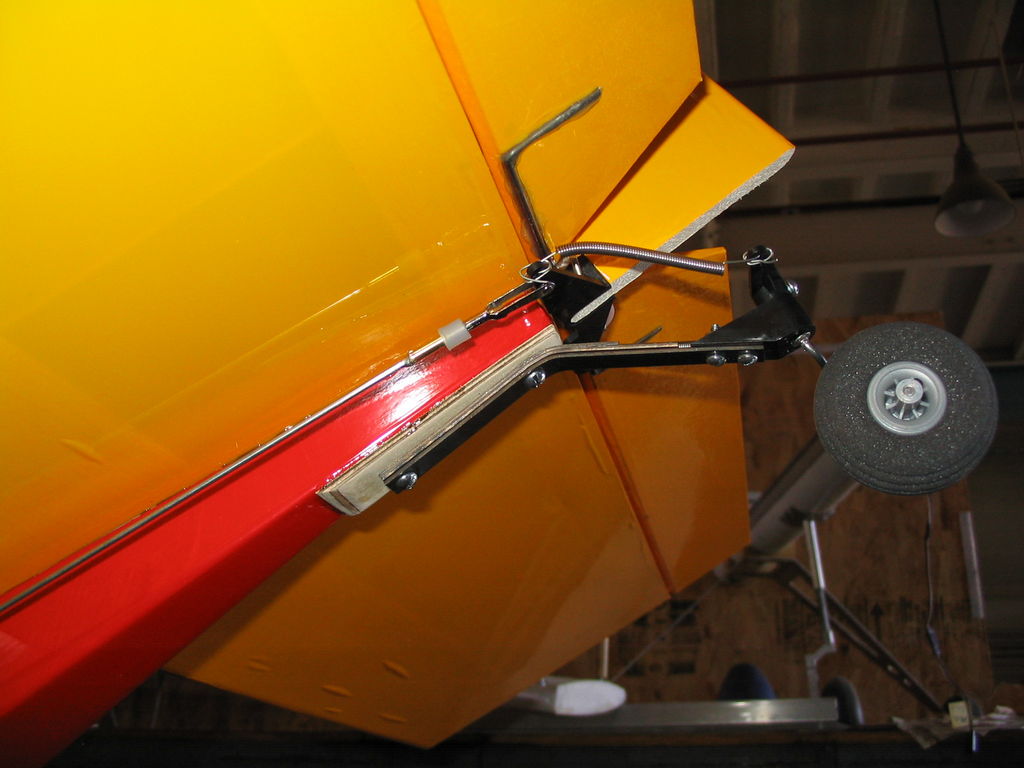
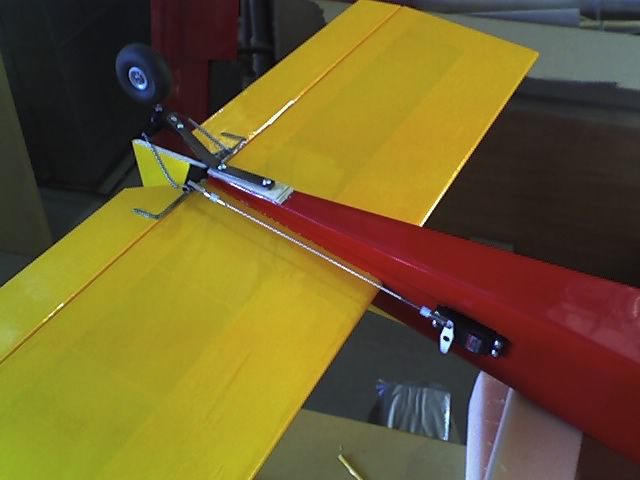
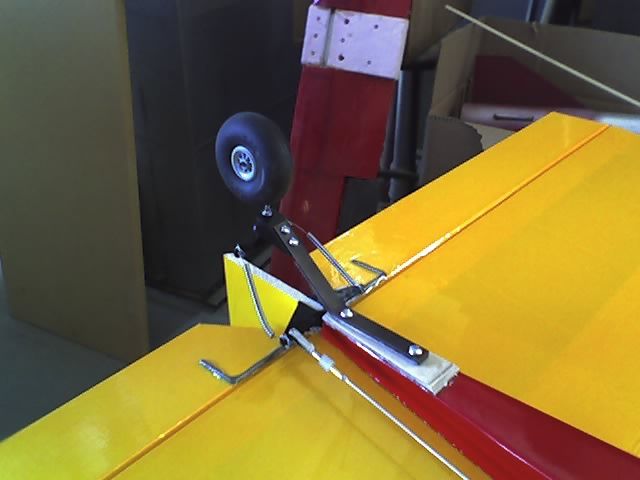
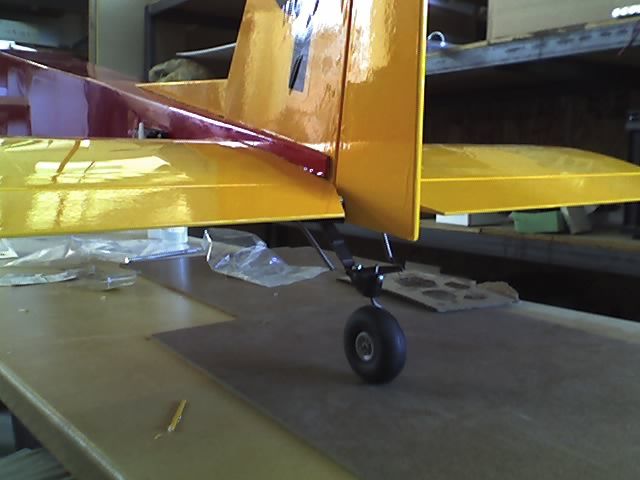
Today I installed a light weight 1.75″ tail wheel with a collar. I also installed servo extension security clips between the aileron/elevator servos and their 24″ extension wires. This is a small added measure of security to make sure these never can pull, vibrate, or wiggle free.
This weekend I purchased short extension cables to facilitate plugging the wing servos into the receiver (so I don’t need to plug and unplug cables directly into the receiver every time I go to fly.)
Finally, I fabricated and installed a piece to re-enforce the wing leading edge mount.
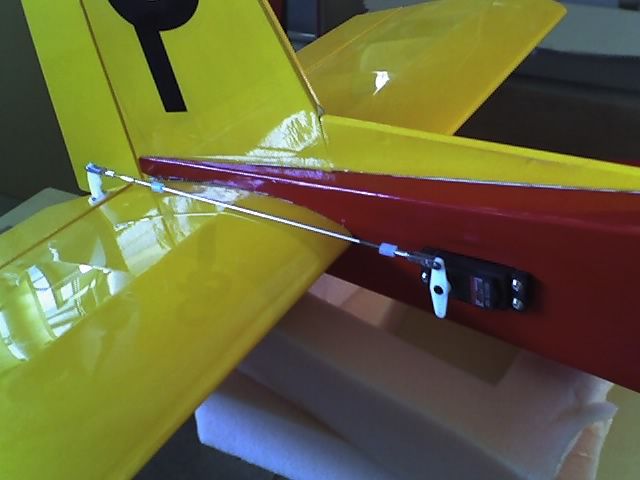
Detail of tail wheel and rudder linkages …
IMG_4322
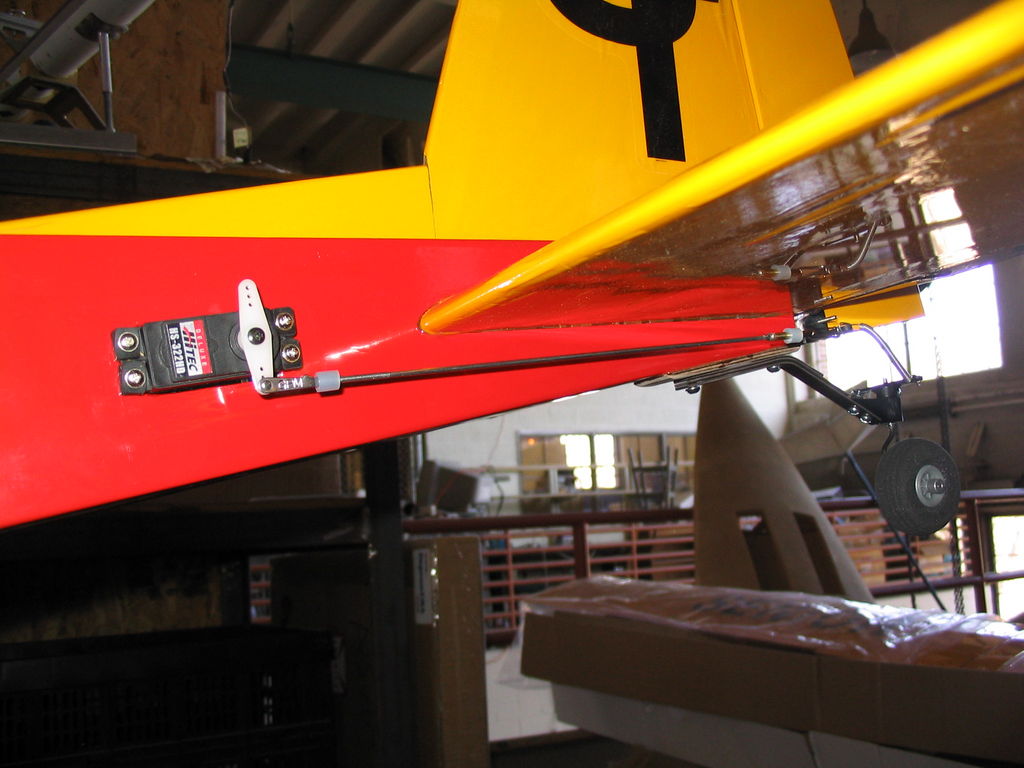
IMG_4323
Detail of elevator linkage …
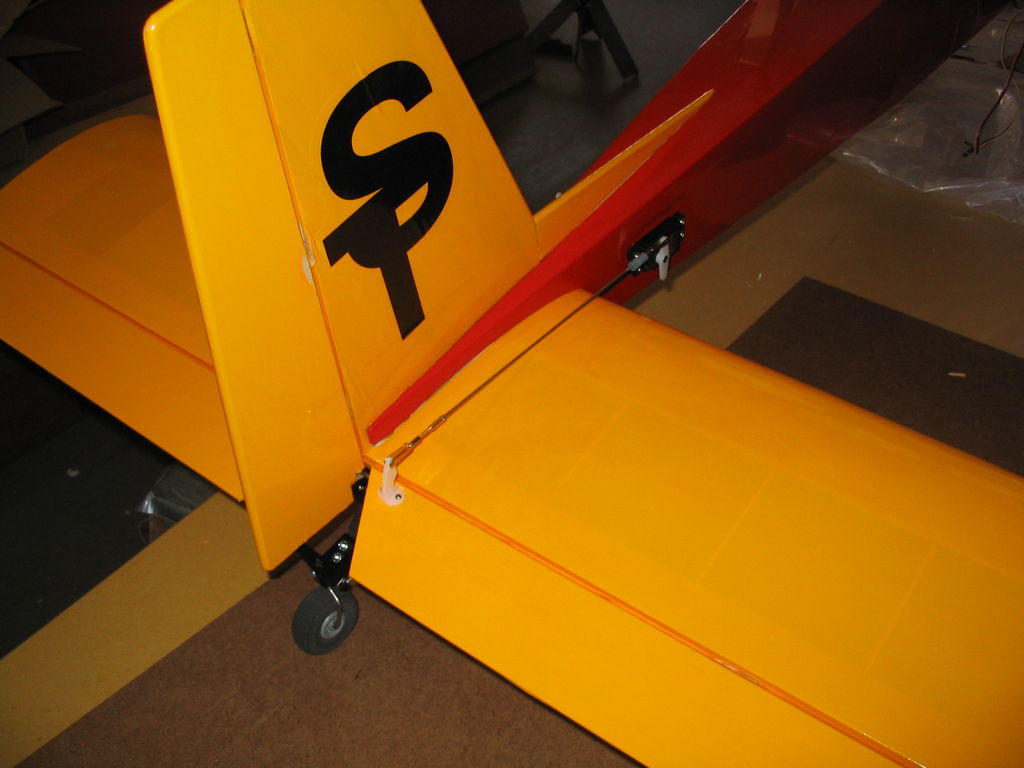
IMG_4324
Two shots of how the overall project is shaping up …
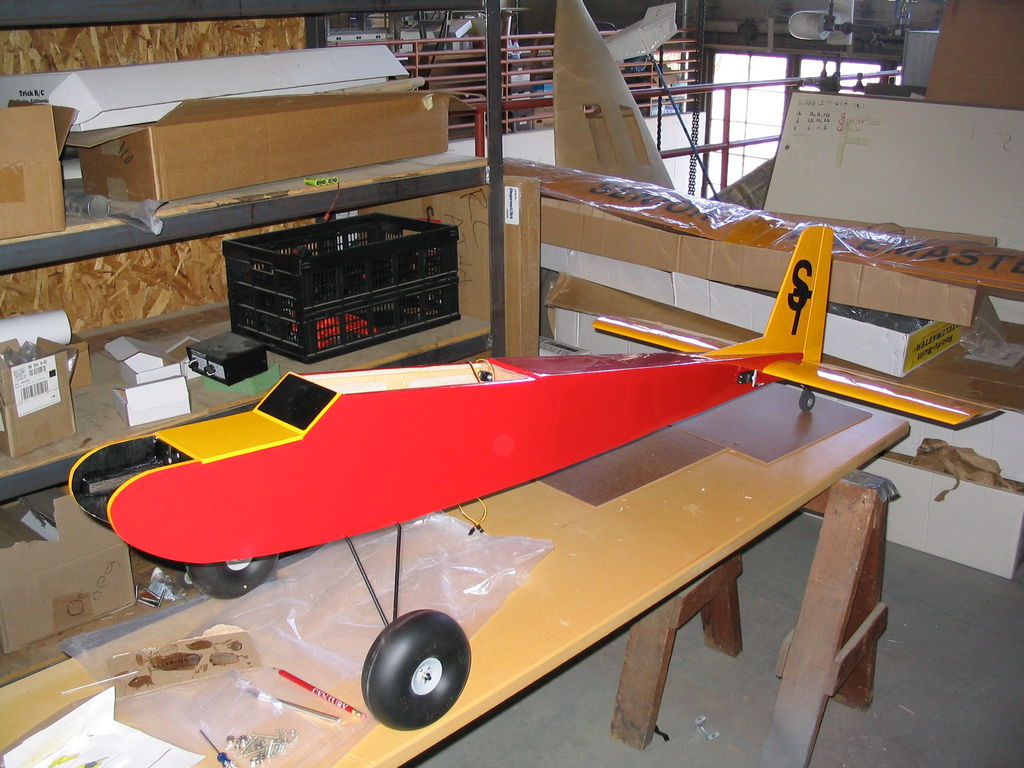
IMG_4320
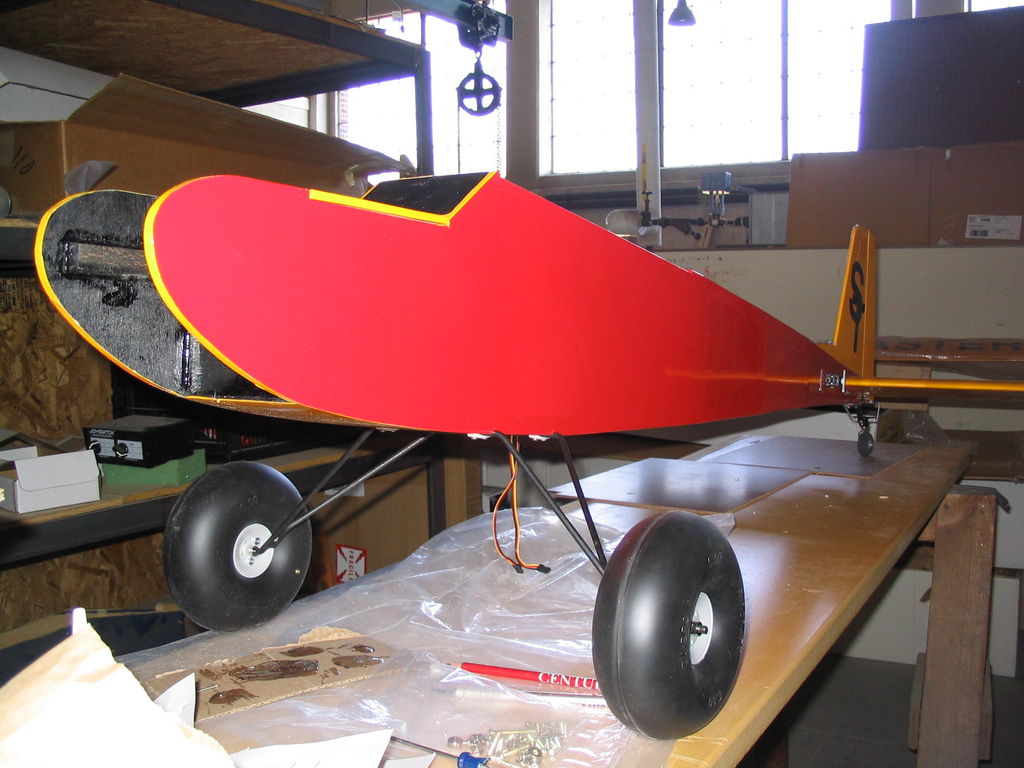
IMG_4326
March 16, 2007
Progress made today:
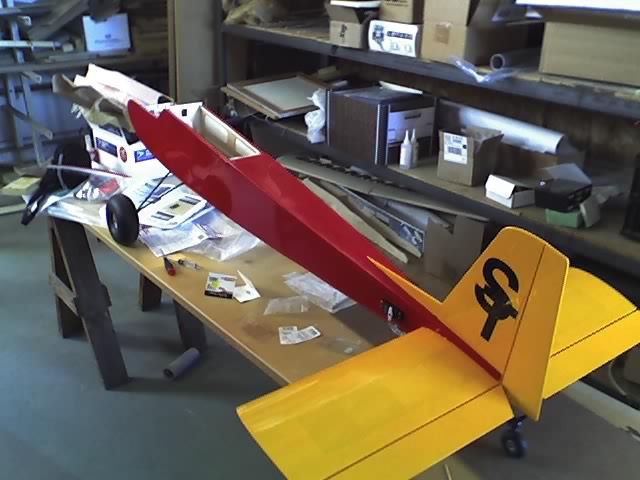
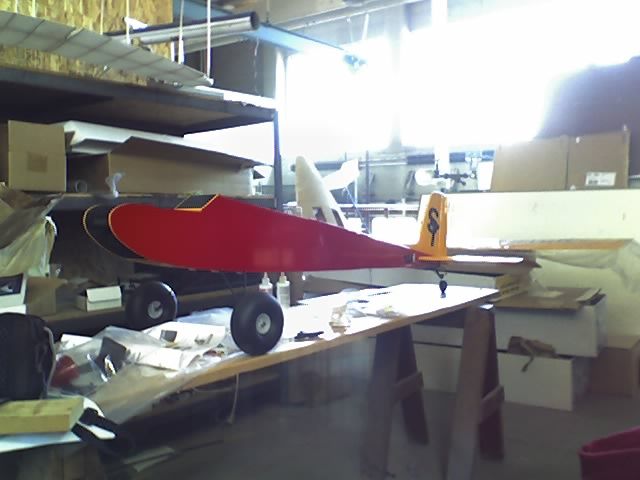
- Installed steerable tail wheel. I forgot a small step before I glued on the vertical stab. This forced me to go to the hobby shop to buy a slightly different tail wheel mount. The 2″ tail wheel is slightly too big, so I will probably need to get a 1.5″ wheel and a 3/32″ wheel collar.
- Installed an elevator joiner wire. I bought something pre-bent from SIG and removed the nylon control horn. I cut a groove into both elevator halves and epoxied it in. I also notched the rudder in one spot for clearance. Note: this is another one that would have been good to do before gluing on the elevators.
- Installed the elevator and rudder servos with their extension wires.
- Installed the elevator and rudder control horns and linkages.
This is the elevator joiner I used …

IMG_4319 Low res cell phone shots …
03-16-07_1451
03-16-07_1452
03-16-07_1453
03-16-07_1455
03-16-07_1456
03-16-07_1458
March 15, 2007
Epoxied the tail surfaces onto the fuselage. Installed the main gear.
March 9, 2007
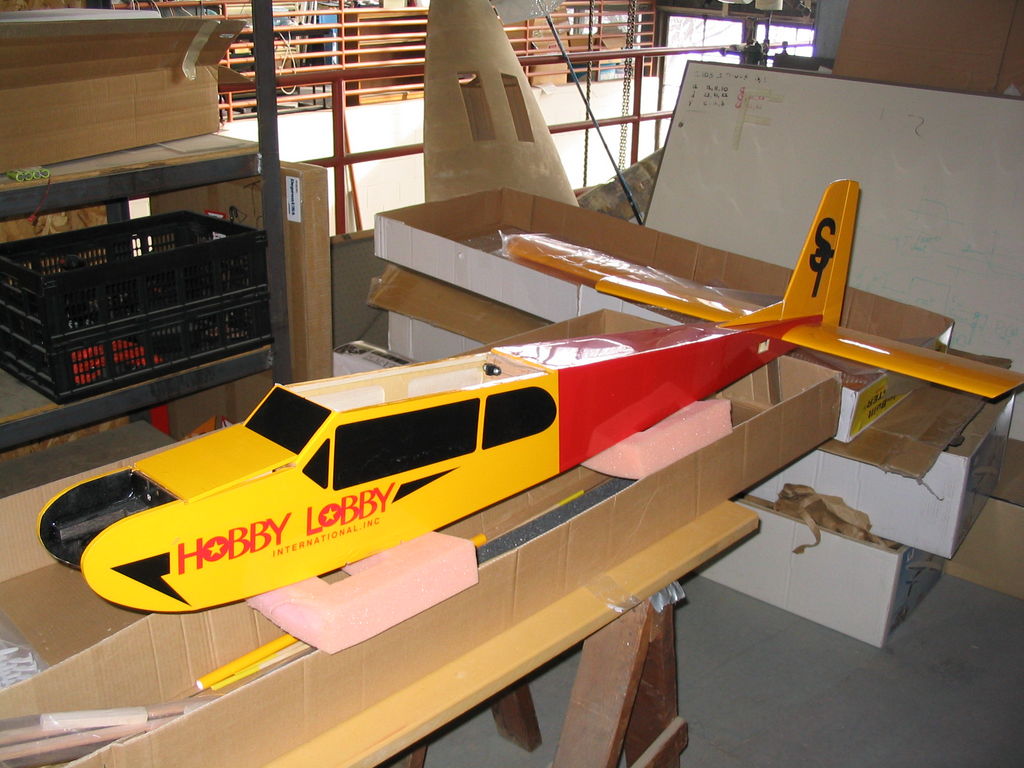
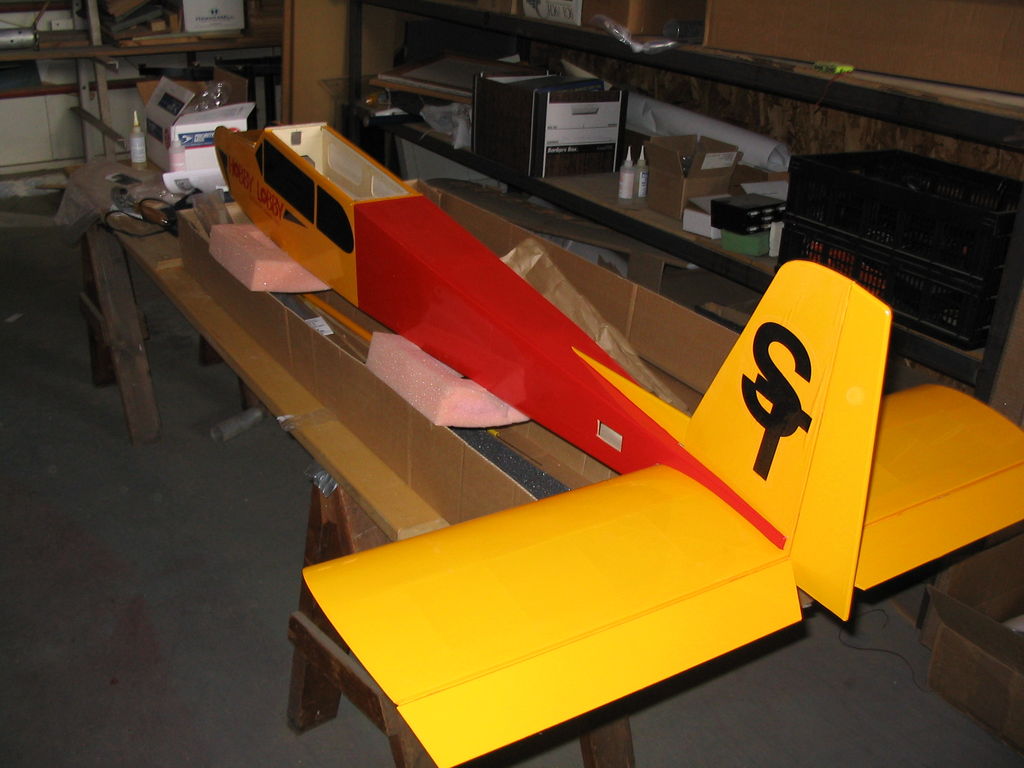
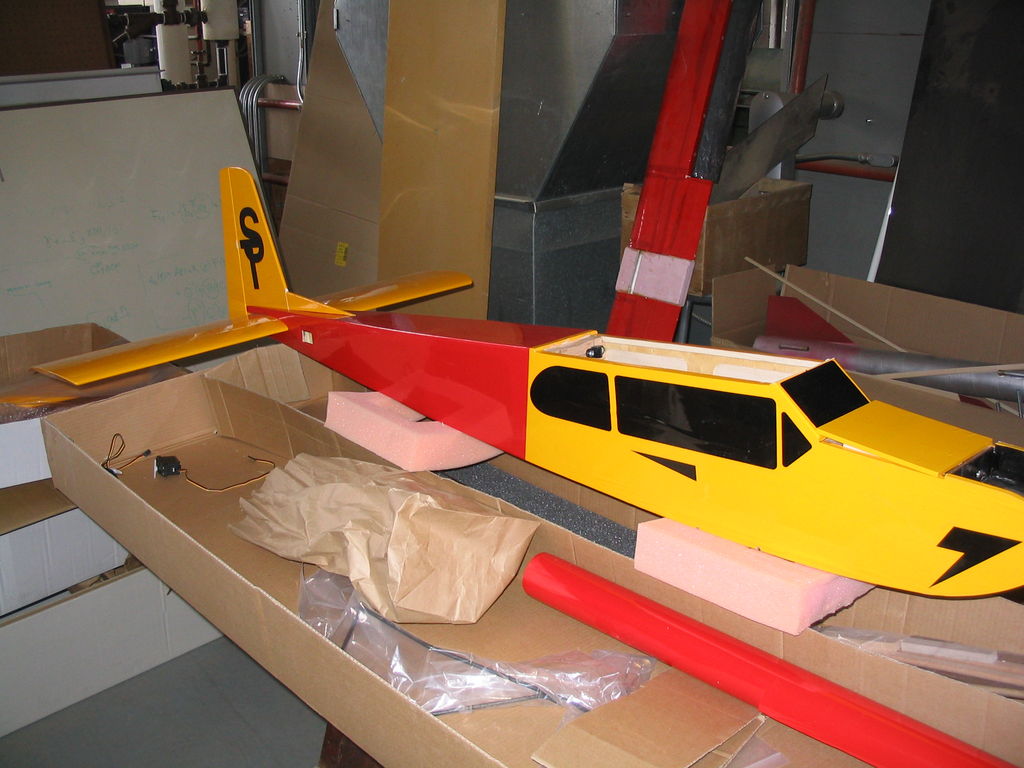
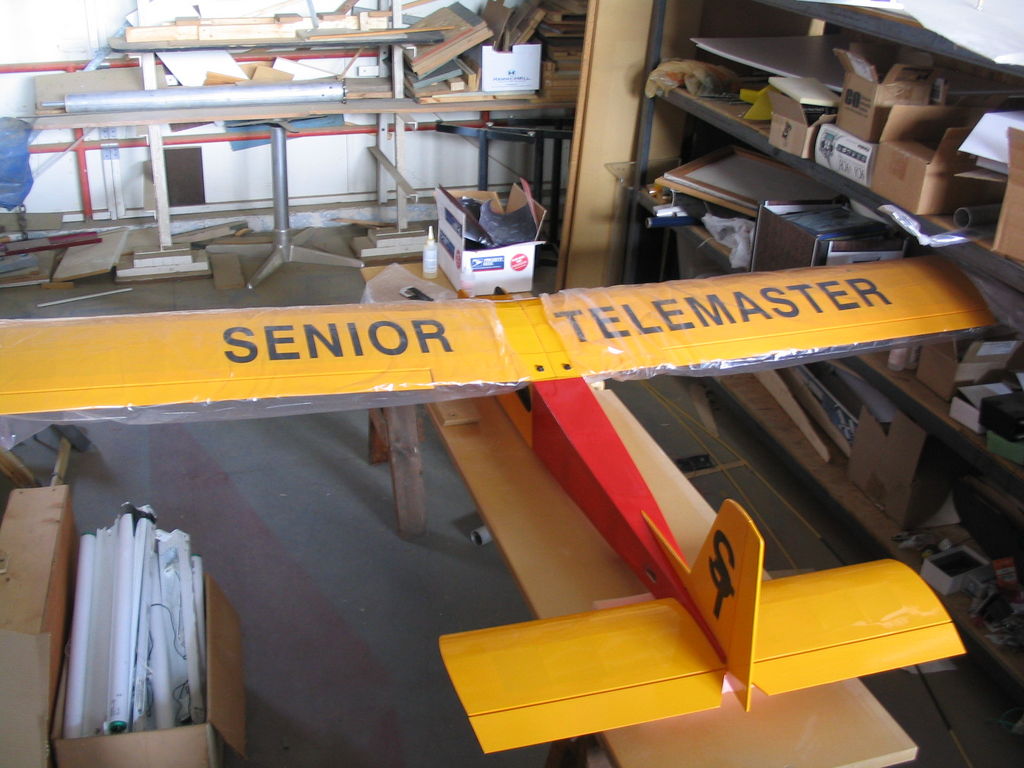
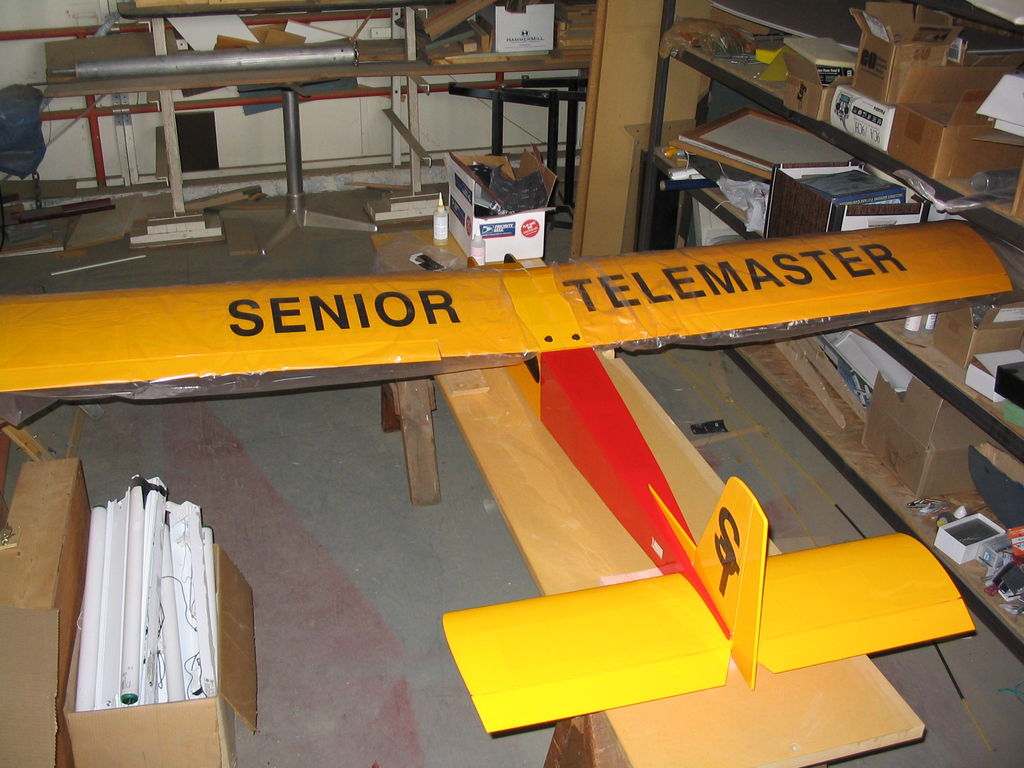
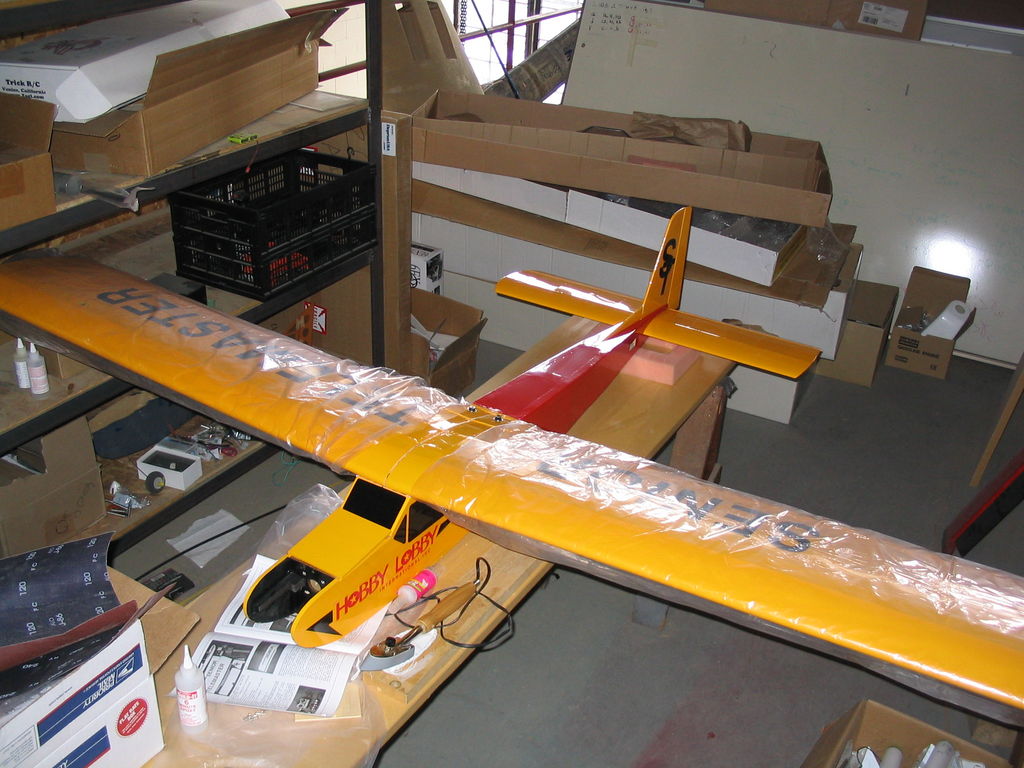
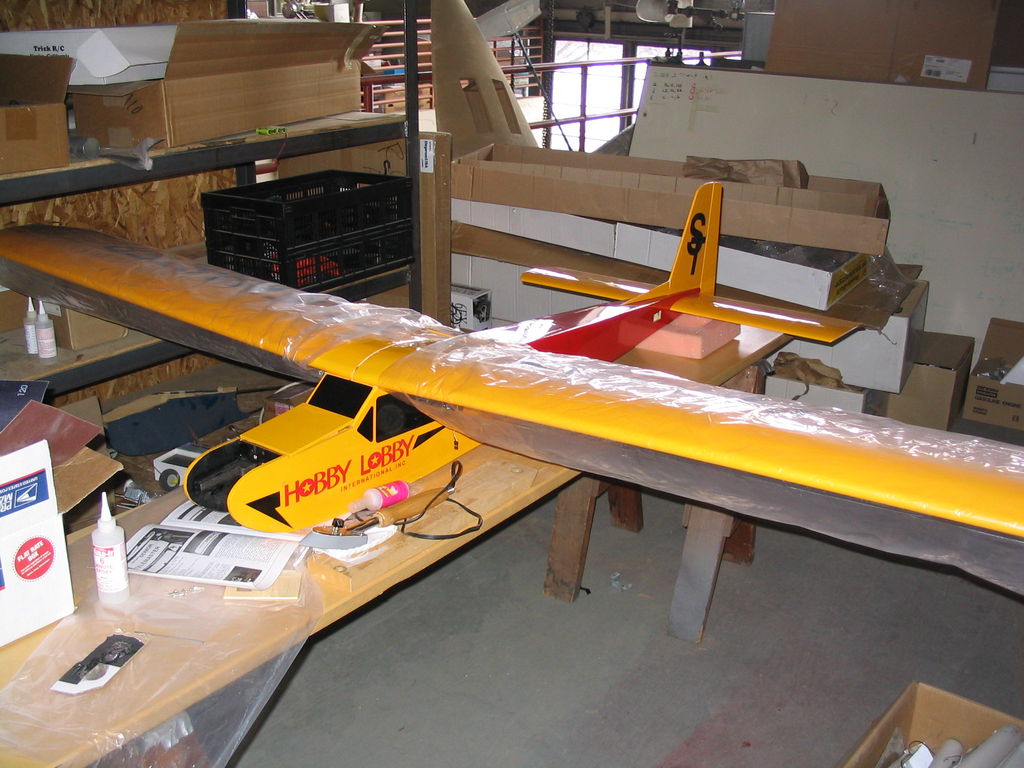
Pictures with the tail surfaces dry fitted …
After these pictures were taken, I ripped off most of the remaining yellow on the fuselage and replaced it with ferrari red.
IMG_4311
IMG_4312
IMG_4313
IMG_4314
IMG_4315
IMG_4316
IMG_4317
March 6, 2007
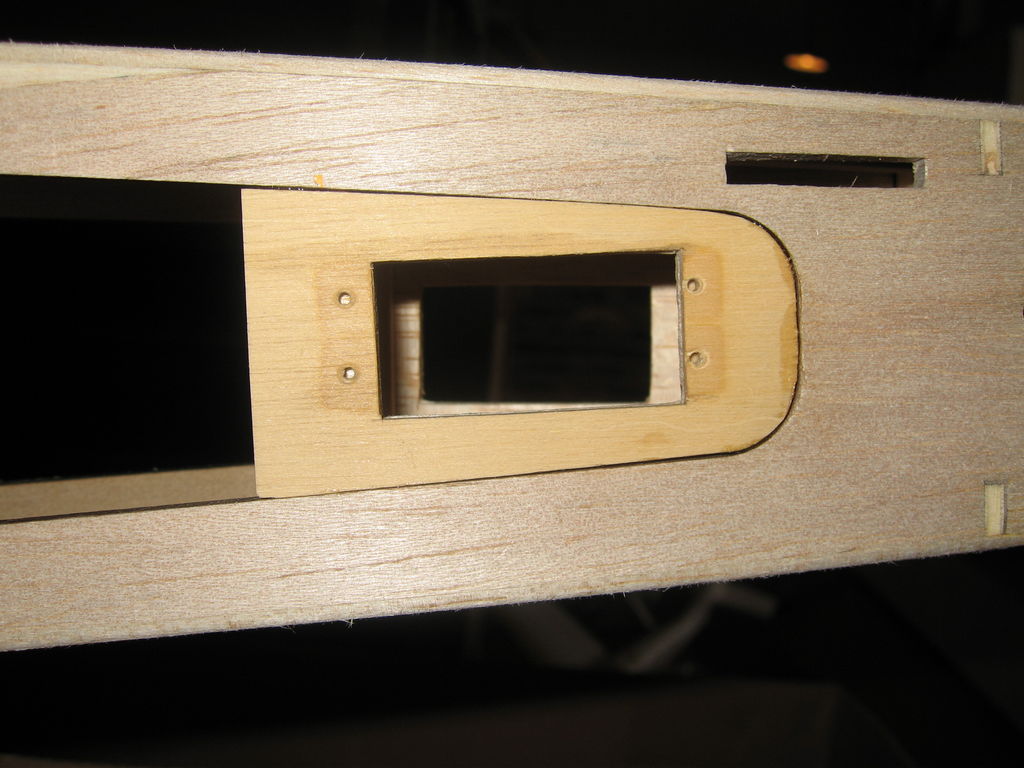
Detail of tail servo mounting modification …
IMG_1693

IMG_1694

IMG_1695
March 5, 2007
Detail of shipping damage (fixed) and re-covering plan …

IMG_1696

IMG_1697

IMG_1698