Hobby-Lobby MiG-15 Electric Ducted Fan Jet
Assembly
My birthday present to myself this year was a MiG-15 electric ducted fan model from hobby-lobby.com. I bought this at Toledo in April (well paid for it in April … it’s a new item so wasn’t yet in stock.) It shipped in May and arrived on Tuesday.
http://www.hobby-lobby.com/mig_15_epo_jet_arf_rc_airplanes_528669_prd1.htm
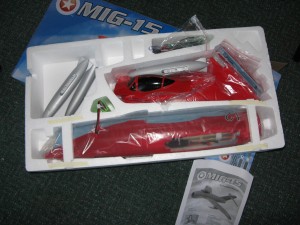
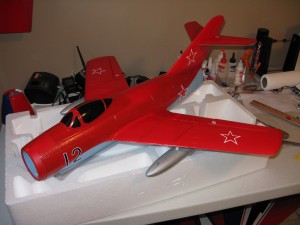
Here is a picture as it looks when you first open the box. I don’t see too many pieces to glue together.
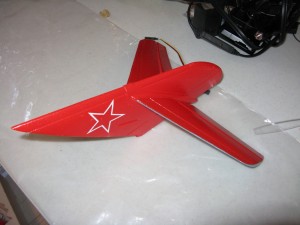
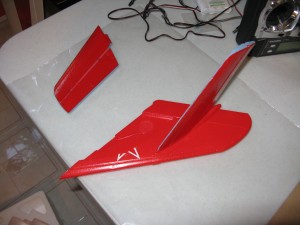
First thing to put together is the tail. Here are the pieces dry fitted. The only challenge to assembling the tail is that you are required to free hand drill a hole to slide in a carbon fiber tube that extends into the right elevator, and then drill the matching hole (again free hand) into the left elevator, and do it in such a way that everything lines up. 2 things in my favor: it’s foam so there is some give, and you don’t have to drill very deep (about in inch and a half in each direction.)
The next picture shows the elevator pushrod access panel.
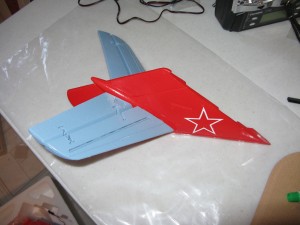
There is a lot of nice detail molded into the undersides of the tail. One thing I noticed is that the trailing edges of the control surfaces are squared off with hard edges. This might seem a little unintuitive at first (often control surface edges are rounded in model airplanes) but according to RC University, square edges help minimize flutter problems.
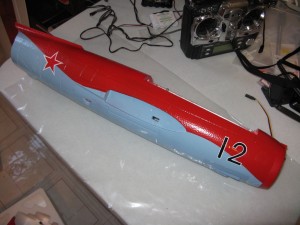
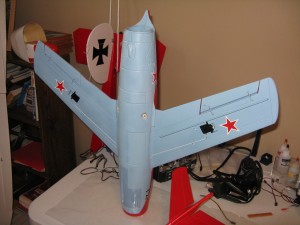
Here is a picture of the fuselage. It comes with the electric ducted fan and motor already installed as well as the speed controller and the elevator servo.
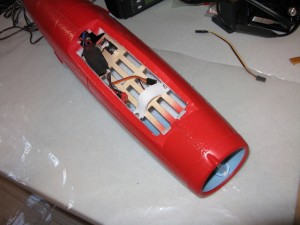
Access to the electronics is through a hatch where the entire canopy pops off. There is a tab in the rear and two magnets at the front. The two magnets keep pulling out of the foam on the fuselage side and I keep regluing them. I assume at some point I will build up enough glue area so they will just stay put.
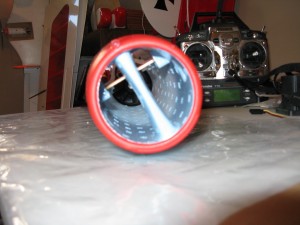
Looking down the pipe, you might be able to see the ducted fan blades. This thing puts out a lot of thrust, enough for nearly unlimited vertical performance. It really flies like a high performance jet in the air!
The next step is to install the wings. These plug in and are glued with epoxy. Notice the dual wing fences on the top of each wing? A very nice detail!
Each wing/aileron has it’s own servo so as you glue the wing, you need to thread the servo wire into the fuselage center section. Not hard, but a little care must be taken so you don’t slop epoxy on the wire or connector and create a problem for yourself later. Again the bottom of the wings has a lot of neat molded in details like the bottom of the elevators. The elevator and ailerons use real hinges that look very cool.
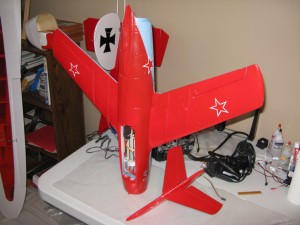
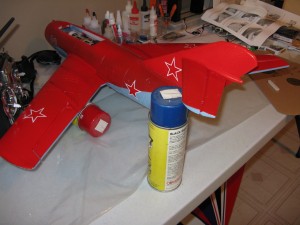
The next step is to glue the tail assembly onto the fuselage and route the pushrod housings. The high tail mount means a little engineering needed to go into the kit so that servo inside the electronics bay of the fuselage is able to drive those dual elevator surfaces. The kit is engineered so this works out really well.
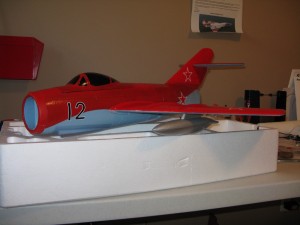
Finally, the last step is to glue on the drop tanks. For this kit they do not drop. The tanks are foam and the bottom half is protected with a plastic shield. If you look closly the bottom of the fuselage nose also has a plastic shield, and there is a raised shield/bump at the tail. This aircraft has no landing gear so you need to belly it into the grass for landings … thus the plastic protection of the foam is a critical feature. Also you can see the cockpit hatch piece detached in this photo.
So it’s all done! The control horns are installed, the linkages are connected, the battery is velcro’d in, the balance point is checked. She’s all ready to go!
And a slightly lower angle shot … she looks good!
Flying
This MiG-15 is definitely not a beginner’s airplane. Fortunately I am not a total beginner. Unfortunately I’m not an expert in hand launched foam ducted fan electric jets either! Be careful on the hand launch and release it straight and hard (or wait until there is a day with a little wind.) The ducted fan doesn’t blow air over the flying surfaces so until you accelerate to flying speed you are vulnerable. I flopped it in once and broke off a wing (now fixed.) Other than that, It’s not hard to fly once you are up and flying, and anyone with reasonably competent RC flying skills should be able to get the hang of it very quickly.
As I mentioned, because the MiG-15 has no landing gear so it must be hand launched. For my first two flights I asked a buddy at my RC club field to throw it for me. I ran up to full throttle, he threw it into the air, and off she went! For my 3rd flight I attempted to hand launch for myself and that didn’t go so well. It might be worth using an assistant for all launches or just make sure you throw it a bit harder than you think you should and make sure you release it very straight.
Unfortunately I didn’t have my camera out for the first flights, so I don’t have any flying pictures yet … hopefully next time I head out I can get some action shots.
Wow! It’s a a total blast to fly! It has nearly unlimited vertical performance and can do some really sweet low/fast passes at full throttle. It really looks and feels like a high performance jet in the air. For its size it feels like it flies at very scale speeds … in other words it’s fast and impressive and goes from a tiny dot at one end of the field to a tiny dot at the other end of the field really quickly. And if you pull up vertically you can get as high as you need to go also very fast. But it’s all foam and pretty light, so you can also cut the throttle and cruise by for a slow pass at just a couple notches of power.
One thing I found I needed to be careful of is that she really bleeds off speed in the turns, so even though you can do a nice slow level pass at just above idle, you better be careful to power up to 1/2 throttle through the turns or they will get really exciting on you. (Imagine a lead leaf if you get too slow in the turns.) 🙂
It’s pretty hot on landings too, but once you get down into ground effect you can start bleeding off a lot of speed and touch down pretty gently. The drop tanks act as landing skids, but I worry about one of them ripping off if I would come in too hot or drag a wing in a cross wind and catch one of them on something. So I was very careful to keep the wings level and bleed off as much speed as possible before finally touching down, and everything worked out really well.
My only gripe is that the battery runs out too quickly … I’m not done having fun before it’s time to bring her in for a landing.
Retired
Sold on November 30, 2012 — hopefully with many great flights yet to come for the new owner.
##
